Sunday, September 27, 2020

Borderlands 3

v2.1 update on 2020-09-27 

See Version History below for details


Here we go ya loot fiends! For many people, Borderlands 3 is the most anticipated title released this year (or in the past 7), and most would agree it was definitely worth the wait! By far the best gameplay in the series to date (which was always great to begin with), which makes this game fun, Fun, FUN! So I'm very pleased to be able to present to you this fix. Let the MAHEM begin!


Version History


v2.1 update on 2020-09-27
  • Improved handling of specular highlights and reflections on all surfaces
  • Additional fixes for player skins with special effects
  • Few additional HUD fixes, and slight improvement on vertical HUD numbers that don't properly get clipped
  • A few optimizations for better performance
v2.0 update on 2019-12-19
  • Fixed all remaining issues and refactored many existing fixes, including:
    • Correct fix for volumetric fog and lighting
    • Specular highlights now at correct depth
    • All reflections should now be fixed
    • Fixed a clipping issue with screenspace reflections
    • Fixed an issue that would cause 3D discomfort while driving
    • Found an issue that requires a different fix when running under Windows 10 than Windows 7. Added a toggle key to select which fix to use
  • Added a new high convergence mode for extreme 3D junkies! 
    • See User Interface Features section for more details
  • More accurate 3D crosshair with less performance impact
  • Better handling of in-game HUD items. They now use same depth as 3D crosshair rather than static depth, to prevent HUD items from being at depth inside of other objects which can happen when using static depth
  • Found a partial fix for the issue where numbers would clip through HUD elements, but it requires a specific HUD depth setting (50%), so created a secondary HUD mode for people that would prefer to use that setting. Toggle on/off with Shift + .  (period)
  • Added a longer transition to the vehicle convergence preset, to make hijacking vehicles less uncomfortable as it zooms in (before would zoom in too fast before the animation was over)
  • Made the ADS low convergence preset no longer trigger when using the turret/secondary fire mode on vehicles
  • Set the digistruct squares that appear on screen at the end of fast travel/respawning to screen depth
  • Additional presets for during gameplay and menu screens
  • Added another toggle key to disable the white outlines around other players and pets (*Note: I just realized I didn't test this that much, may only work on pets).
v1.1 update on 2019-11-05

  • Added 3D crosshair
  • Fixed a few additional effects related to the Bloody Harvest event still ongoing
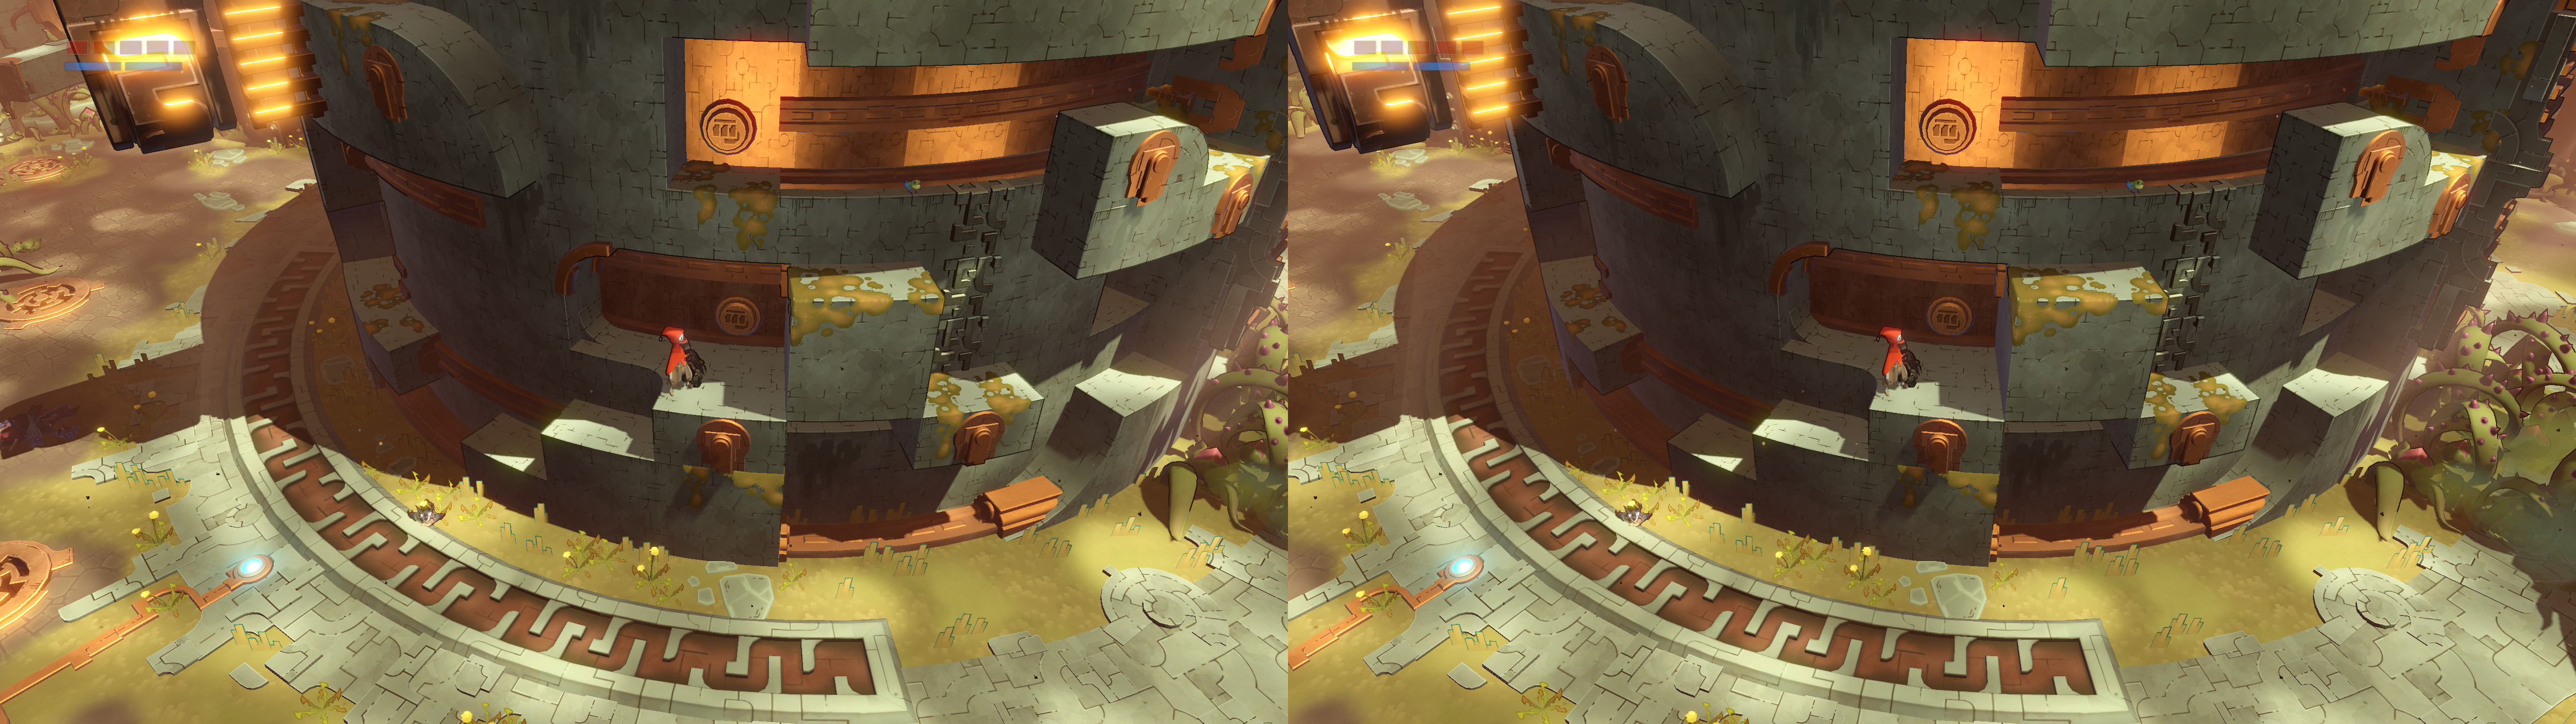
  • With specular highlights / shiny reflections only partially fixed, most areas look fine but some areas (like the Skywell 27 area) look pretty bad, so I've set up a toggle key to disable these. See keybindings below

3D Fix Summary


Game Engine: Unreal Engine 4, heavily modified


Fixed Issues:

  • Lighting/Shadows 
    • Volumetric lighting
    • CS tile lighting + clipping fix
    • Directional & point lighting (with specular fix)
  • Reflections
    • Screenspace reflections (some have been set to surface depth)
    • Specular highlights
  • Decals and other various effects & objects
    • Ground/wall textures
    • Fog/mist/smoke
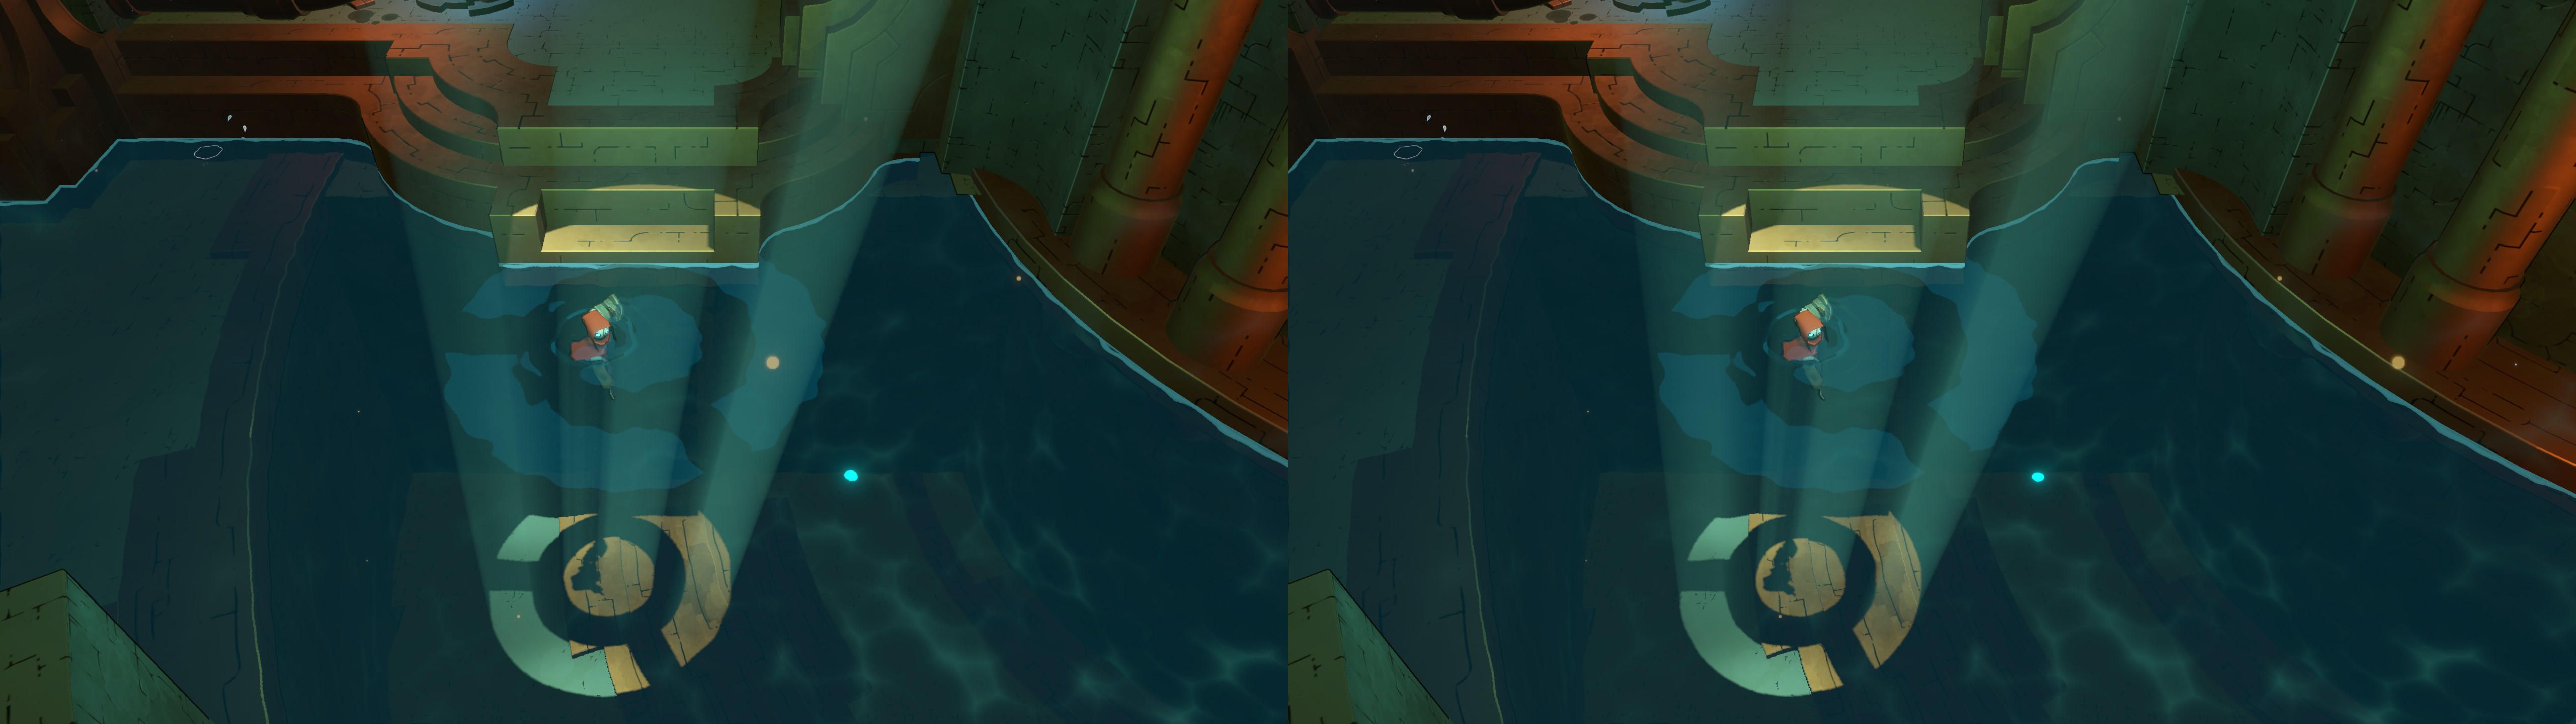
    • Water, ripples (some with screenspace reflections fix)

User Interface Features:

  • High convergence mode 
    • Achieve a much higher convergence than normally possible, which increases 3D strength and provides a heavy toyification effect 
    • Prevents the onscreen weapon from diverging too far into the screen and making you go crosseyed
    • In order to achieve these, this mode adjusts the shaders that draw the player character model to use a fraction of the convergence.
    • Other NPC's and certain objects also share these shaders. In order to restrict the modification to just the player, I only adjusts elements that are within about 1.5 meters from the player's position. If you get really close to other NPC's/objects that use the same shaders they can become affected with some... interesting results. (Pssst. Don't go trying to kiss any NPC's or they may spit their dentures out at you!)
    • After turning this on you could decrease/increase the convergence to your preference using the Nvidia convergence shortcut keys
    • Toggle on/off with Caps Lock key. 
  • Auto-depth 3D crosshair (with option to set static depth if preferred. See key binding section)
  • Auto-depth in-game waypoint marker
  • Cyclable HUD depth
  • Persistent settings. Once you set your preferred settings (eg. HUD depth) it will save the setting for future gaming sessions.
  • Automatic convergence presets for: ADS, in vehicle, in menu


Not Fixed/Remaining Issues:

  • There is some clipping that occurs on certain volumetric fog/light combinations, especially when they are in motion
  • Some decals bleed onto an adjoining surface at certain angles
  • Some numbers used in certain HUD elements will have a vertical column of numbers above/below them clipping through HUD elements. I've created a secondary HUD depth setting that helps with it (but doesn't completely eliminate it) but requires the HUD to be set to 50% depth.


Instructions


1. Download fix: Borderlands 3 3D Fix v2.1

2. Extract fix contents to ..\Borderlands3\OakGame\Binaries\Win64

3. Required settings:

  • Options -> Visuals -> under Basic: Set Display Mode to Fullscreen
  • Options -> Visuals -> under Advanced: Anti-Aliasing to FXAA or Off

4. The following keybindings have been set up:

    Key                                                       Effect                                                    
  Caps          Toggles between a high convergence mode and normal convergence setting
       /            Cycles through crosshair depth: 1 = autodepth (default), other values = static depth %
RMB     Right Mouse button - Auto low convegence for aiming
       .            Cycles through various HUD depth presets
Shift + .     Toggles between regular HUD depth, and another setting that helps eliminate some number clipping issues
       ,            Cycles through 3 depth presets for the damage indicator arrow
Shift + ,       Disables the damage indicator arrow
       '            Toggles the cel shading / black outlines on and off (default on)
Shift + '     Toggles removing the white outlines around pets and players (untested on other players)
       \     Toggles between fixes that are specific to Windows 7 or Windows 10 (currently only wil-o-wisp's smoke requires this)


Tools used and special credits


  • 3DMigoto v1.3.16 by 3DMigoto development team
  • Flugan's assembler by Flugan
  • Autodepth crosshair custom shader by DarkStarSword


Donations


-Like my work and wish to show appreciation and provide funding towards future game fixes? Dontations can be sent by visiting: www.paypal.me/DShanz or by sending to rshannonca@gmail.com


and lastly, I leave you with this


Saturday, September 19, 2020

Shantae and the Seven Sirens


3D Vision fix for Shantae and the Seven Sirens.


Fixed
- Stereoized graphics (the game was 100% flat). Including 2D textures and the sparse polygonal geometry.
- HUD depth options.


Installation
- Download this file and extract its contents in the "Shantae and the Seven Sirens\Final-NOSTEAM" folder (that's for GOG at least), where "ShantaeSiren.exe" is.
- Run the game and let it overwrite the Nvidia profile.
- Press F7 to force fullscreen and trigger 3D Vision.


Hotkeys and features
F1 or XB_RIGHT_THUMB: convergence presets (0, 1, 2, 3, 4). 3 is the default setting.
F2: HUD depth presets (0, 0.2, 0.4, 0.6, 0.8, 1). Screen depth (0) by default.
F3 or XB_LEFT_THUMB: graphics convergence scaling type toggle. By default, the game uses a lot of texture tweaks I made manually to increase the difference of depth between layers. However, this can be imperfect because the same textures are used in different situations (meaning depths). With this hotkey, you can make the game use the default scaling the game has in its "z" component. Nothing will be out of place, but the game will be pretty flat at times.
F7: force fullscreen. You need to press this this every time you launch the game or alt+tab, to get 3D.


If you liked the fix and want to contribute for more future fixes, you can donate to this PayPal account: masterotakusuko@gmail.com

Super Mario 64 PC [DX11]


3D Vision fix for the Super Mario 64 PC port, only for the DX11 renderer.

Update (2022-03-23): fix updated to add depth to all skyboxes of the newest Render96 HD textures (I only tested the full size).

What I used to build the game was this: https://sm64pc.info/sm64pcbuilder2/
I have tested the "Render96ex" version with its HD texture pack, and the unmodded "sm64-port" version. I wasn't able to compile the "sm64ex" version in DX11.


Warning: if you use Special K by Kaldaien, it can make the skybox 2D.


Fixed
- Stereoized geometry.
- Skybox at full depth.
- HUD depth options.


Installation
- Download this file and extract its contents in the game folder, like "Render96ex-master\build\us_pc" or "sm64-port-master\build\us_pc" folder, where the game exe is. In my case "sm64.us.f3dex2e.exe".
- Run the game and let it overwrite the Nvidia profile.


Hotkeys and features
F1 or XB_RIGHT_THUMB: convergence presets (0, 200, 400, 600). 600 is the default setting.
F2 or XB_LEFT_THUMB: HUD depth presets (0, 0.2, 0.4, 0.6, 0.8, 1). Screen depth (0) by default.


Recommendations
- The game has very low requirements. I recommend playing with 4xDSR.
- The game has uncapped fps that can make it go over 100% speed. If you use the 60fps patch, 120Hz 3D and vsync, you will have the correct fps without capping them. Otherwise, use RTSS to cap it to either 30fps (unmodded) or 60fps (if you use the 60fps patch).


About the skybox
- To put the skybox at full depth, I had to identify the resolution of its textures. In "d3dx.ini" you can find three blocks starting with "[TextureOverrideSkybox1]". I defined sizes of 528x528, 526x526 (both for the "Render96ex" texture pack) and 32x32 (unmodded game). However, that last one can put at full depth some text in the star selection screen with the texture pack I mentioned. Feel free to comment or modify this last block. If you use another texture pack and you see that the skybox is at screen depth, then it will be dependant on the HUD depth setting. Putting the HUD at full depth will also put that skybox at full depth.


If you liked the fix and want to contribute for more future fixes, you can donate to this PayPal account: masterotakusuko@gmail.com

Thursday, September 17, 2020

Hob


3D Vision fix for Hob, with some extra options to disable FXAA and bloom.


Fixed
- Shadows.
- Lighting, with stereoized specular reflections.
- Volumetric lighting.
- Underwater "circle" reflections.
- Volumetric fog.


Known issues
- Volumetric lighting rays may have an imperfect position at some unusual camera angles.


Installation
- Download this file and extract its contents in the "Hob" folder, where "HOB.exe" is.
- Run the game and let it overwrite the Nvidia profile.


Hotkeys and features
F1 or XB_RIGHT_THUMB: convergence presets (4, 8, 12, 16). 12 is the default setting.
F2: FXAA toggle. Not disabled by default.
F3: bloom toggle. Not disabled by default.


If you liked the fix and want to contribute for more future fixes, you can donate to this PayPal account: masterotakusuko@gmail.com

Tuesday, September 8, 2020

Nintendo DS [OpenGL]


3D Vision fix for Nintendo DS emulators, mostly intended for melonDS (tested with the 0.9 version) but it also can work with DeSmuME.


What this fix does
- It stereoizes geometry, and sometimes sprites layers.
- I provide two different stereoization formulas. The default one is meant to be used with most games played with melonDS. The other one is a standard formula that should work with DeSmuMe, but only for 60fps games.
- 60fps games show 30fps per eye in 3D, but 30fps games (with melonDS) also show 30fps per eye. For that case, getting sequential or synchronized frames is random. Using fast forward for a bit may help. 


The fix, common for melonDS and DeSmuME
This is the link.


Installation (melonDS)
- Before installing the fix, configure all the emulator settings the way you want (high resolution, maximized window, etc). It's important to check the "Config -> Limit framerate" option to avoid problems
- Extract the fix contents in the folder of the melonDS emulator (like "melonDS_0.9_win64"), where "melonDS.exe" is. From this moment, every time you need to access a pop up config menu (like the controls or graphics) you need to temporarily rename the "opengl32.dll" file to something else. Otherwise the emulator will crash.
- Right click "melonDS.exe", go to the compatibility tab and set it to run as administrator and to disable fullscreen optimizations.
- Drag and drop a game ROM to the "melonDS.exe" file.


Installation (DeSmuME)
- Before installing the fix, configure all the emulator settings the way you want (high resolution but not as much as in melonDS, a big window size, etc).
- Extract the fix contents in the folder of the DeSmuME emulator (like "desmume-git#be2735b3-windows-x64"), where the emulator exe file is. From this moment, every time you need to access a pop up config menu (like the controls or graphics) you need to temporarily rename the "opengl32.dll" file to something else. Otherwise the emulator will crash.
- Copy the "3DVisionWrapper.ini" file that is inside the "desmume_wrapper_config" folder and paste it in the emulator folder.
- Right click the emulator exe, go to the compatibility tab and set it to run as administrator. Disabling fullscreen optimizations is optional and I didn't see a difference, unlike in melonDS.
- Important: use RTSS to limit the emulator exe to exactly 90fps.
- Drag and drop a game ROM to the emulator exe file.
- Sometimes the emulator may break the stereoization or invert it. Press the fast forward hotkey briefly to fix it.


Game compatibility
- For melonDS, check the "melonds_compatibility.txt" to see what games can or can't work. They are games I personally tested.
- For DeSmuME, in general you can play games that run at 60fps. But you won't get 3D from games that run at 30fps because of the way it repeats frames.


Emulator comparison table

melonDSDeSmuME
Can it run 60fps games?YesYes
Can it run 30fps games?YesNo
Stable at very high resolutions?YesNo
Does it have texture filtering?NoYes


Hotkeys
- Numbers (not numpad) from 1 to 0: convergence settings (1, 2, 3, 8, 16, 32, 64, 128, 256, and 0, respectively).
- o: default stereoization formula for melonDS. You don't need to press it at launch if it's what you want to use.
- k: different stereoization formula for melonDS, which works for a pair of games.
- l: addition of a depth check for the first stereoization formula. This makes Pokémons in battle in Black / White versions that scale too much with convergence be at screen depth. It isn't used by default because some polygons can be caught in other games or locations.


Recommendations
- Each screen has a 4:3 aspect ratio, and therefore the maximum separation is lower than when you play a 16:9 game. You can open "3DVisionWrapper.ini" and use a higher "DepthMultiplicationFactor" to compensate that. In theory, 1.333333 is the multiplier you need to get the equivalent max separation of a 16:9 game, assuming the full vertical space is being used.


If you liked the fix and want to contribute for more future fixes, you can donate to this PayPal account: masterotakusuko@gmail.com

Sunday, September 6, 2020

Tales of Berseria [DX9] [DX11]


3D Vision and geo-11 fix for Tales of Berseria, with extra hotkeys to disable some effects. The DX9 fix was done with the HelixMod dll and the DX11 fix was done with geo-11.


Fixed
- Shadows.
- Lighting.
- Battle area limit line.
- Water.
- Haloing problems.
- Sun position and occlusion.
- Stereoized specular reflections (geo-11 only).
- Autoconvergence configured for cutscenes (geo-11 only).


Installation (DX9)
- Download this file and extract its contents in the "Tales of Berseria" folder, where "Tales of Berseria.exe" is. You will notice that there is a "visiond3d9.dll" file instead of the usual "d3d9.dll". This fix assumes that you are going to use the Tales of Berseria "Fix" from Kaldaien (Special K). And I recommend that (it features high resolution shadows, audio fixes, and more).
- Make sure you have installed the Tales of Berseria "Fix" from Kaldaien, but only up to the 0.9.8 version (newer ones break effects like bloom): https://github.com/Kaldaien/TBF/releases/tag/tbfix_098
- You need to make Kaldaien's fix load the 3D Vision fix. To do so, open "d3d9.ini" and add this block near the beginning of the file:

[Import.visiond3d9]
Architecture=x64
Filename=visiond3d9.dll
When=Late
Role=d3d9

- Run the game. Remember to change convergence because Nvidia's default setting is extremely low for this game.


Installation (DX11)
- Install dgVoodoo v2.79.3 (or close enough versions) by copying the "MS/x64/D3D9.dll" file into the "Tales of Berseria" folder and running "dgVoodooCpl.exe" to configure it like this (using the amount of VRAM you prefer. Don't go too high if you don't have lots of VRAM):


geo-11: download this file and extract its contents in the "Tales of Berseria" folder, where "Tales of Berseria.exe" is. Remember to edit "d3dxdm.ini" to change your "direct_mode" to the output you need. It's sbs by default. For 3D Vision monitors, "direct_mode = nvidia_dx11" works in borderless and fullscreen, but "nvidia_dx9" doesn't work.
- Run the game.
- Note: you won't be able to use Special K, so you won't be able to increase shadow resolution and other effects as much. But CPU performance will be significantly better than in DX9.


Warning: don't use MSAA or SGSSAA via profile settings. MSAA makes the game run at near zero fps in 3D, and SGSSAA makes some lighting appear only on one eye.


Hotkeys and features (DX9)
F1: high convergence preset. Recommended for gameplay. If you manually change convergence after pressing this key and then you press F7, the value for this preset will be saved.
F2: low convergence preset. Recommended for cutscenes. If you manually change convergence after pressing this key and then you press F7, the value for this preset will be saved.
F3: HUD depth presets. Screen depth by default. Some flashback cutscenes will be adversely affected by HUD depth. I recommend staying at screen depth except for battles.
F4: cel shading toggle. Not disabled by default.
F5: depth of field toggle. Not disabled by default.


Hotkeys and features (DX11)
F1: convergence presets (50, 100, 150, 250, 350). 350 by default, recommended for gameplay. During cutscenes, autoconvergence will take over.
F3: HUD depth presets (0%, 20%, 40%, 60%, 80%, 100%). Screen depth by default. Cutscenes will automatically put subtitles to screen depth.
F4: cel shading toggle. Not disabled by default.
F5: depth of field toggle. Not disabled by default.


If you liked the fix and want to contribute for more future fixes, you can donate to this PayPal account: masterotakusuko@gmail.com
Or you can join my Patreon: https://www.patreon.com/masterotaku

Tuesday, September 1, 2020

Trials Evolution: Gold Edition

3Dmigoto 3D Vision DX11 Fix


What this mod does:
- Fixes shadows, most lights and most reflections
- Fixes various 2D geometry (trees, smoke effects, etc..)
- Places bloom at a fixed depth
- Places HUD & UI at a fixed depth. (The depth can be changed in the d3dx.ini file)

Remaining Issues:
- There's some occasional light clipping
- Some reflections look a little incorrect

Installation:
- Download this ZIP file and extract it into the directory: "..\Trials Evolution Gold Edition\datapack\ "