Showing posts with label Vk3DVision. Show all posts

Friday, August 14, 2026

Spyro the Dragon [Vulkan]


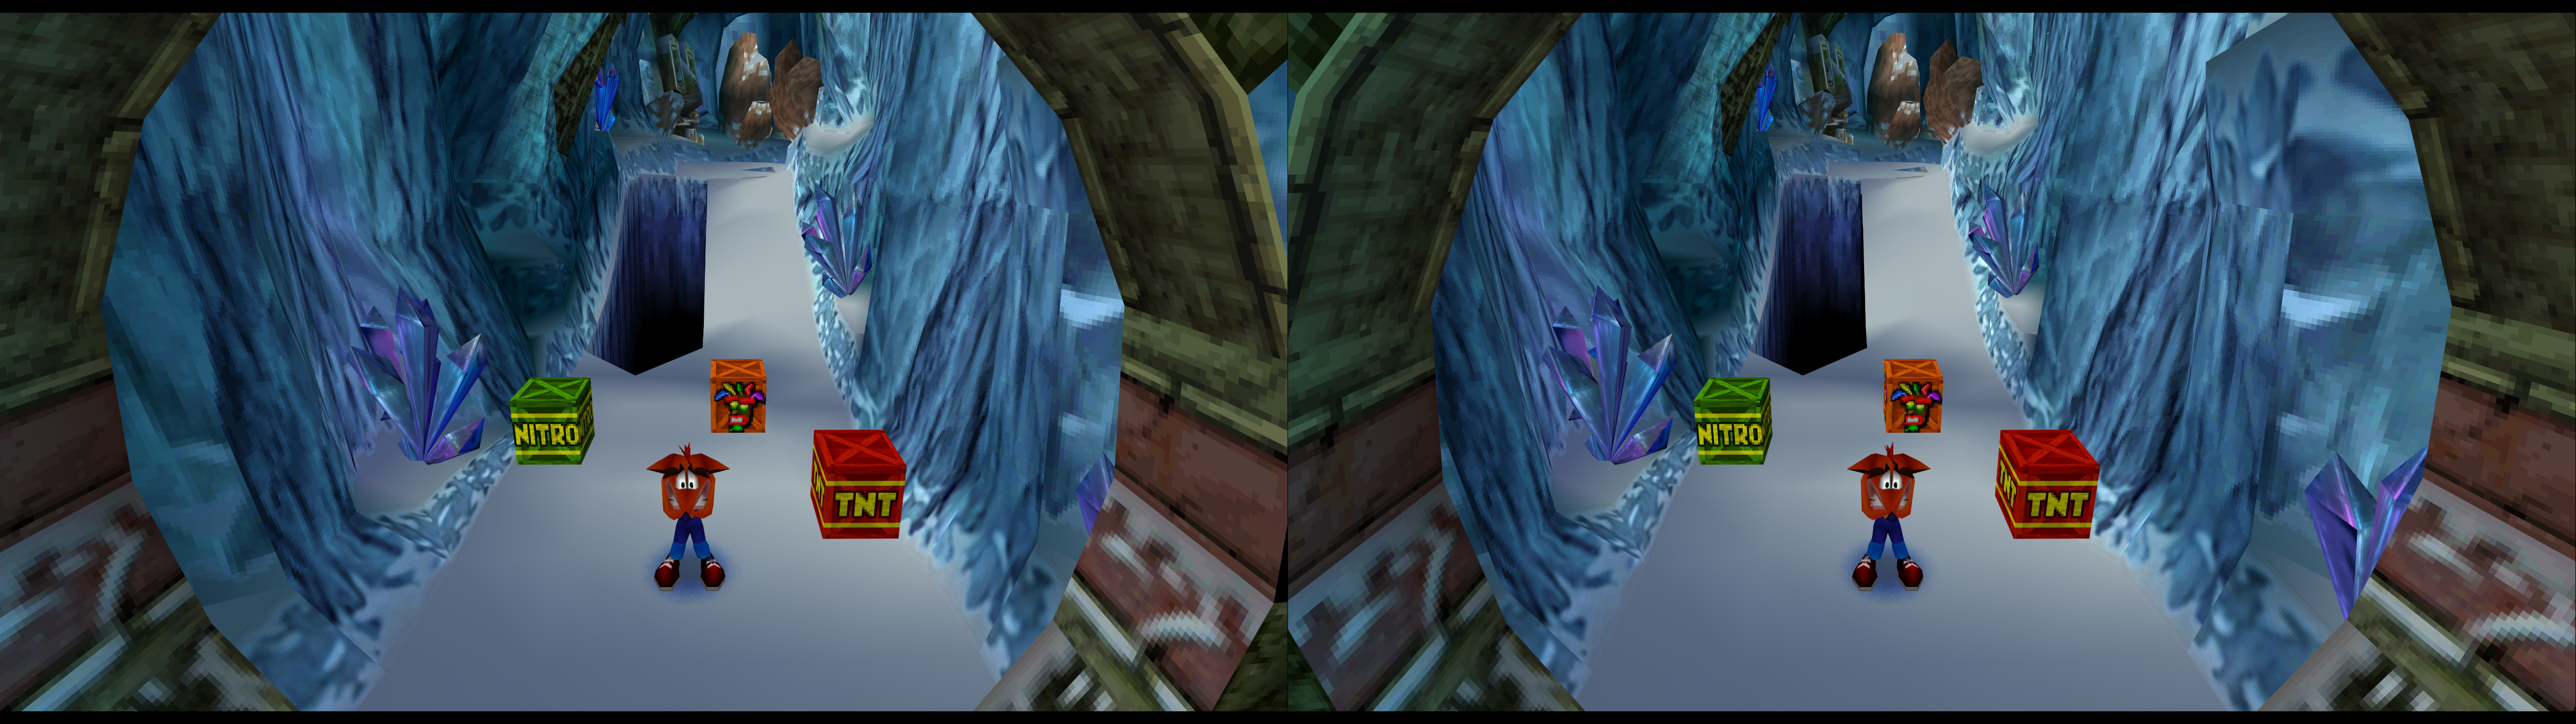
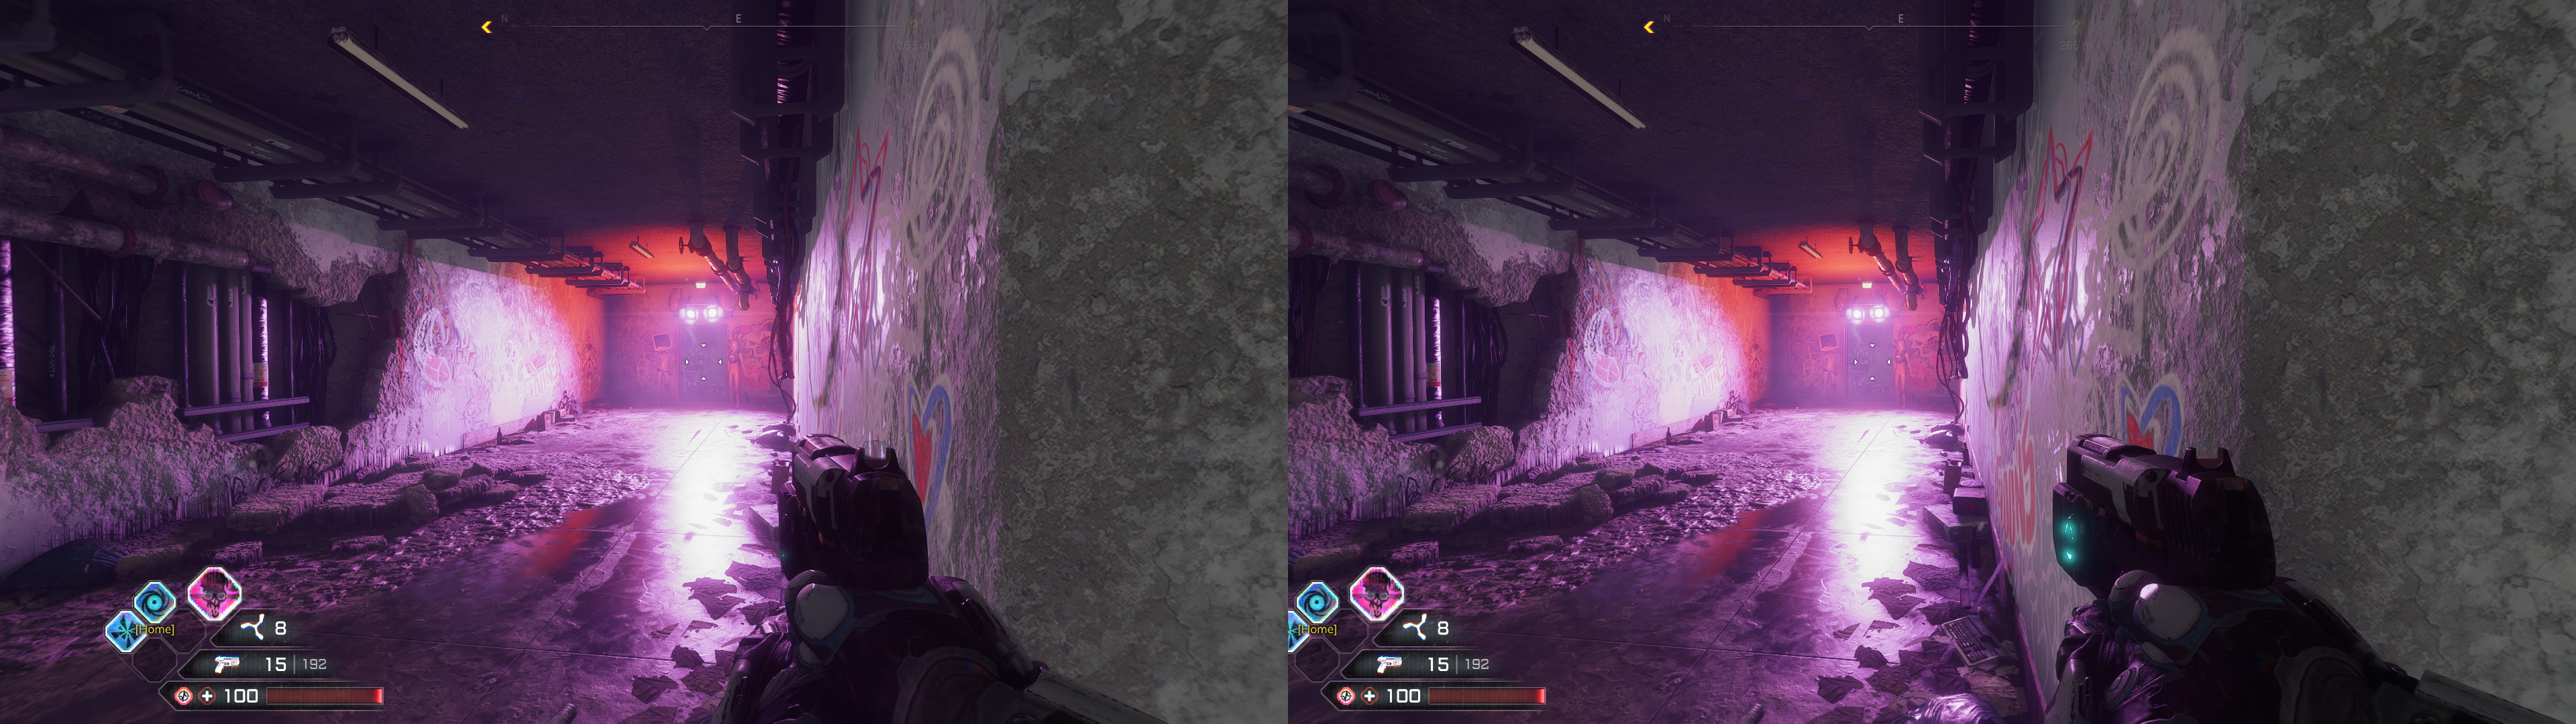
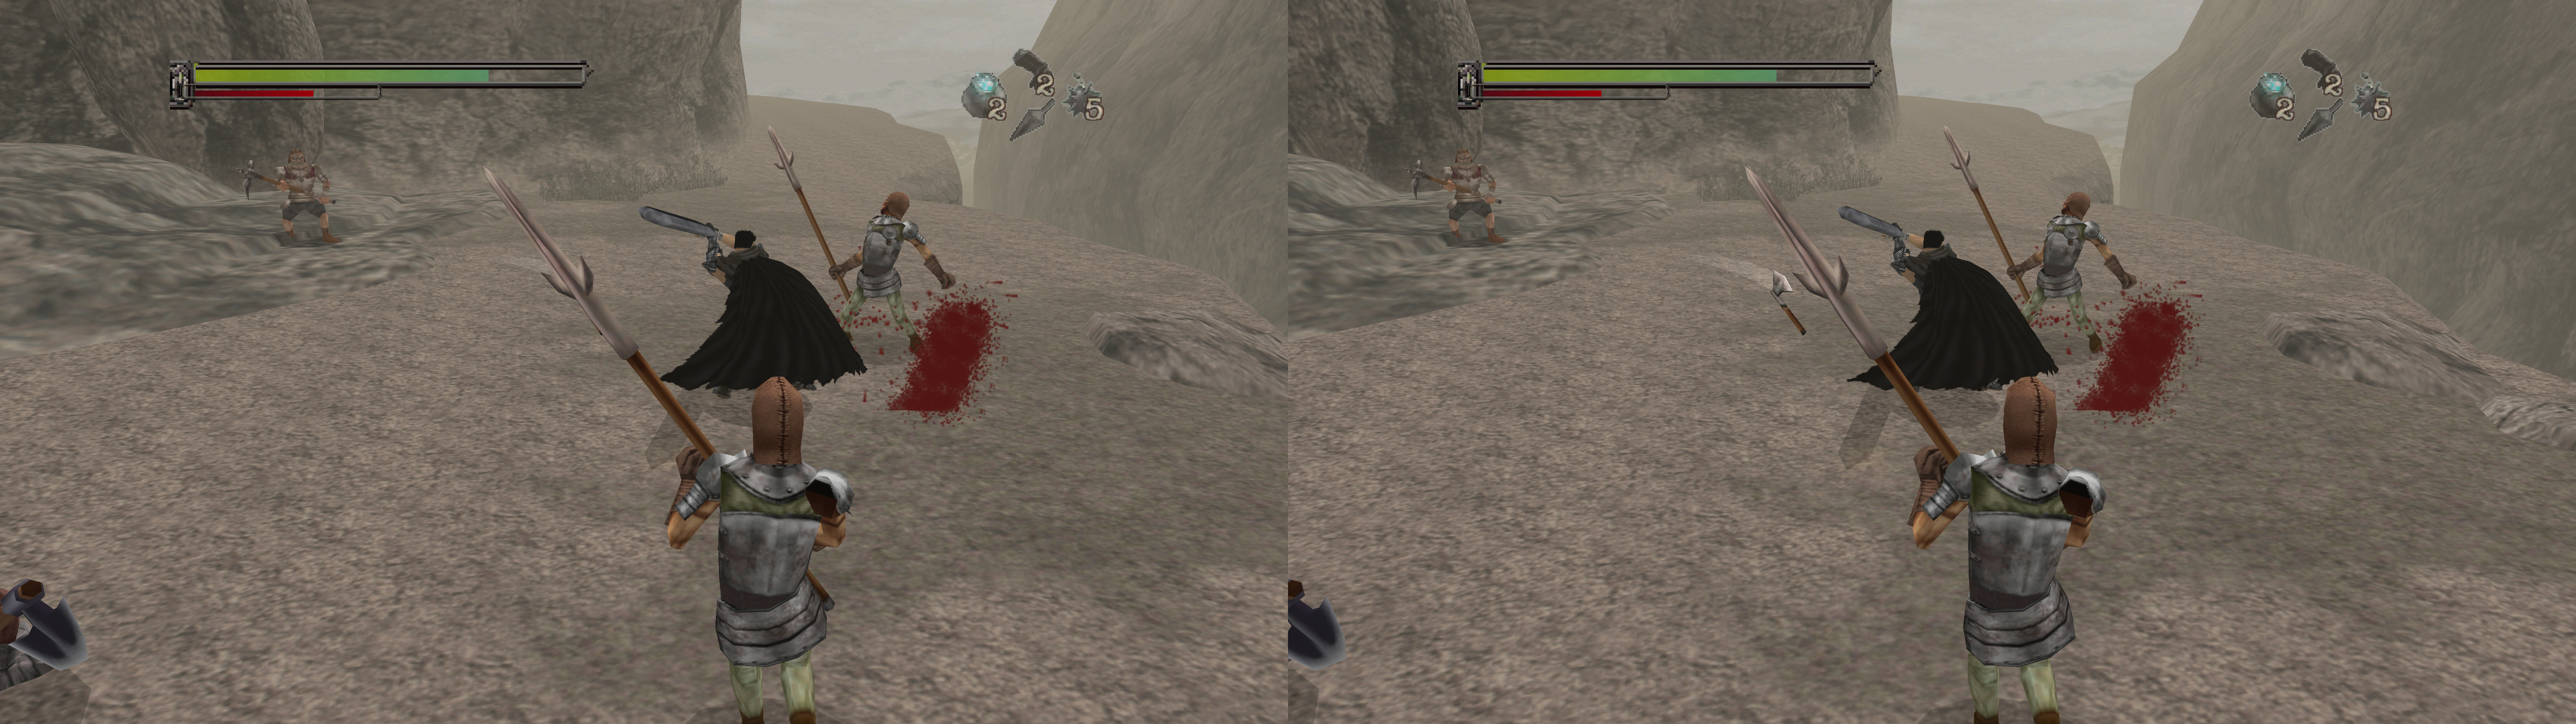
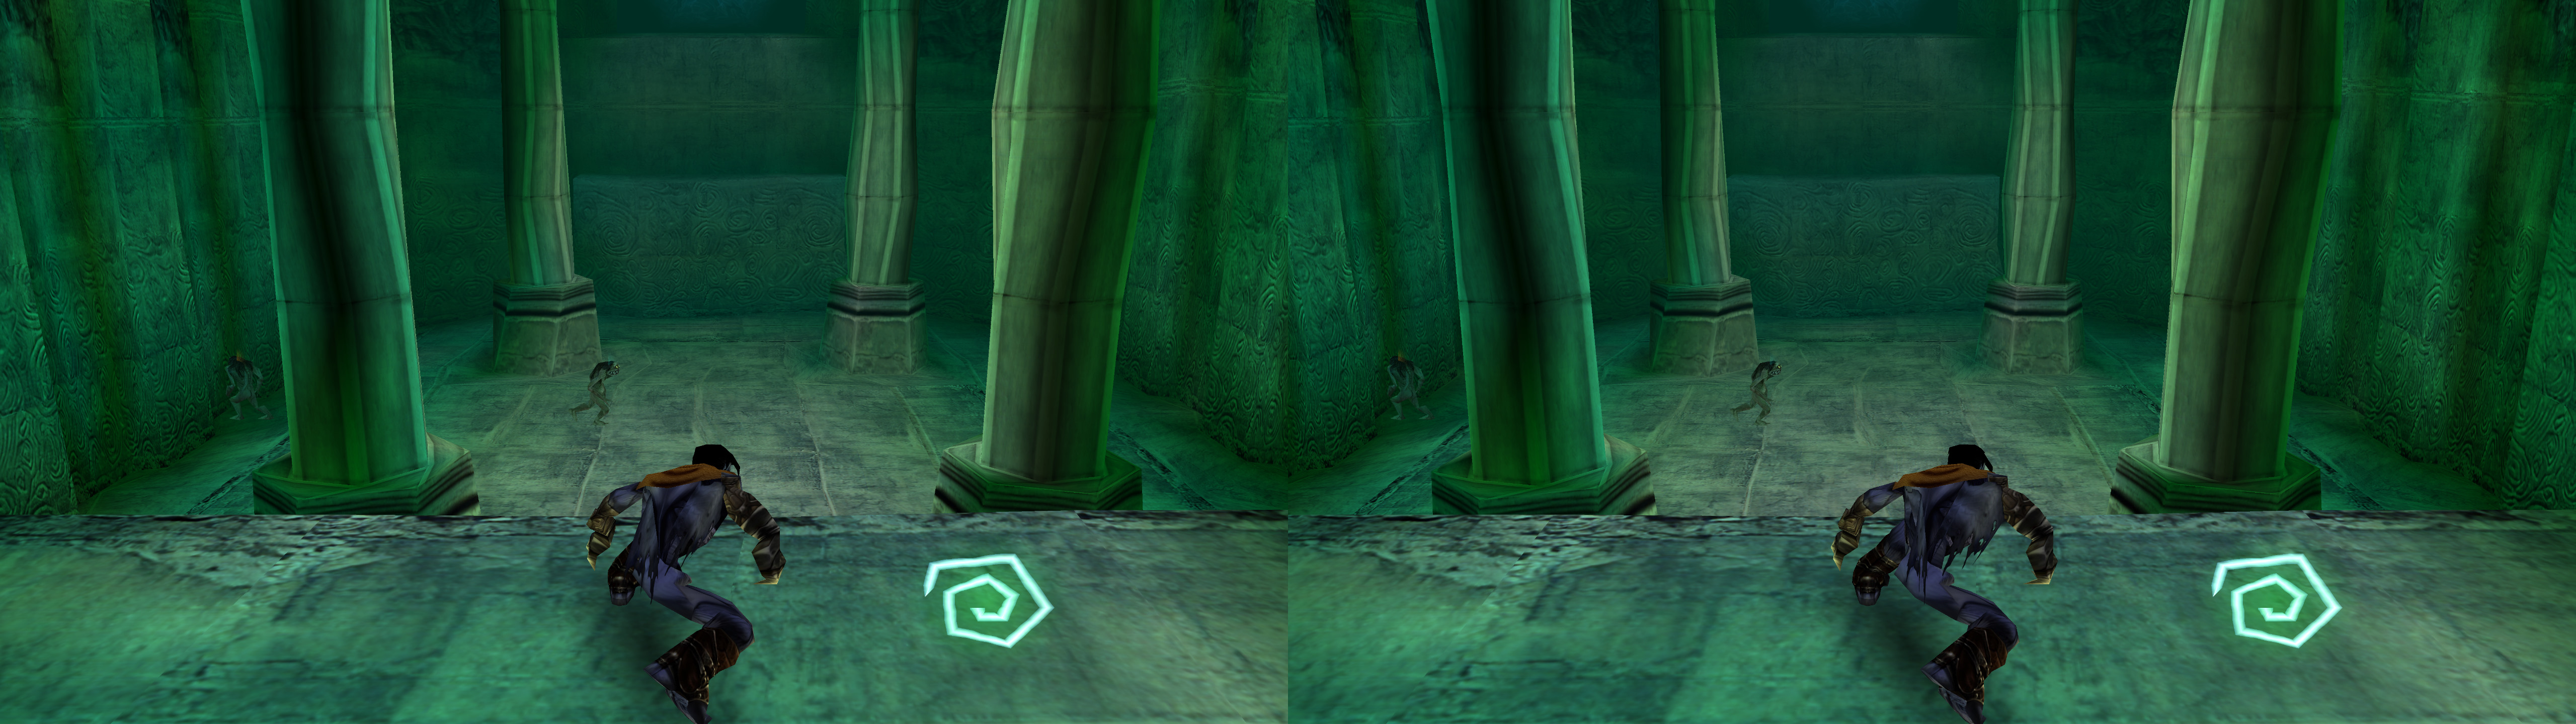
Vk3DVision fix for Spyro the Dragon, the OpenPete port specifically. I have tested up to the v0.1.3 version at the time of making this post.


This fix is done only in frame sequential mode and not in single frame stereo, meaning that you ideally need to select an fps limit ingame that is double your refresh rate, or just unlimited.


Fix in Vulkan done with Vk3DVision. You need to download Vk3DVision on its own, because the fix from this blog post is just the profile for the game.

For the different 3D outputs, check and configure the "Vk3DVision\Profiles\OpenPete\Vk3DVision.ini" file or read the Vk3DVision manual.


Fixed

  • Geometry is now stereo.
  • Disabled broken 2D geometry that was somehow an invisible layer behind the real 3D one. No drawbacks or missing things when doing this.

Known issues
  • World doorways from hubs (the skyboxes you see from them) are 2D because they don't have any real depth values. In a way, PGXP (or whatever this port uses) isn't affecting them. I decided to not disable them so you can at least know that you'll be transported to a world when entering them.
  • When Spyro or some other objects are very close to the camera (you can test this with free camera mode or some moments when Spyro enters a world by flying) they become 2D. It's a PGXP limitation, I suppose. They just lose their depth value.

Installation
  • Install the OpenPete port and make sure you know how to make it run in 2D and fullscreen.
  • Download Vk3DVision and unzip it anywhere, if you don't have it already. Version v.4.25.5 is the one I tested.
  • Download this file and extract its contents in your "Vk3DVision\Profiles" folder, which comes with Vk3DVision, so you have the OpenPete folder inside Profiles.
  • Open "Vk3DVision.exe" and then run the game exe, which should be called "openpete-spyro1.exe". By default the presentation is configured as SBS_LEFT. Open "Vk3DVision\Profiles\OpenPete\Vk3DVision.ini" and change the "Stereo3DViewMode = SBS_LEFT" line to what you need.
  • For the game to work in 3D, there is one required setting in the menu that you can open with the escape key. TEXTURES set to CORRECT. Apart from DISPLAY set to FULLSCREEN.

Recommendations
  • In the escape menu settings, use SSAA 1x. When at 2x and my desktop at 3840x2160, my RTX 4080 becomes the bottleneck for high fps.
  • Set FPS to UNLIMITED if you need or want more than 60fps per eye. Speaking of fps, I set FPSLimit = 480 in Vk3DVision.ini because FPSLimit = 0 sometimes was problematic for me. That means that Vk3DVision won't surpass 480fps per eye, but that's a very long term thing to worry about.
  • LOD set to EXTENDED improves distant graphics a lot, but it also makes the game considerably more CPU demanding. Depending on your CPU and your fps goal, you may need to set it to ORIGINAL. At that point you may like to set WOBBLE to 1x to play in very low resolution for a retro look that helps hide the low quality LOD.

Hotkeys
  • F1: 500 convergence.
  • F2: 1000 convergence.
  • F3: 1500 convergence. This is the default value.
  • F4: 2000 convergence.


If you liked the fix and want to contribute for more future fixes, you can donate to this PayPal account: masterotakusuko@gmail.com
Or you can join my Patreon: https://www.patreon.com/masterotaku

Tuesday, June 3, 2025

GZDoom


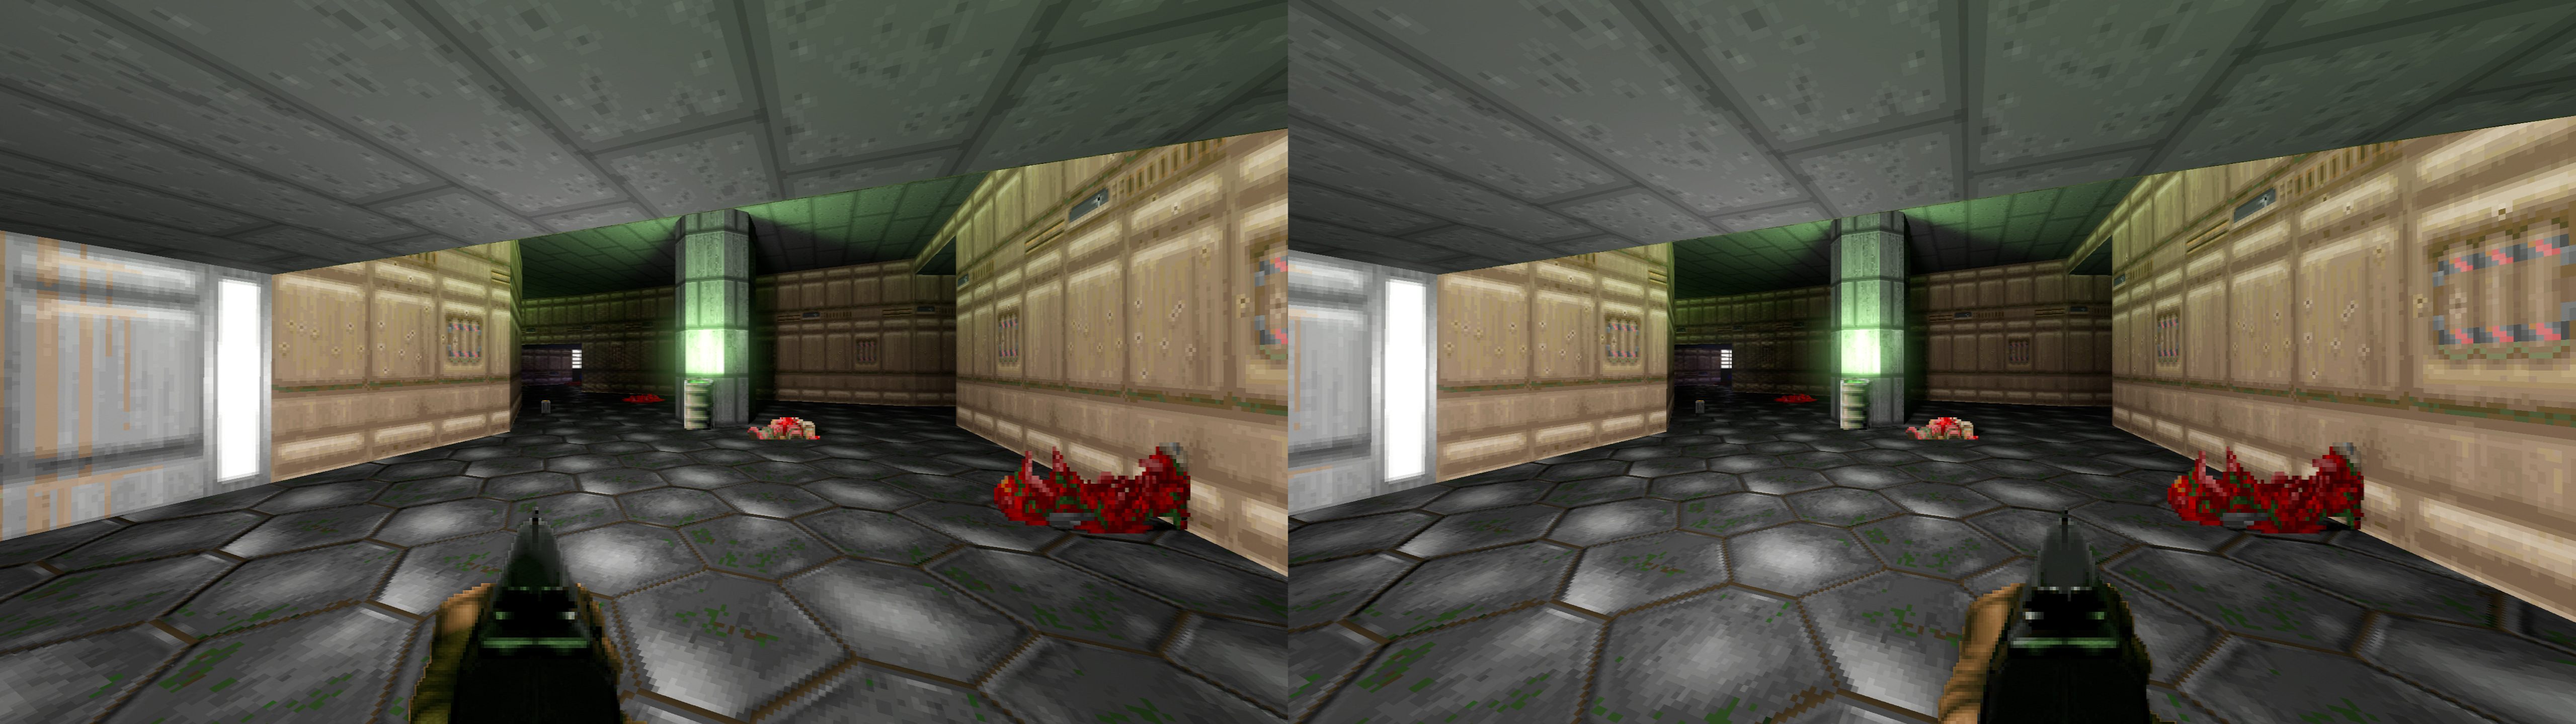
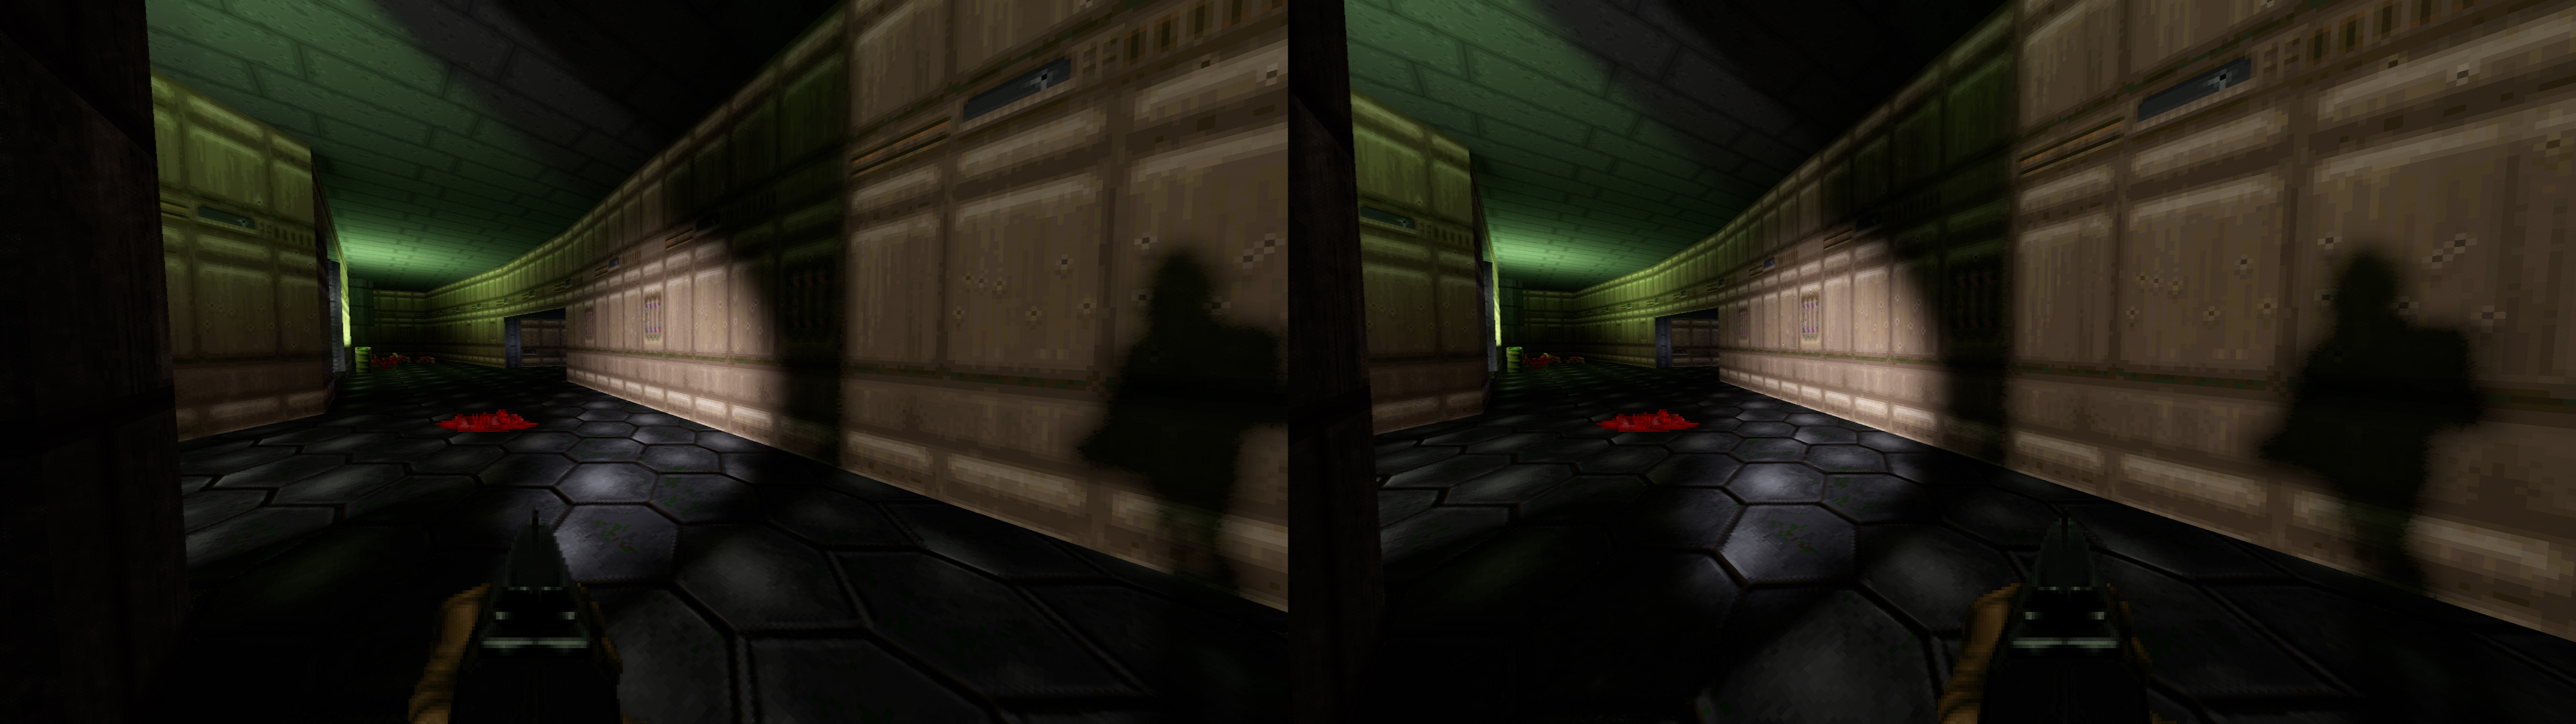
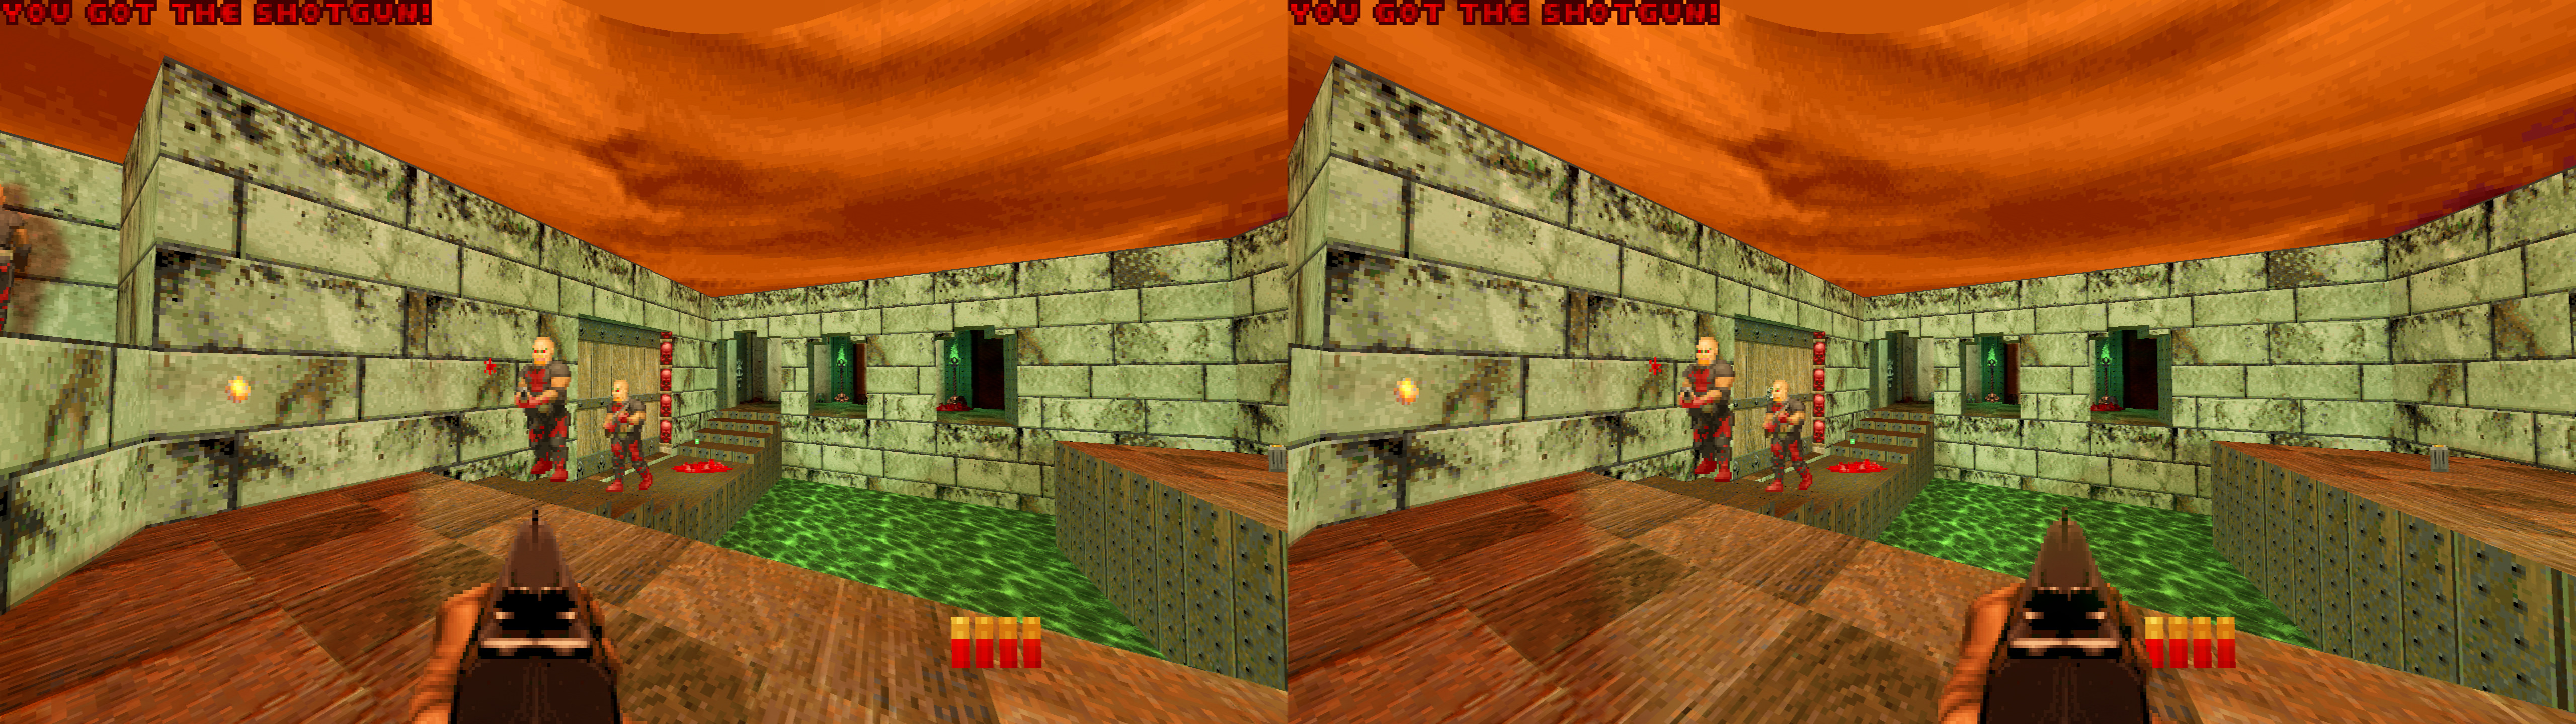
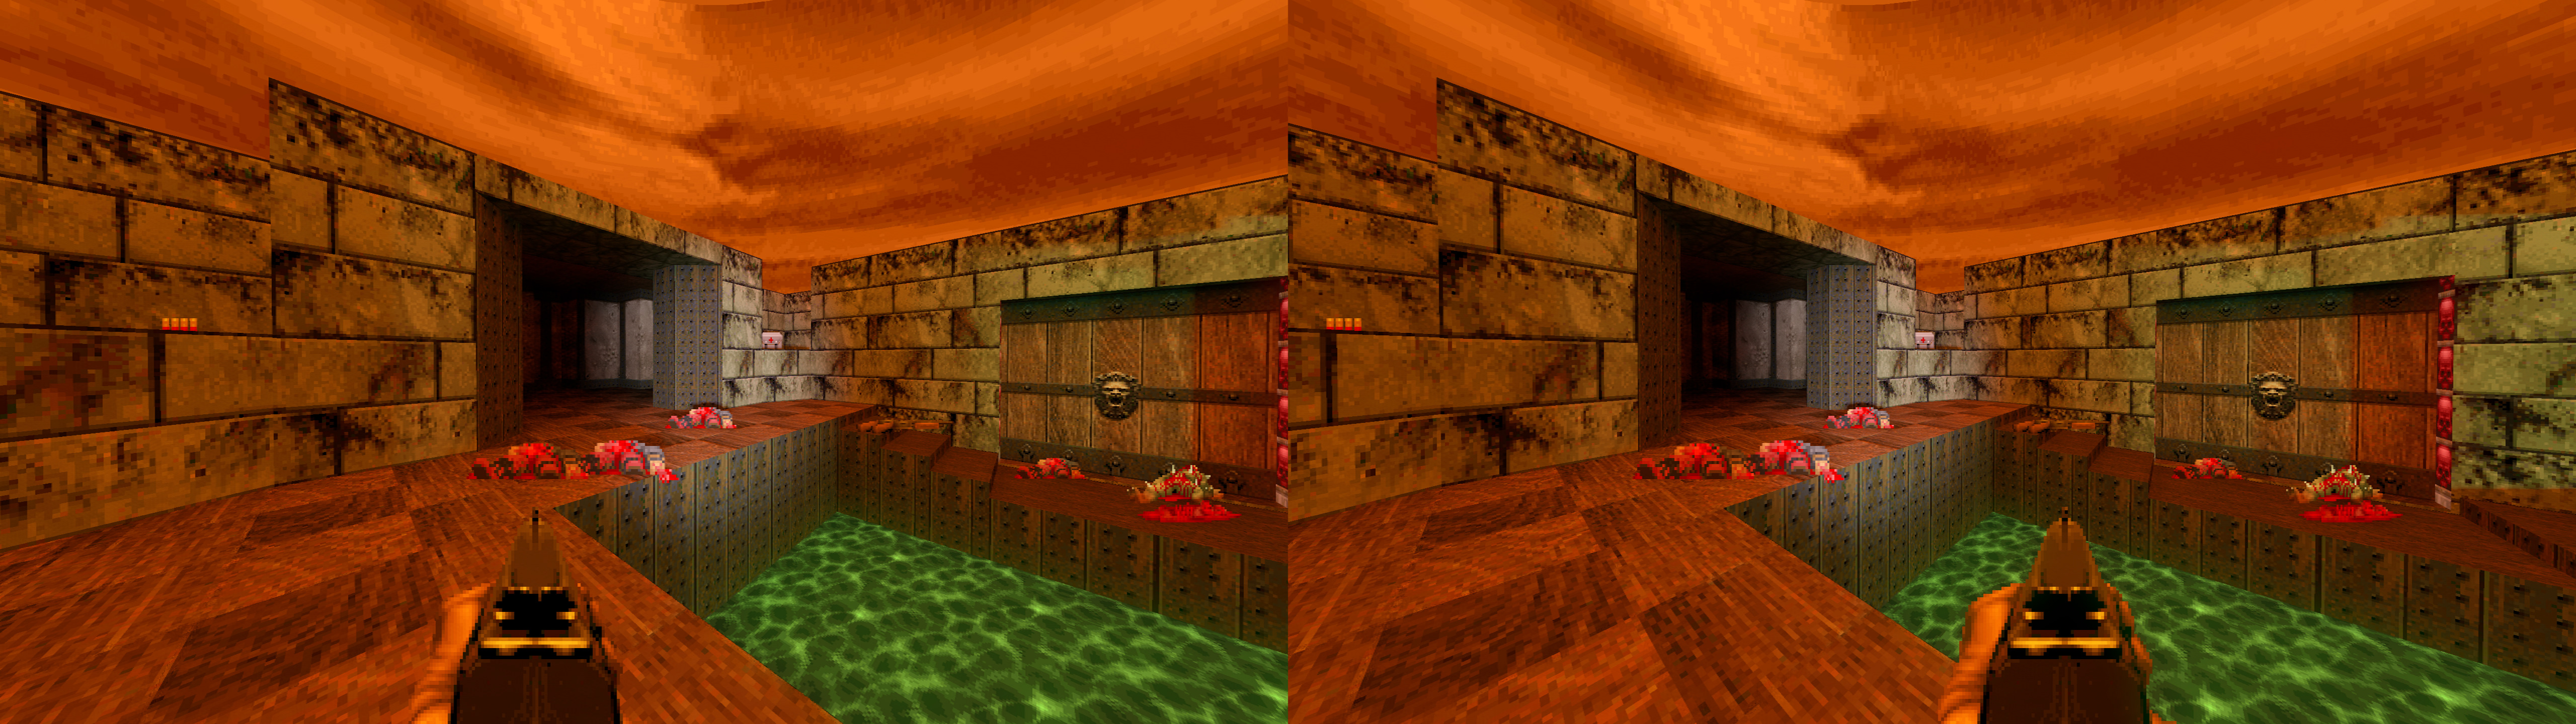
OpenGL and Vulkan fix for GZDoom, 64 bits version, the source port of the old Doom games (and all supported mods). The Vulkan fix also supports Selaco, a paid game that uses GZDoom. Thanks to Helifax for making OpenGL3DVision and Vk3DVision.

As of the latest update, I'm focusing on the Vulkan fix, because it has better performance. I don't think I'll update the OpenGL fix anymore.
Last GZDoom version tested: 4.14.2


Update (2025-06-03): added Vk3DVision fix, also supporting Selaco. I don't think the OpenGL version of GZDoom is worth updating anymore.

Update (2019-09-02)
: added the "libmmd.dll" file that some people needed to make the fix work. If for some reason you also need "ucrtbased.dll", you can unzip it from this file.

Update (2019-09-01): fix updated to the latest OpenGL wrapper, improved stereoization formula and tested with GZDoom 4.2.0. The old fix version here.


-------------------------------------------------------------
Vulkan section here. Recommended

The fix doesn't use single frame stereo, because at least for me, it wasn't possible to make it work correctly.

Fixed
- Stereoized geometry.
- Distant geometry that was too close to the camera is now pushed to depth.
- HUD + crosshair, and weapon convergence scaling hotkeys.


Installation
- Download and unzip the latest version of Vk3DVision somewhere in your PC.
- Download this file (it's a game profile) and unzip it inside the "Profiles" folder of your Vk3DVision installation. You should have a "gzdoom" folder inside "Profiles" as a result.
- Inside the "gzdoom" folder, open "Vk3DVision.ini" to set your preferred "Stereo3DViewMode". It's set to "SBS_LEFT" by default, and set to recognize the "gzdoom.exe" and "SELACO.exe" files.
- Run "Vk3DVision.exe".
- Run GZDoom in Vulkan mode. You can use any games or mods you want.


Hotkeys
- l: normal convergence.
- p: high convergence.
- o: crosshair and HUD depth toggle to 87.5% depth.
- j: weapon depth toggle, which is enabled by default. This makes it convergence dependant, to make sense with the world scale. At the default 16 convergence, it will be at screen depth. With higher convergence, it will pop out of the screen, and with lower convergence, it will be deeper inside the screen.


Special information about Selaco
- Disable the Steam overlay. It makes the game crash when Vk3DVision is running.
- Running the game through Steam will trigger "SELACO_Vulkan.bat", which launches a different exe than normal and somehow avoids the Vk3DVision injection. Make a copy of that file and replace "WorkshopDownloader.exe" with "SELACO.exe". Now you can launch it with Steam, but in my experience it disables Steam achievements.
- The game is DRM free so you can just launch "SELACO.exe" if you want.
- Instead of this Vulkan fix, you can also play it in OpenGL with native 3D by forcing the GZDoom options menu to open ("openmenu optionsmenu" in the console that you can open with the tilde key), but even if it's synchronized 3D, performance is worse than in Vulkan, you don't have HUD depth options, iron sights increase separation in an unwanted way, and opening the data pad crashes the game. Not worth it, in my opinion.


Notes
- Make sure you haven't enabled any native 3D mode in GZDoom. It will shift the image to a side and hurt performance.
- To help with CPU performance, don't enable ambient occlusion or bloom. Especially in Selaco, which can be a very CPU demanding game when lots of shooting and particles are happening.


-------------------------------------------------------------
Old OpenGL section here. Not recommended now.

Explanation
- In Windows 7, it can be played in 3D Vision natively using quad buffer stereoscopic 3D (in the OpenGL renderer options). However, at some point in Windows 10, it doesn't trigger the glasses nor produce a 3D image anymore. This fix is aimed at people that can't get that mode to work.
- This fix uses frame sequential 3D (just like all OpenGL fixes in this site), meaning that very fast horizontal camera movements can cause a bit of disorientation. However, it's very easy to get 60fps per eye, so it isn't that easy to notice.
- You can use your Nvidia convergence hotkeys, unlike in the native 3D mode of GZDoom. To customize depth, open "3DVisionWrapper.ini" and change the value of "DepthMultiplicationFactor".
- If you want to use the native 3D implementation of the game, you can use 3D SBS narrow mode in GZDoom and set "Enable3DPostEffect = true" in "3DVisionWrapper.ini". Keep in mind that ingame 3D modes are reset at every launch. With your Nvidia convergence hotkeys you can move the screen into depth or make it pop out.


Fixed
- Stereoized geometry, without breaking any HUD elements.
- HUD, crosshair, and weapon depth hotkeys made for GZDoom 4.2.0.


Installation
- Download this file and extract its contents in your gzdoom folder, like "gzdoom-bin-4-2-0-Windows-x64", where "gzdoom.exe" is.
- Set "gzdoom.exe" to run as administrator.
- Play the game in OpenGL mode, but don't use any 3D or VR mode in the ingame options.
- Enable the full options menu, go to Display Options -> Dynamic Light Options -> Light shadowmaps. Set it to "Yes".

Hotkeys
- l: normal convergence.
- p: high convergence.
- o: crosshair depth toggle (if you use a crosshair in the HUD options).
- i: HUD depth toggle.
- j: weapon depth toggle.


Notes
- The extra hotkeys (aside from convergence) may not work in different versions than the ones I tested. I will update this fix for future versions every once in a while..
- Stereoization will work in all future versions, I assume.
- If you use a newer GZDoom version and HUD hotkeys don't work, I recommend deleting the contents of the "Shaders" folder.


If you liked the fix and want to contribute for more future fixes, you can donate to this PayPal account: masterotakusuko@gmail.com

Sunday, October 29, 2023

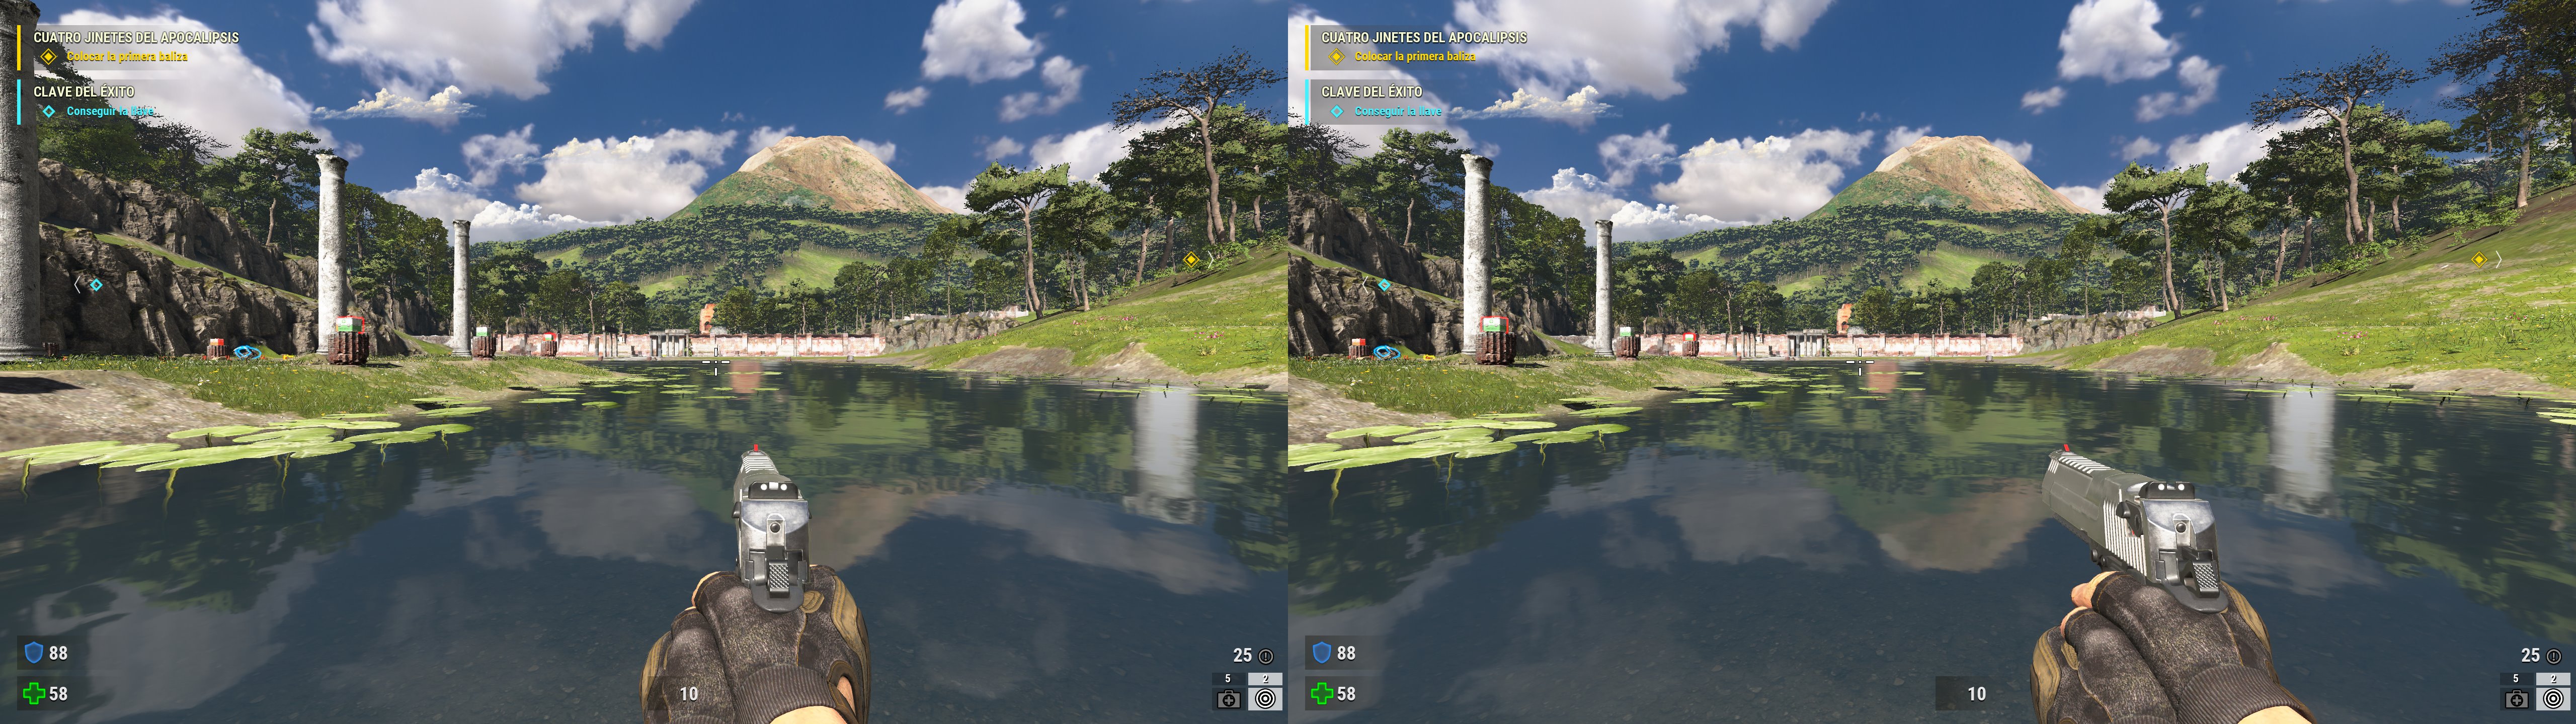
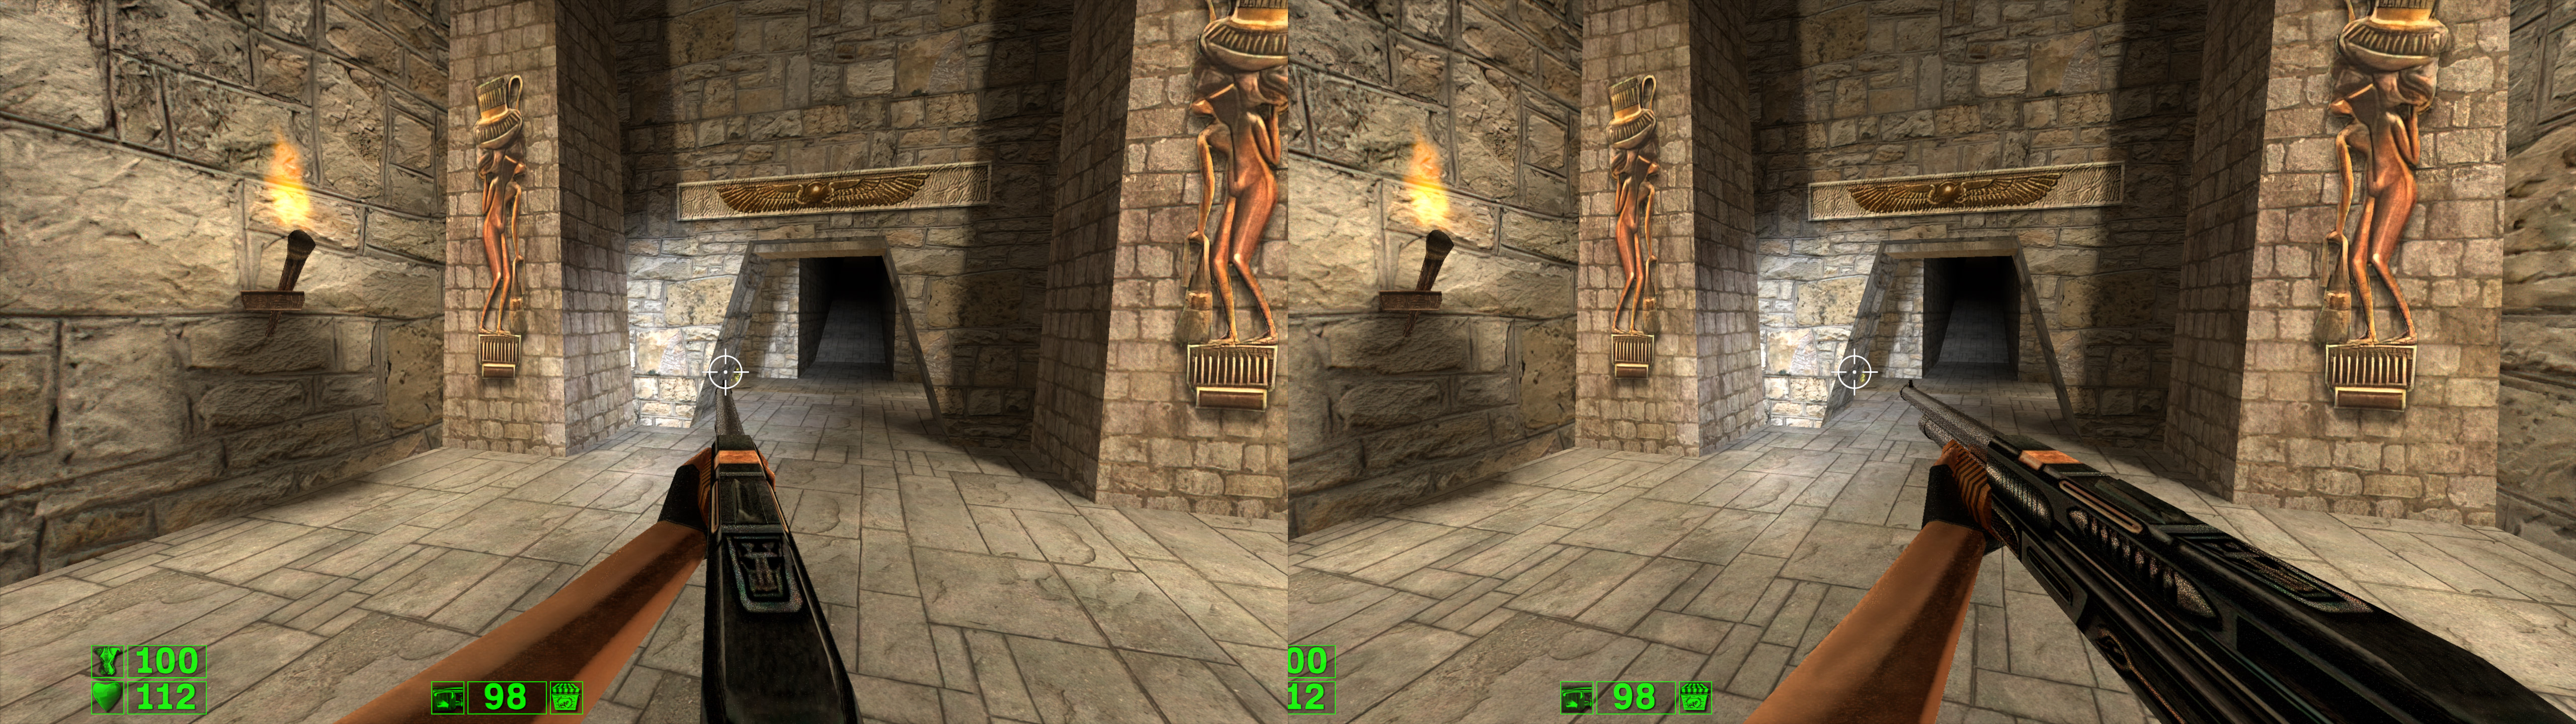
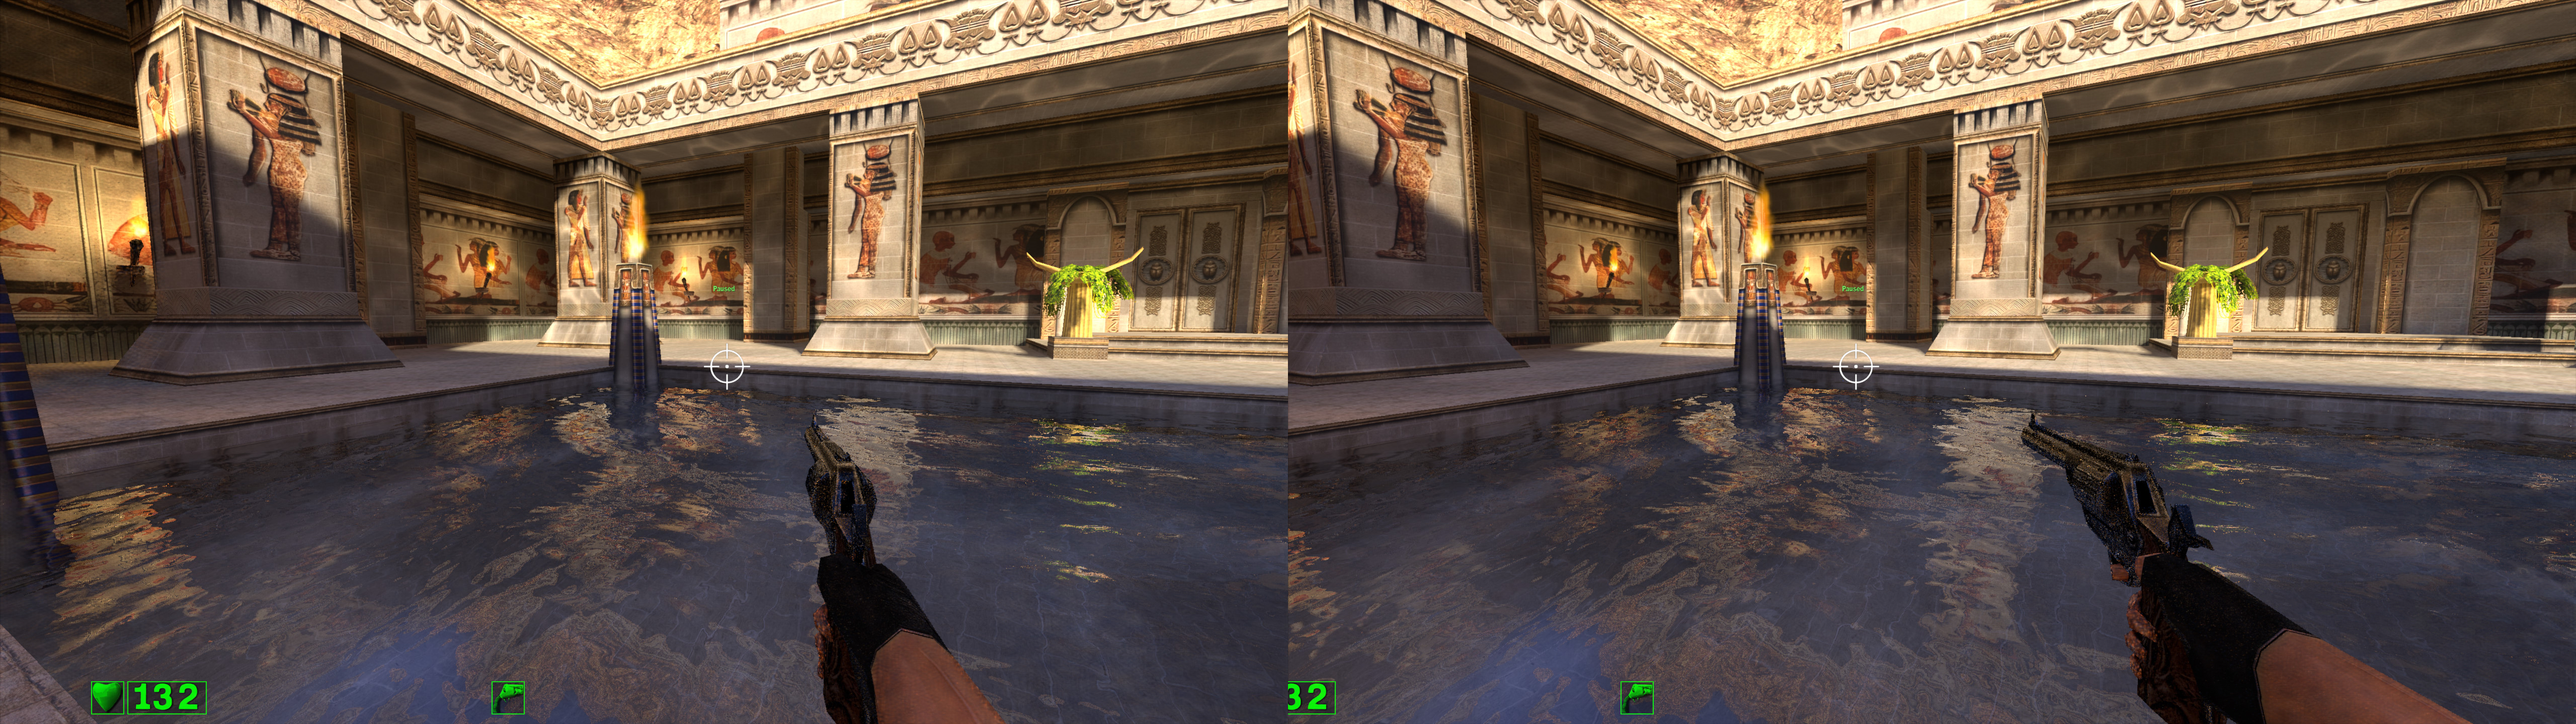
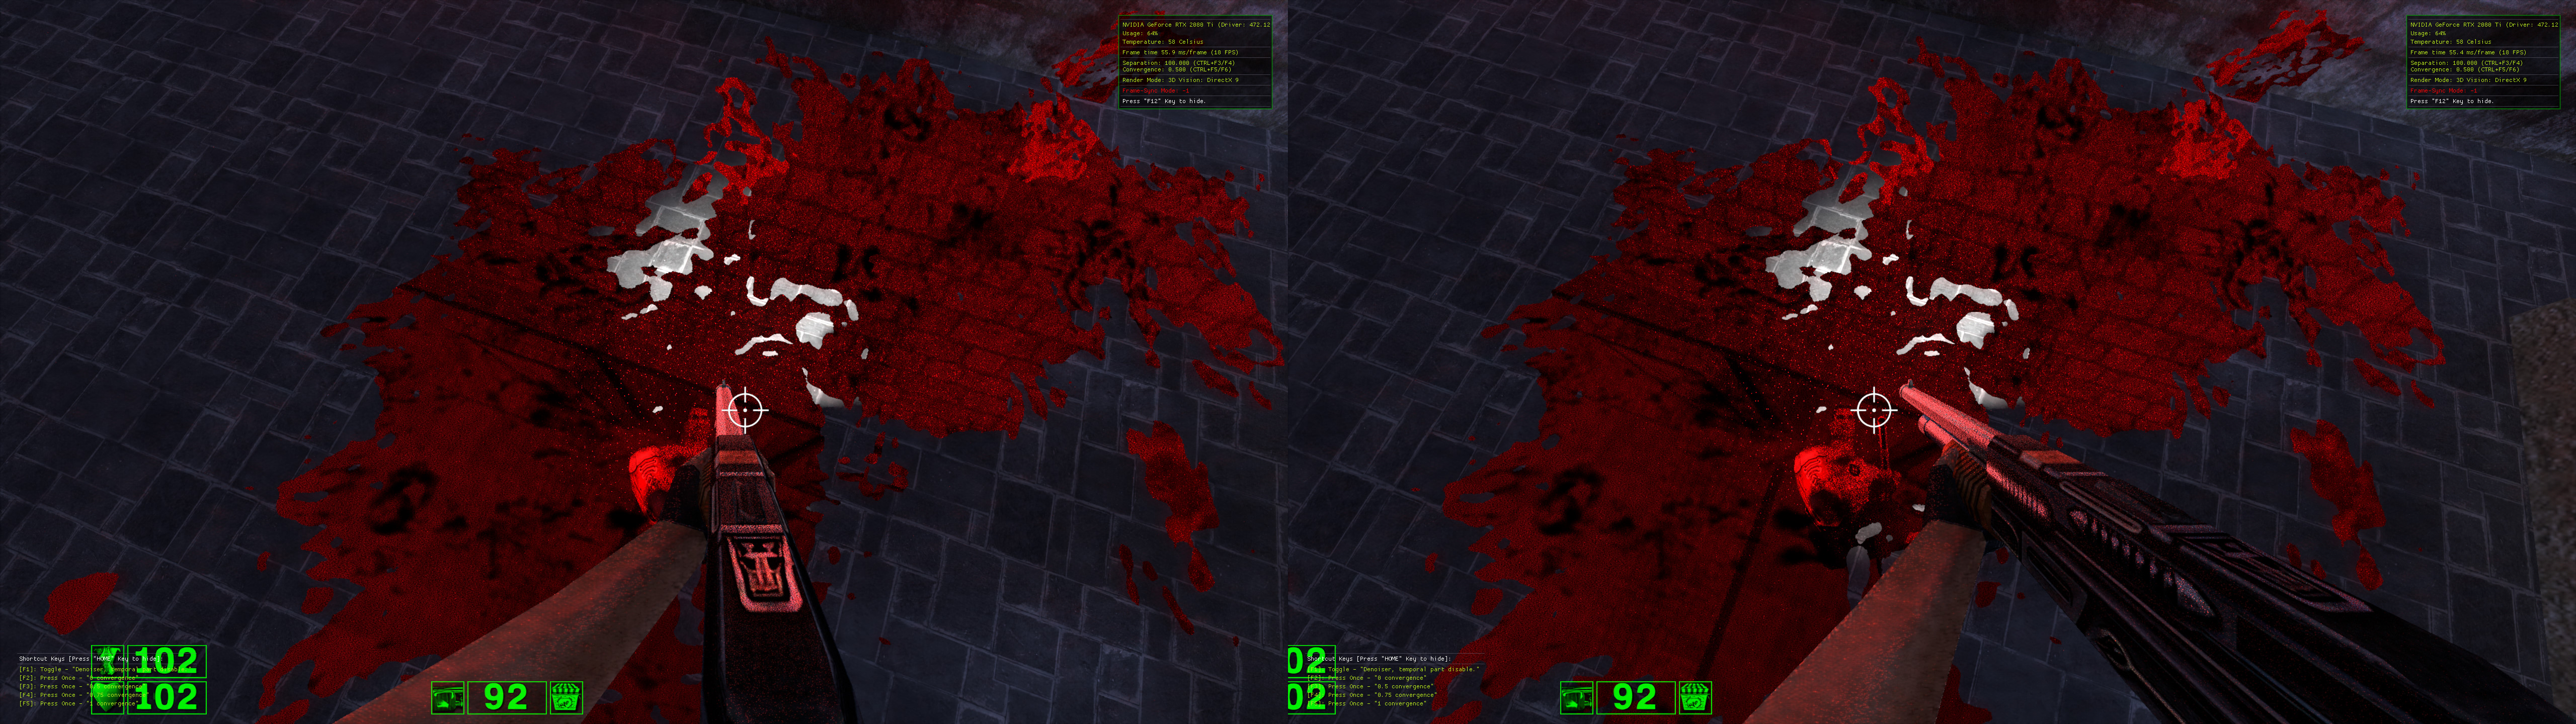
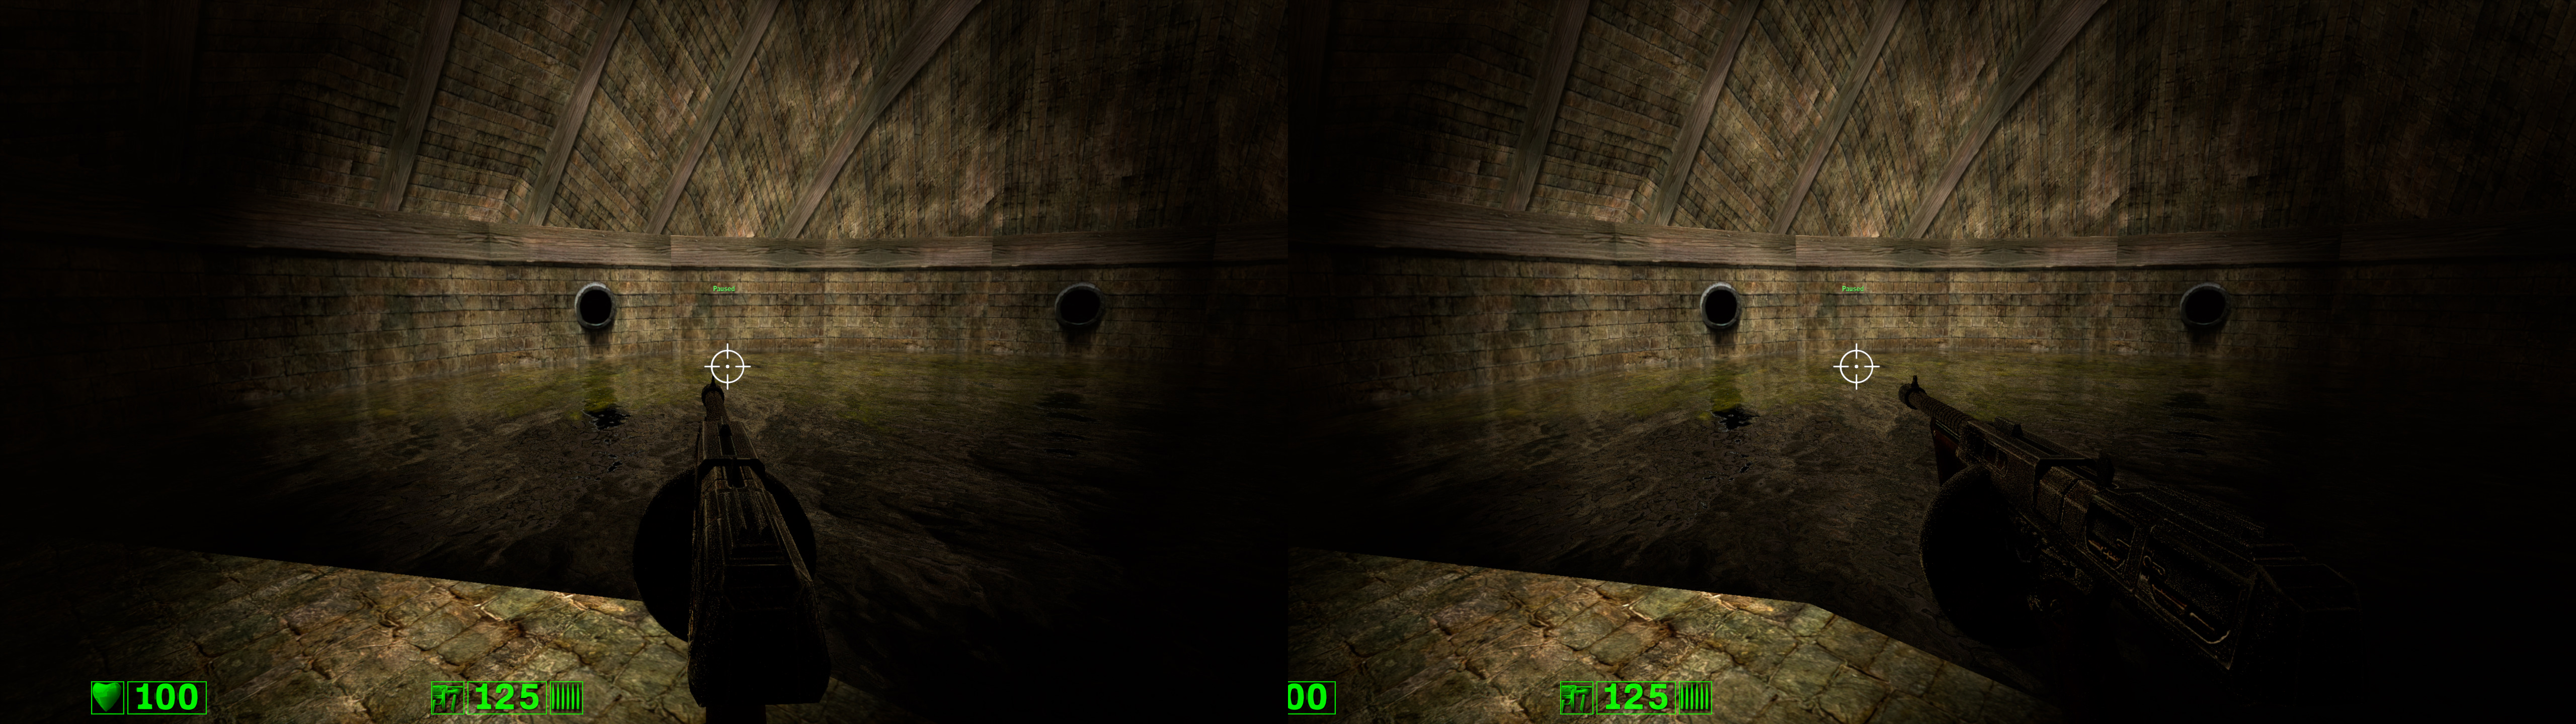
Serious Sam 4 and Serious Sam: Siberian Mayhem [DX11] [Vulkan]


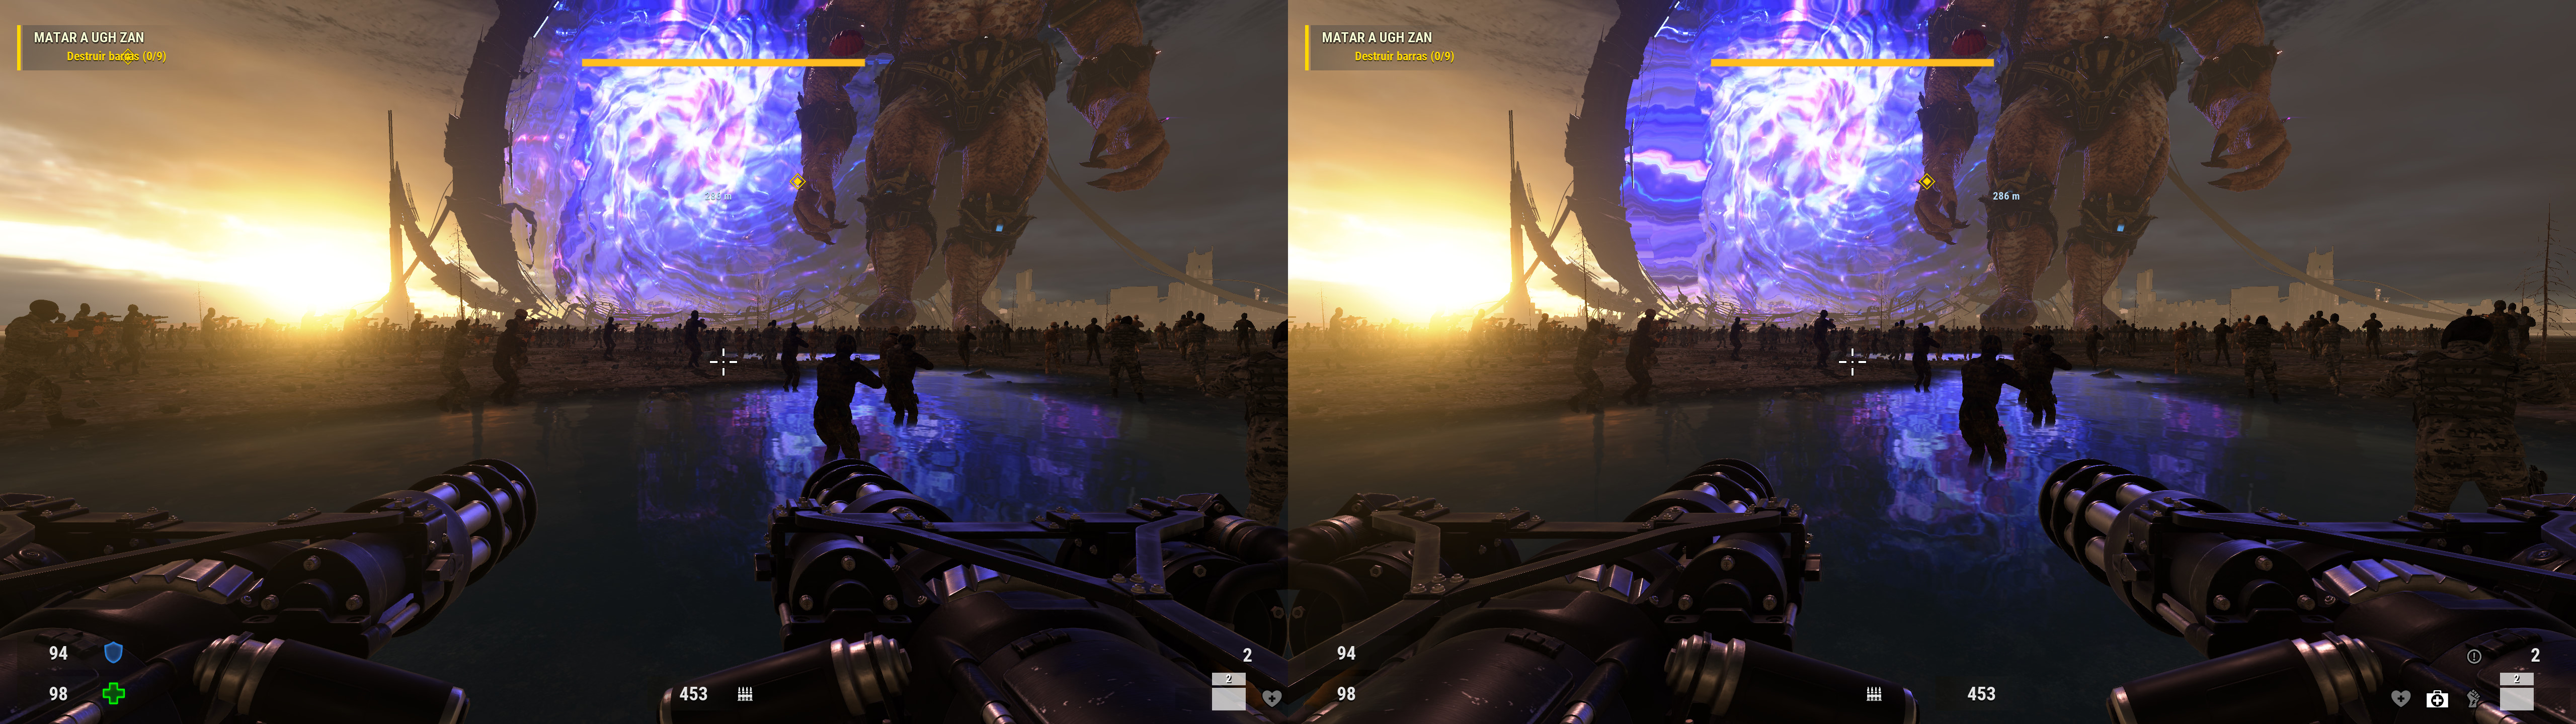
3D Vision and geo-11 fix for Serious Sam 4 (DirectX 11 and Vulkan (outdated)) and Serious Sam: Siberian Mayhem (DirectX 11). For performance I recommend the geo-11 fix, and at this point not using Vulkan.


Update (2023-10-29): geo-11 fix updated with build v0.6.182. Autoconvergence changed. HUD adjustments.

Update (2022-11-13): geo-11 fix updated with build v0.6.78. Autoconvergence configured. HUD fixes and improvements.

Update (2022-06-21): geo-11 fix uploaded. Separated in the installation instructions.

Update (2022-06-06): fixed the standalone expansion, Siberian Mayhem. But only in DirectX 11 for the moment, so it's what I recommend for the expansion. I have improved HUD stuff and separated the DX11 and Vulkan fix files.


This time I didn't stereoize parallax occlusion mapping and specular reflections (real depth instead of surface depth). The reason is that camera rotation coordinates switch around depending on your location, making the effects worse more than half of the time if I try to stereoize them.

I also didn't make automatic low convergence presets for some iron sights while holding a button, because the game has a new awesome feature: dual wielding. And you'll need it.

Fixed in DirectX 11 with 3Dmigoto.

Fixed in Vulkan with Vk3DVision.


Fixed

  • Dynamic lighting and shadows.
  • Reflections and other haloing problems.
  • Fog.
  • Light shafts.
  • Distortion effects.
  • Radial blur.
  • Some shadows problems in Vulkan.
  • Stereoized crosshair and other HUD elements at static 95% depth, most of the time. Also stereoized sniper crosshair.
  • Stereoized damage numbers at real depth, if you enable that option in the game.

Known issues
  • The game doesn't want to show refractions/reflections at the sides of some effects when the separation of the effect is too high. This shows as "stretching". But after the latest update, I clipped the sides to not show garbage graphics.
  • A curiosity more than an issue: when you have very low health left, every second or so the crosshair shader briefly changes to another one that has real dynamic depth. That's the kind of shader that Serious Sam Fusion had, but sadly in SS4 the crosshair that appears most of the time can't be dynamic.

Installation
  • I recommend running the game at least once first and configuring all the settings and resolution, including putting it in borderless fullscreen windowed or fullscreen. Maybe check your performance too.
  • Don't enable motion blur. It makes the image 2D when using a specific gadget.
  • I recommend you to use the enhanced light shafts option, in case a lower setting doesn't work well with the fixing formula.
  • The first time you run it in a Windows session, if you're using old drivers the game will show a window complaining about it. Just cancel it (don't accept), and the game will run normally.
  • DirectX11 (geo-11, recommended, using build v0.6.182): download this file (geo-11 fix) and for the base game, extract its contents in the "Serious Sam 4\Bin\x64" folder, where "Sam4.exe" is. For the expansion, extract it in the "Serious Sam Siberian Mayhem\Bin\x64" folder, where "SamSM.exe" is. Remember to edit "d3dxdm.ini" to change your "direct_mode" to the output you need.
  • DirectX11 (3D Vision, outdated): download this file (DX11 fix) and for the base game, extract its contents in the "Serious Sam 4\Bin\x64" folder, where "Sam4.exe" is. For the expansion, extract it in the "Serious Sam Siberian Mayhem\Bin\x64" folder, where "SamSM.exe" is.
  • Vulkan (outdated): download this file (Vulkan fix) and for the base game, extract its contents in the "Serious Sam 4\Bin\x64" folder, where "Sam4.exe" is. For the expansion, extract it in the "Serious Sam Siberian Mayhem\Bin\x64" folder, where "SamSM.exe" is.
  • If you chose DirectX11, just run the game and let it overwrite the Nvidia profile.
  • If you chose Vulkan, first open "Vk3DVision.exe" and then run the game. By default the presentation is configured for 3D Vision monitors in DX9. Open "Serious Sam 4\Bin\x64\Vk3DVision\Vk3DVision.ini" and change the "Stereo3DViewMode = 3DVision" line to what you need.
  • For a quick API change outside of the game, if you want it, open "Serious Sam 4\UserData\SeriousSam4.ini" (this is the location for the GOG version. For the Steam one it's different) and search the line that contains "gfx_strAPI". Possible values for 3D:
    gfx_strAPI = "Direct3D11";
    gfx_strAPI = "Vulkan";

Recommendations
  • For better CPU performance, use Vulkan. You will get around 50% better fps in CPU limited situations compared to DX11. However, you can't alt+tab and come back to the game. At least in my case. A change in video mode, antialiasing and maybe some other settings will be problematic, so I recommend you to reboot the game if you do that.
  • DX11 advantages are alt+tab compatibility, synchronized frames between eyes, and not being unstable when you change video settings while playing. Borderless fullscreen windowed mode should trigger 3D Vision too in DX11, so that means instant alt+tab without risks.
  • If you use Vulkan, since frames aren't synchronized between the eyes, I recommend disabling head bobbing in the game options.
  • The ingame fps limit you should use is the same number as your refresh rate for Vulkan and refresh rate / 2 for DX11 (unless you don't use a 3D Vision monitor). For example, 120fps for Vulkan and 60fps for DX11 if you use a 120Hz monitor. Or you could just use unlimited fps and vsync, but your frame times may be worse than capped.
  • PCGamingWiki mentions the "thr_iMaxWorkerThreads = X" console command (X is number of threads) that may increase performance. I tested it in a very demanding CPU situation, using 7 while having a 4c/8t CPU, and I got 10% better performance in Vulkan. In DX11, it was useless.

Hotkeys (DX11)
  • F4 (not in geo-11): convergence presets (0, 0.5, 0.75, 1). 0.75 by default. You will most likely not even need to change it for cutscenes from your preferred setting.

Hotkeys (Vulkan)
  • F2: 0 convergence.
  • F3: 0.5 convergence.
  • F4: 0.75 convergence. Default value.
  • F5: 1 convergence.

Autoconvergence (DX11 with geo-11)
  • Enabled by default. If you go to "d3dxdm.ini" and set "dm_auto_convergence = 0", it will be disabled.

If you liked the fix and want to contribute for more future fixes, you can donate to this PayPal account: masterotakusuko@gmail.com
Or you can join my Patreon: https://www.patreon.com/masterotaku

Wednesday, October 25, 2023

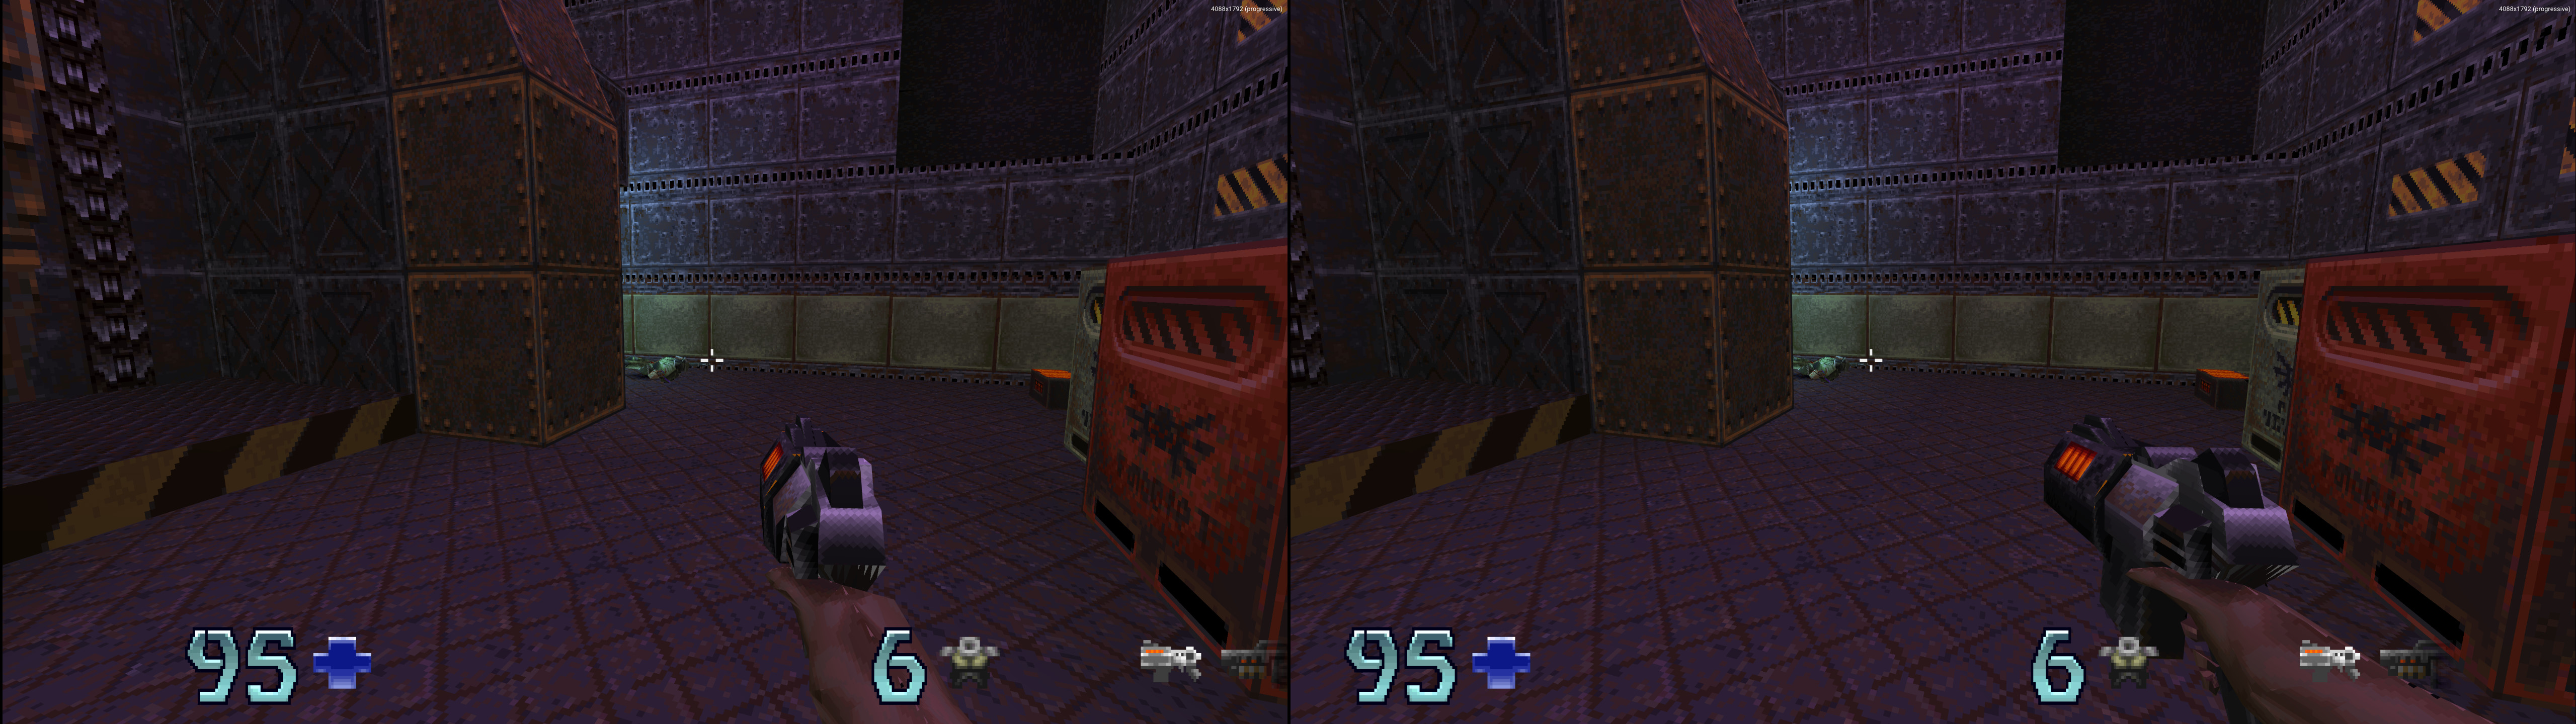
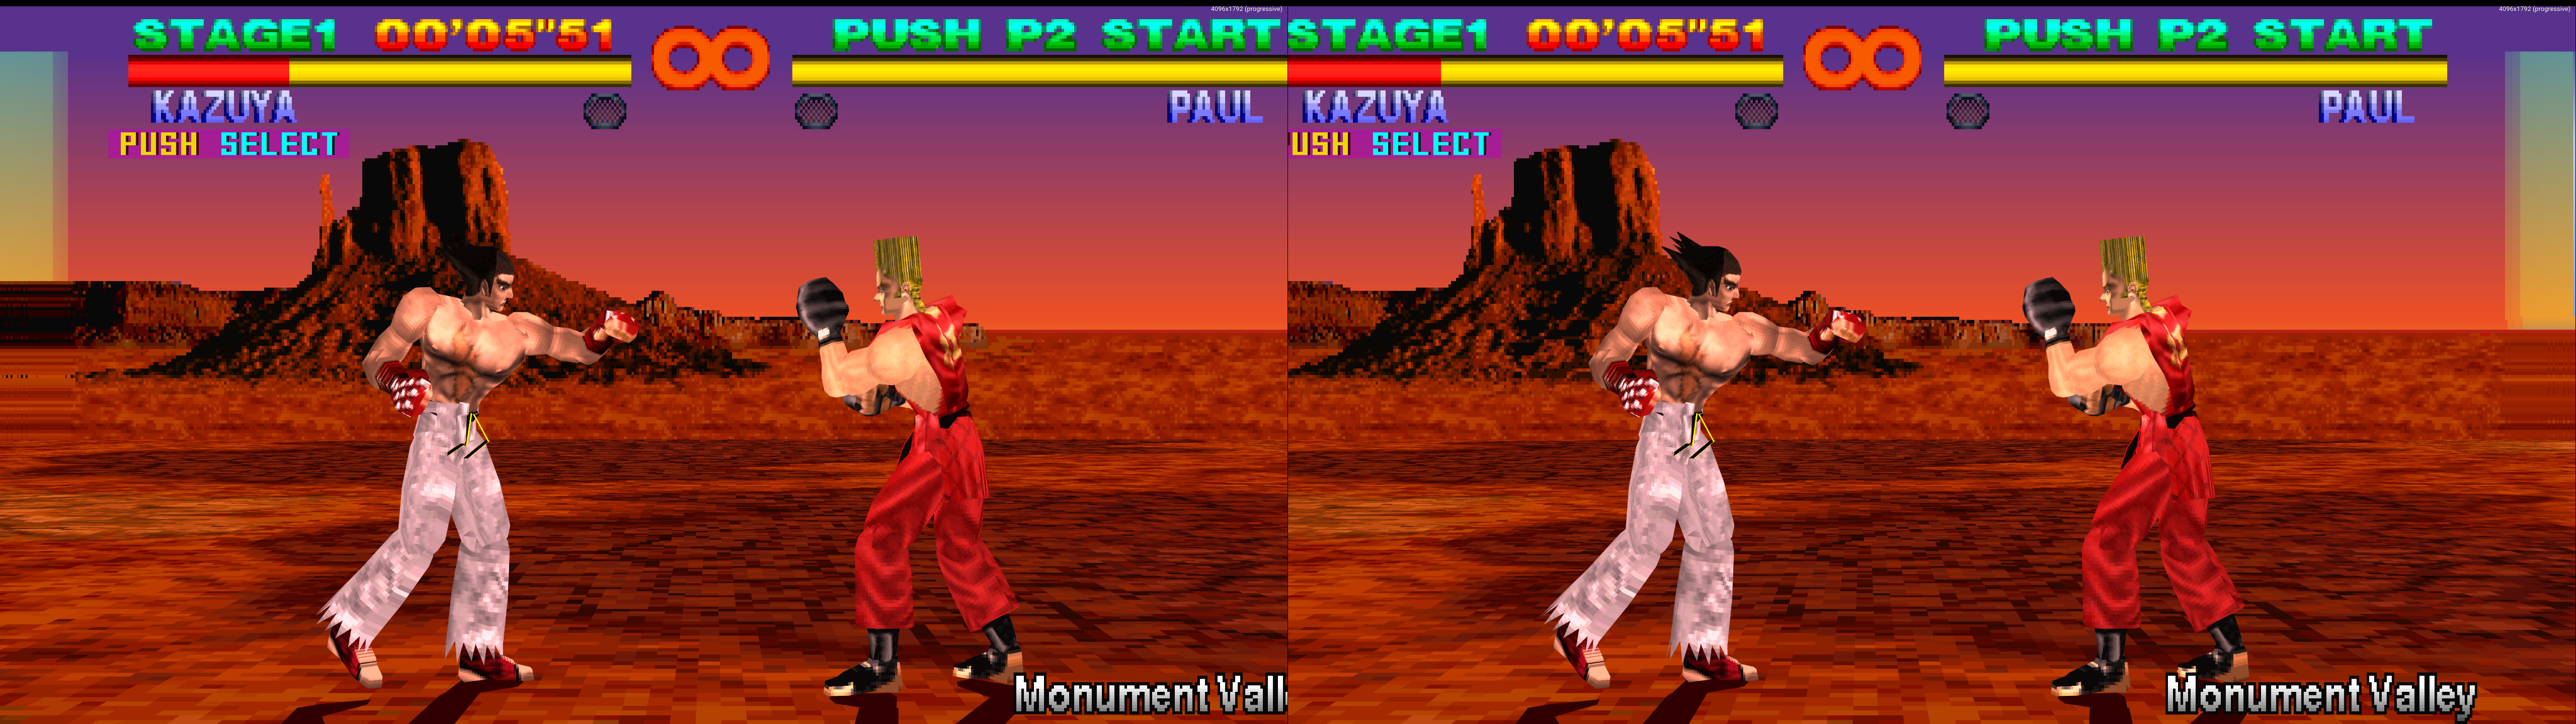
DuckStation (PlayStation emulator) [DX11] [Vulkan]


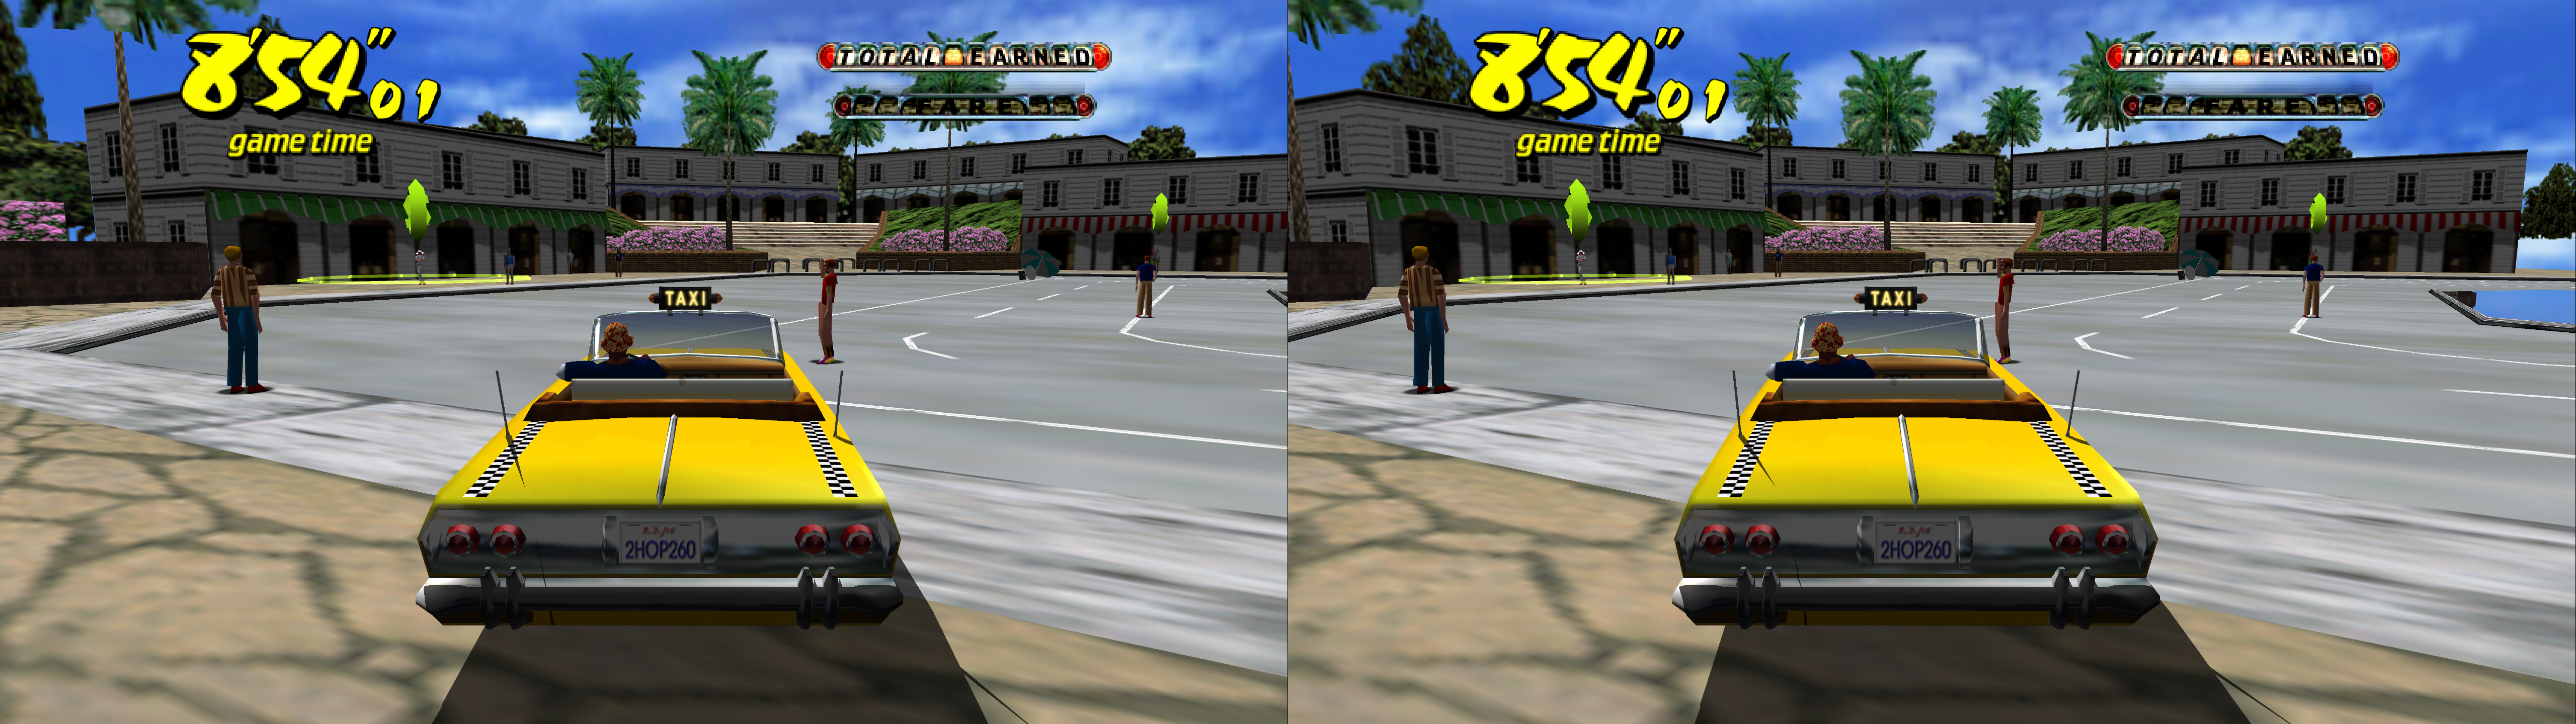
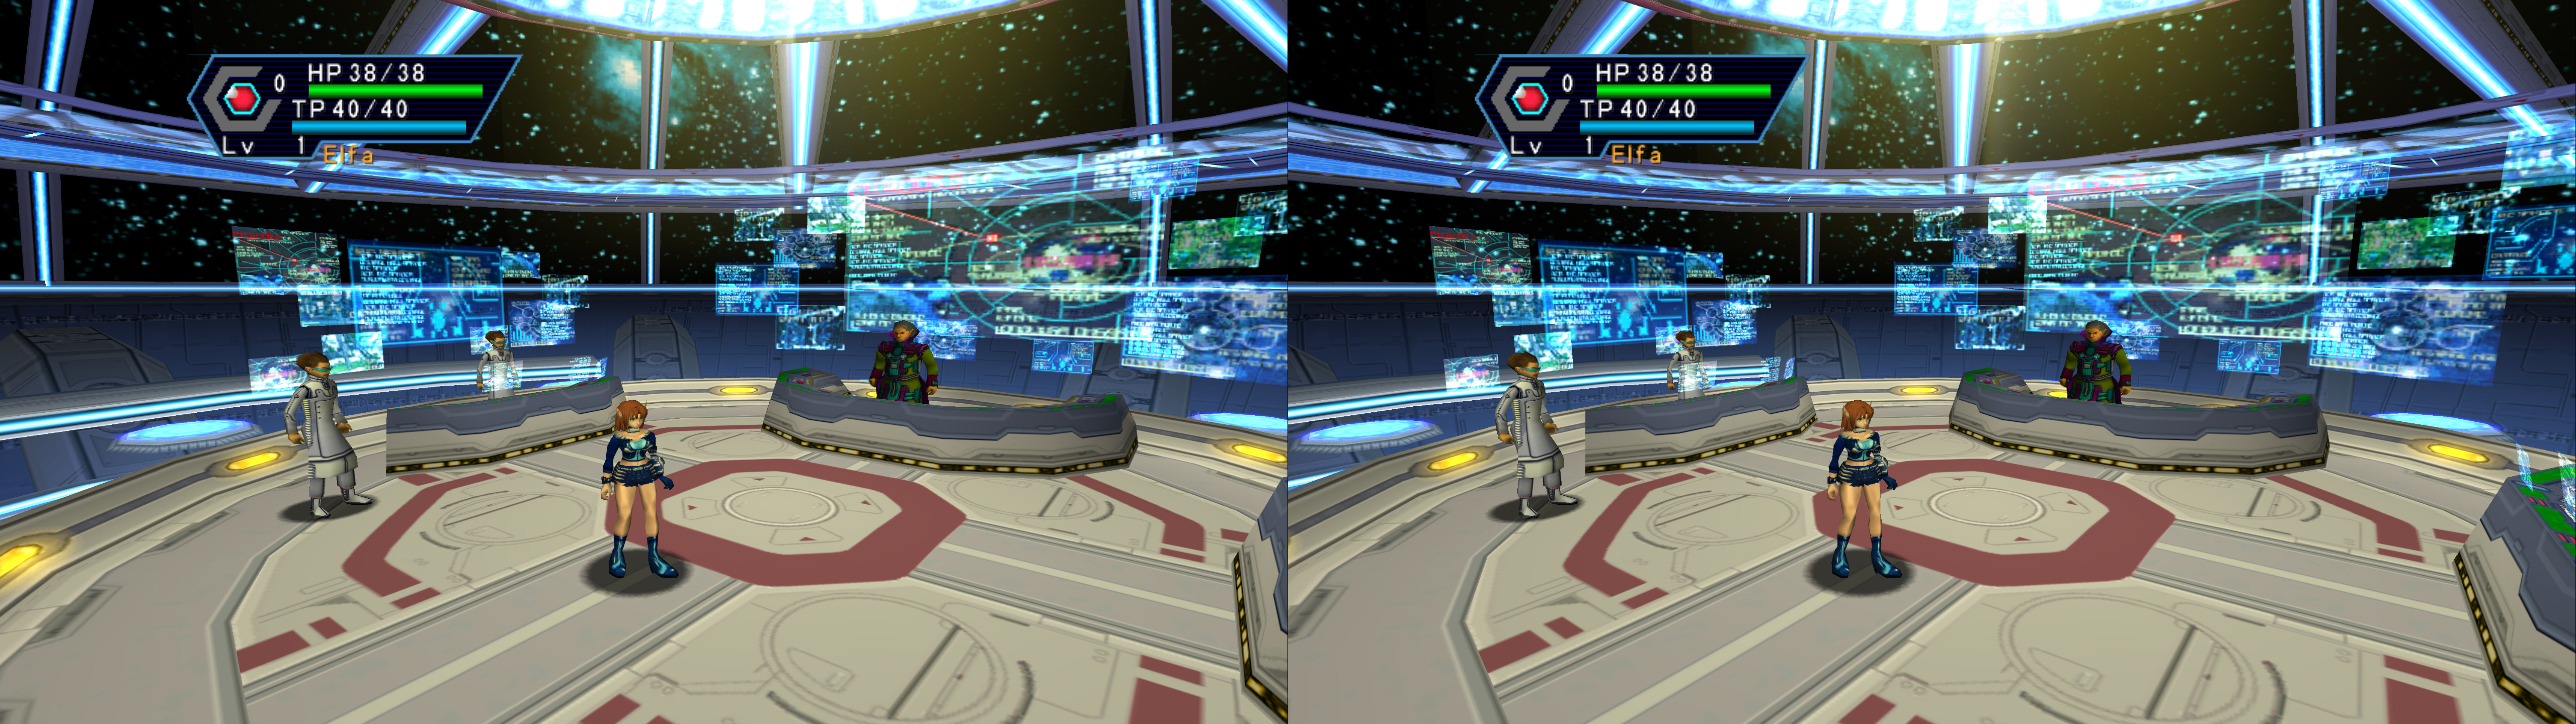
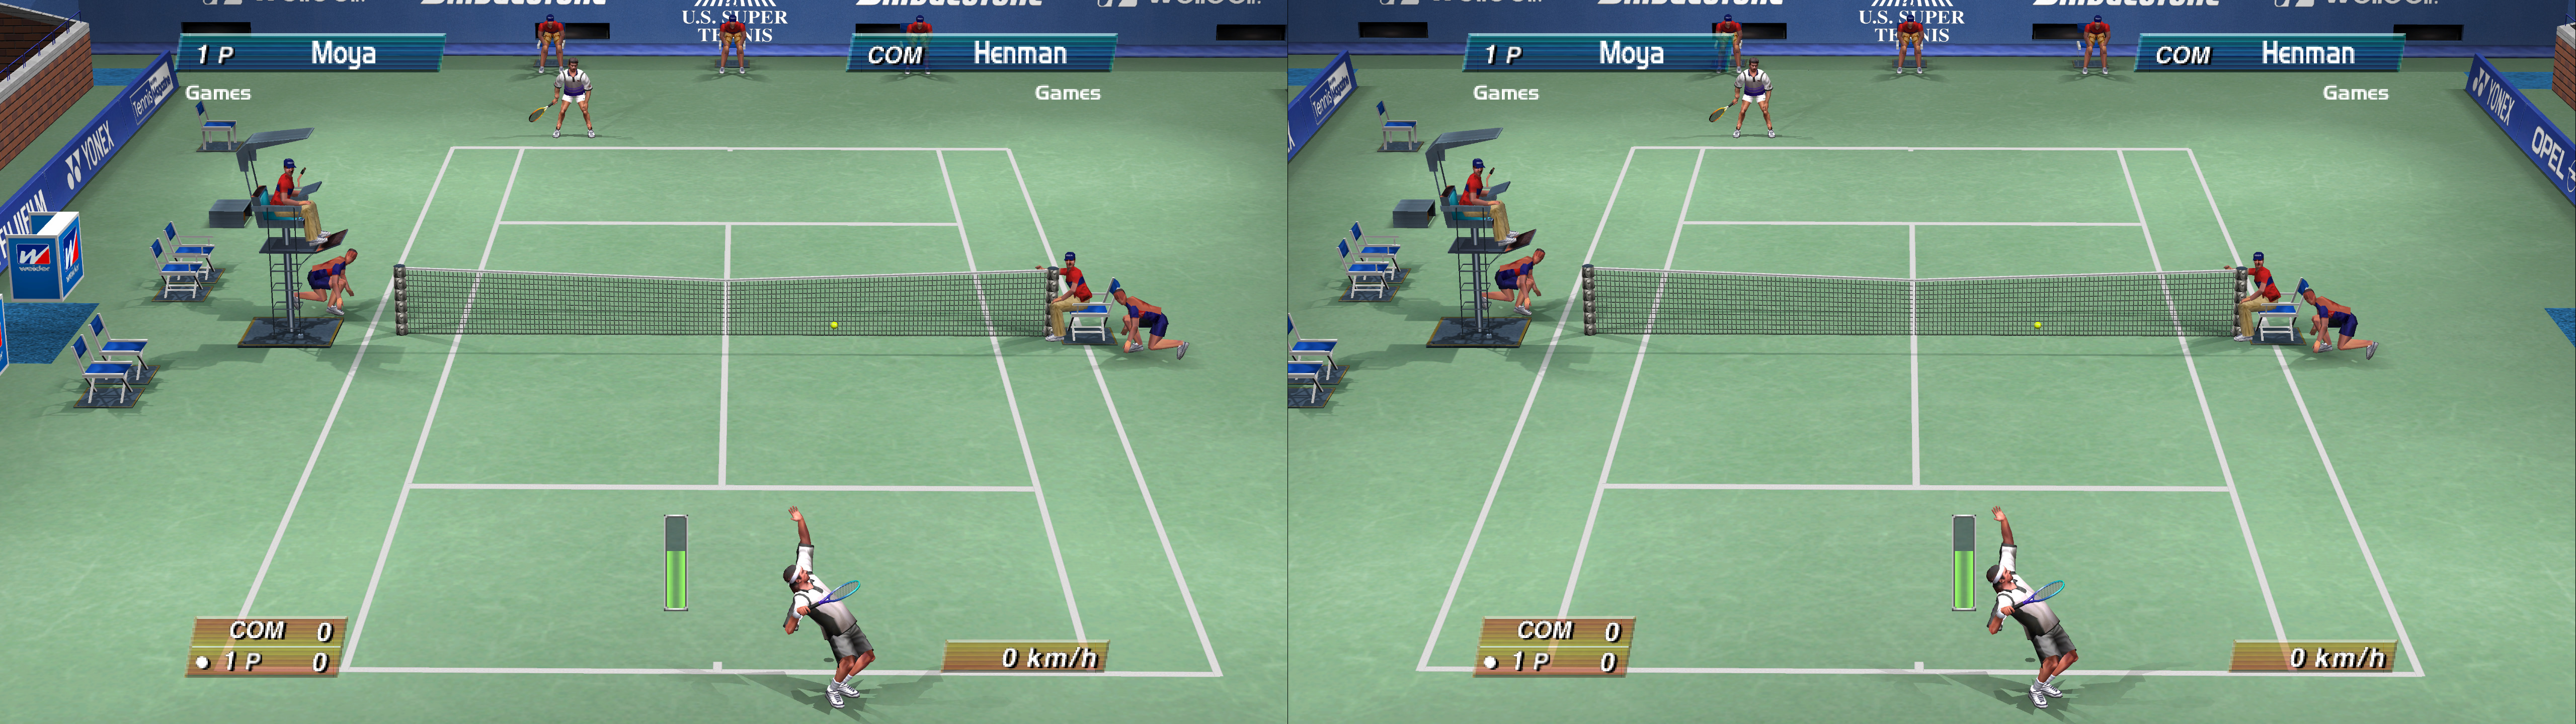
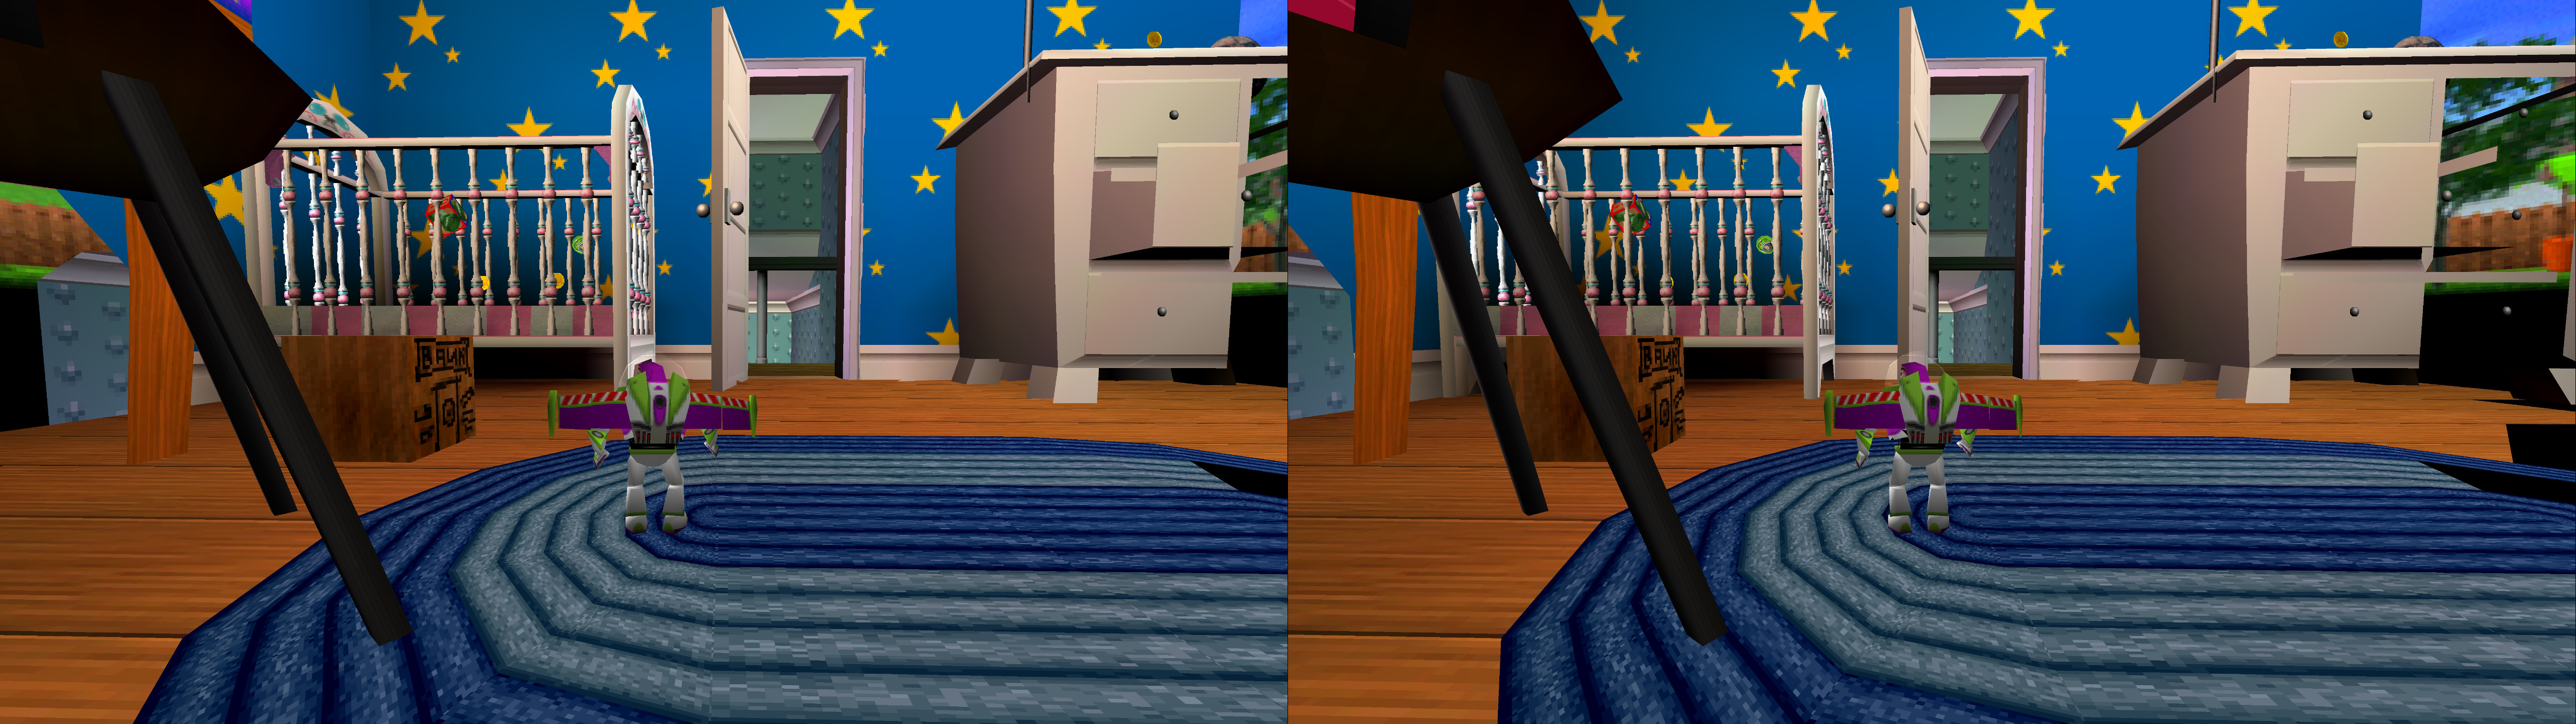
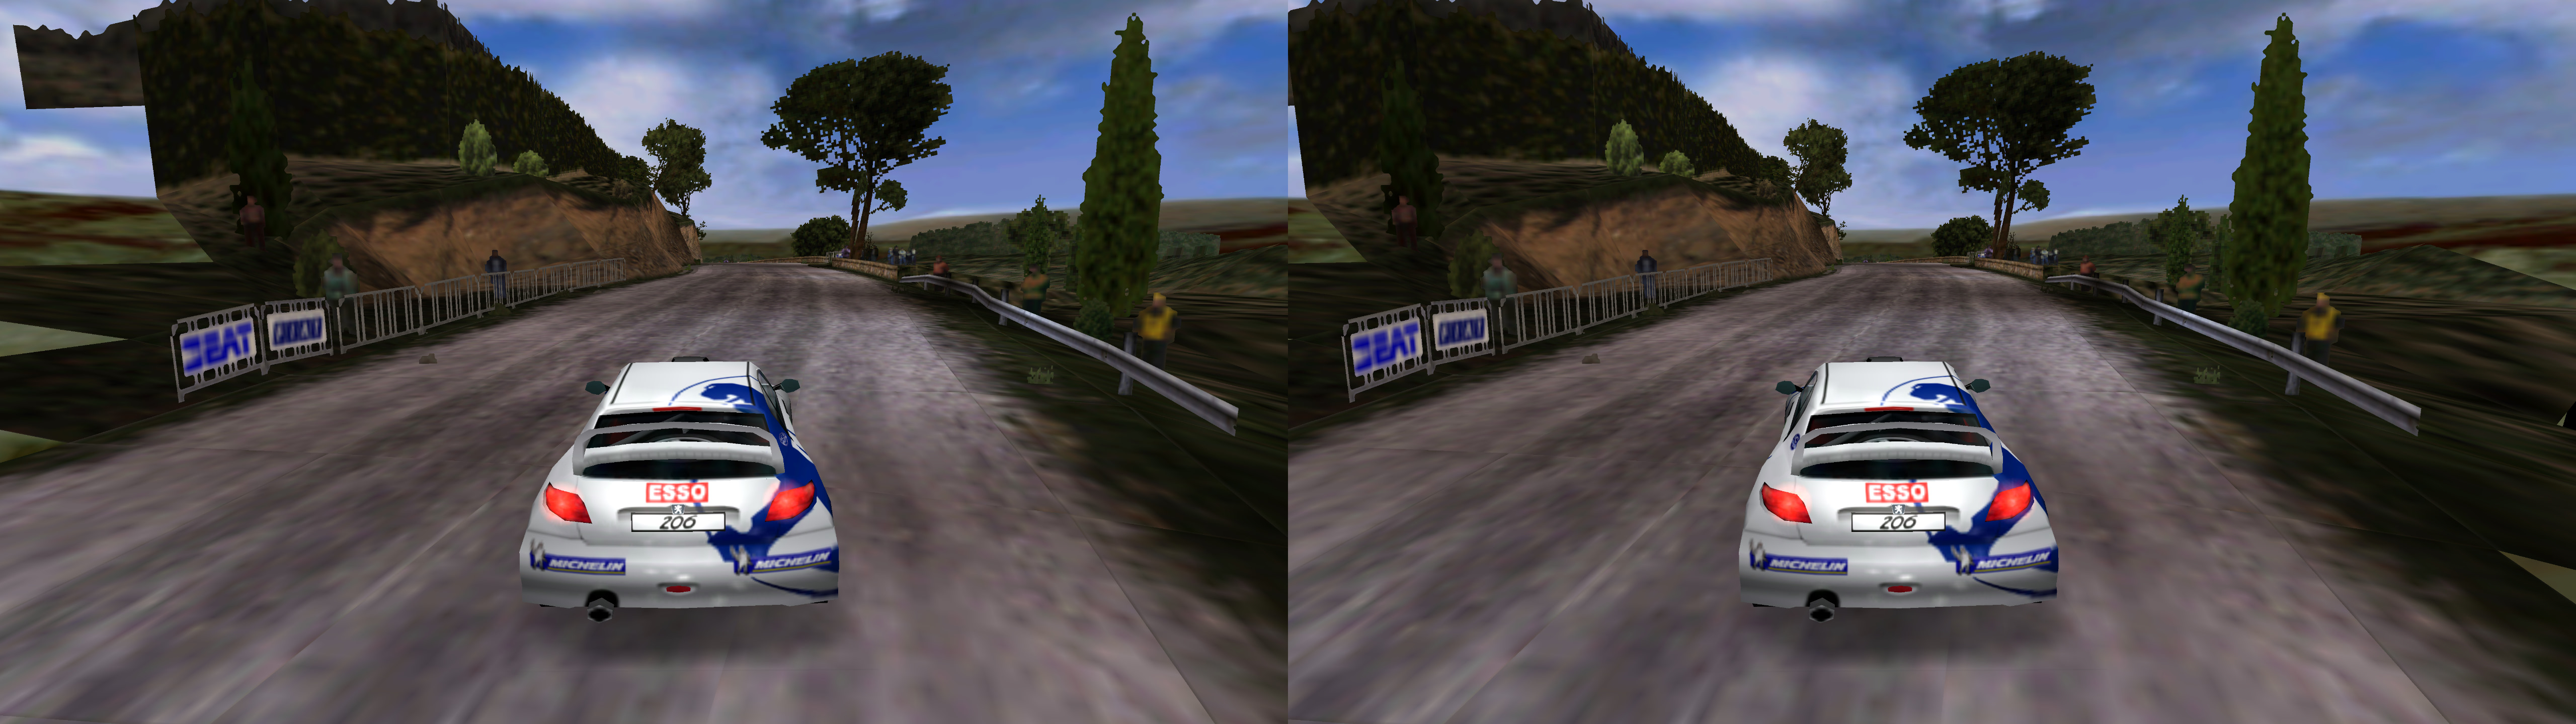
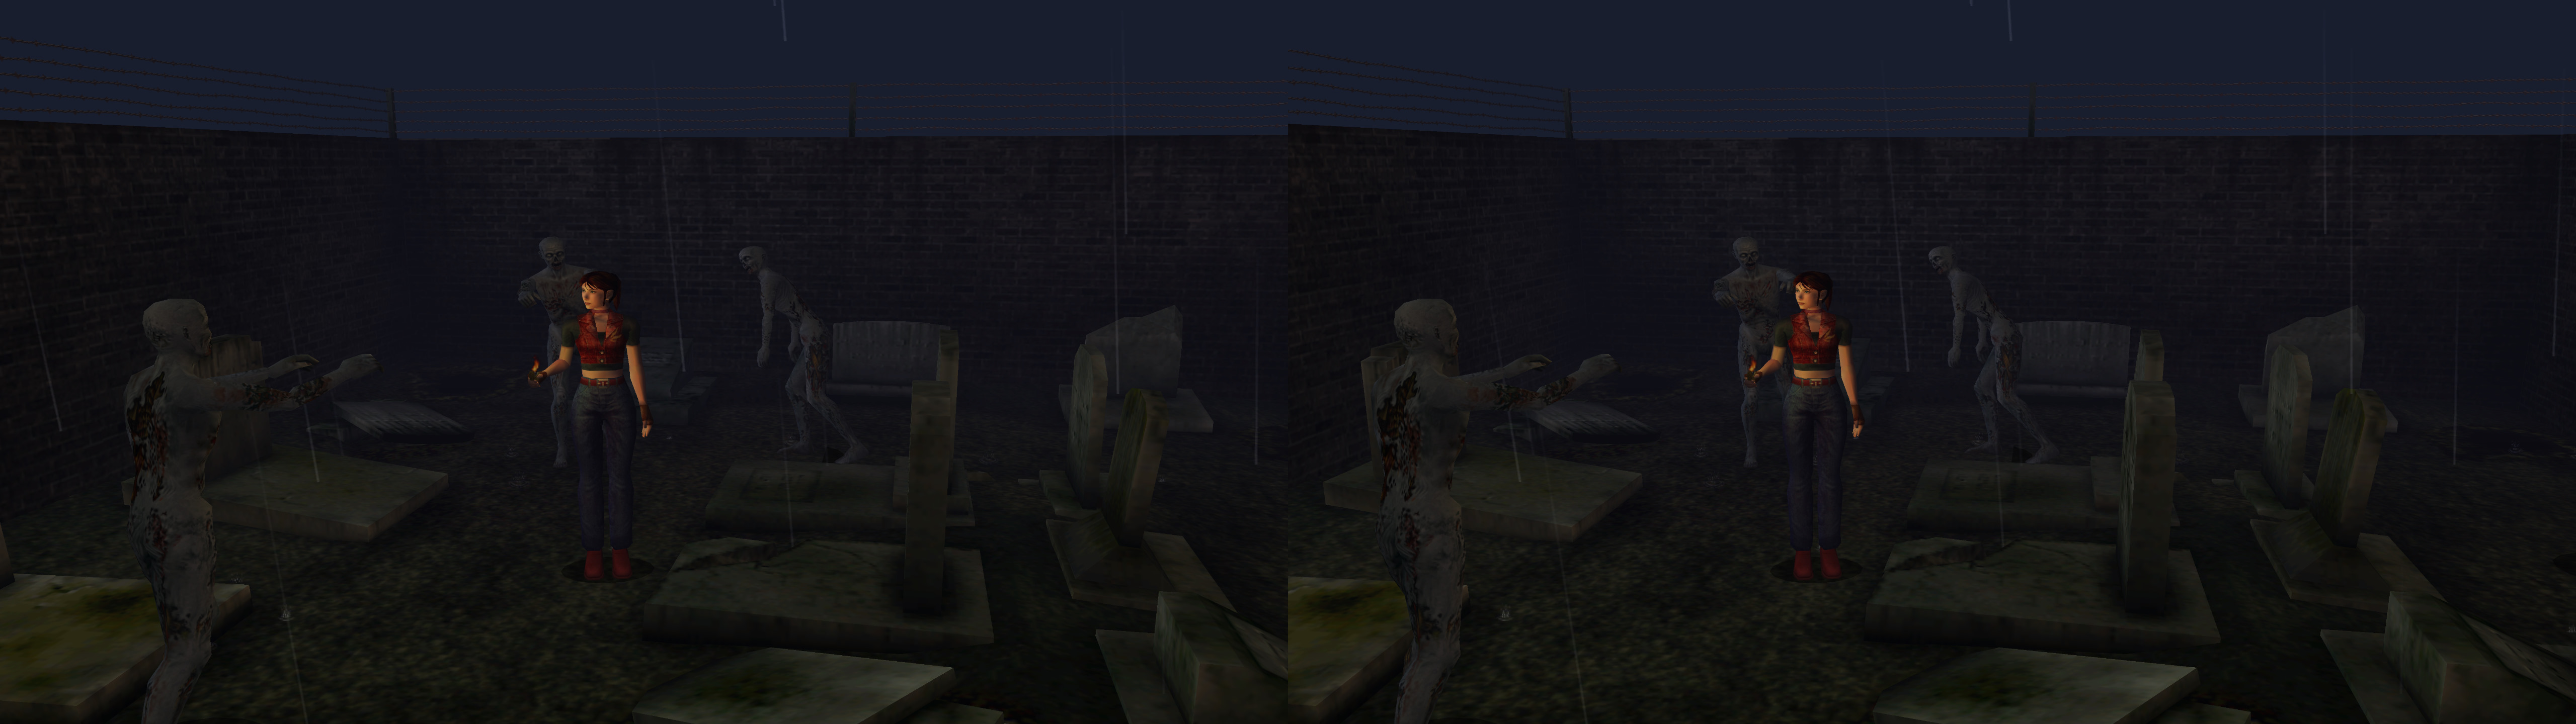
3D Vision and geo-11 fix for DuckStation, a PlayStation emulator. Separate fixes for the "Hardware (D3D11)" (3D Vision and geo-11 fixes) and "Hardware (Vulkan)" renderer.

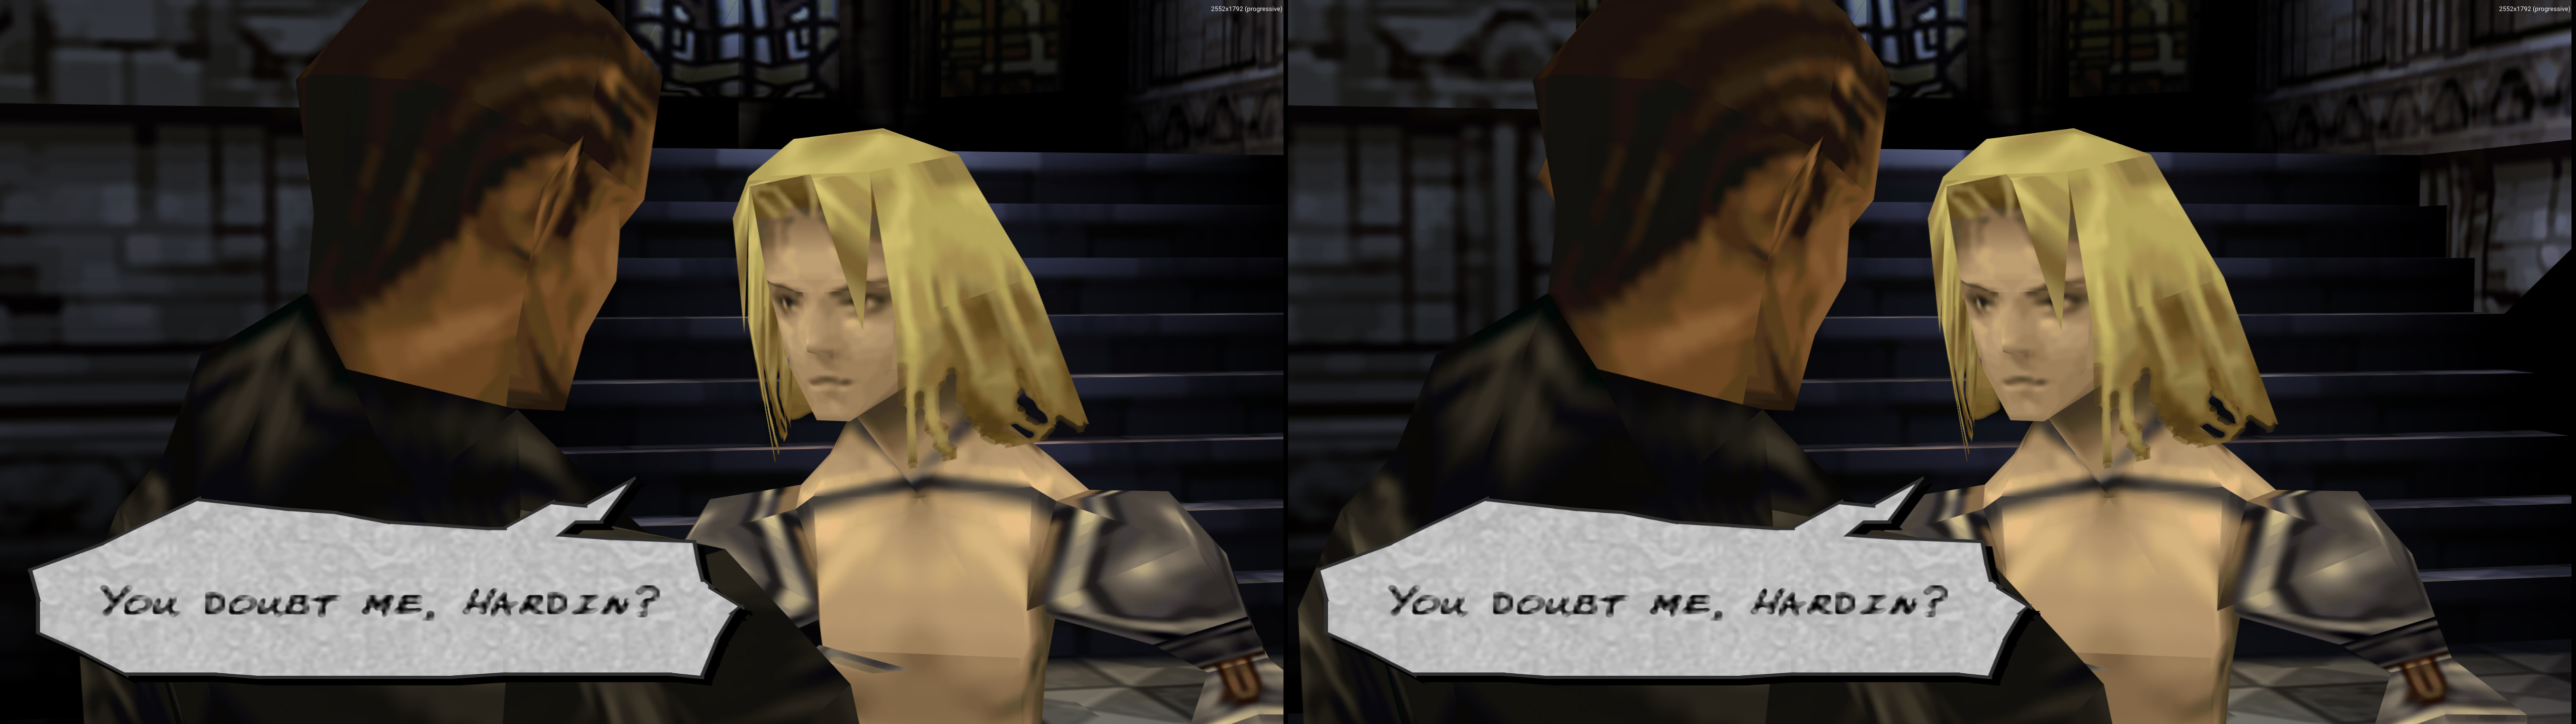
This is possible thanks to the PGXP feature that improves geometry and texture accuracy. It makes geometry vertices have a real depth value, which can be used for stereoscopic 3D.


Fixed in DirectX 11 with 3Dmigoto and geo-11.

Fixed in Vulkan with Vk3DVision.


Update (2023-10-25): updated geo-11 version to v0.6.182. Apparently now "nvidia_dx9" mode works too, and the nogui version of the emulator doesn't exist anymore. For geo-11, the normal qt version is OK.

Update (2022-07-27): added geo-11 fix. For those with 3D Vision monitors that want to use new GPUs or drivers, I recommend using the Vk3DVision fix.

Update (2022-02-20): reuploaded both DX11 and Vulkan fixes. The Vulkan one is updated to Vk3DVision version 4.19.19. The point of this update in general was making the separation settings equal between DX11 and Vulkan.

Update (2021-12-03): reuploaded Vulkan fix, after seeing that when Vk3DVision doesn't have dev mode enabled, a few games can crash (Vagrant Story, for example).

Update (2021-12-01): added fix for Vulkan made in single frame stereo. For Nvidia GPUs, the 2000 series is required as minimum and also newer drivers than the last ones that can be used with DX11.


What the fix does
- It stereoizes geometry, because even in DX11, 3D Vision Automatic doesn't stereoize anything.
- It has a hotkey with depth options for elements that are detected as 2D (could be HUD, could be skyboxes, could be wrong 2D geometry). Divided into multiple hotkeys in Vulkan.
- It has a hotkey for black frame insertion (only for DX11). Most likely annoying for most people. It has the purpose of making 30fps games look smoother (no double images at 60Hz when tracking elements with your eyes).


Known issues (Common)
- Some games detect part of the geometry as 2D (PGXP can't improve them), and as a consequence they can't have proper depth in 3D. It's usually geometry that is close to the camera, in the games affected by this problem. Examples: Ape Escape, Spyro games, Medievil games.
- Sprites that should be inside the game world may appear in 2D (they can be moved with a hotkey, but it won't be accurate depth). Examples: Dragon Quest VII, Tomba!.


Known issues (Vulkan)
- You're forced to use the "duckstation-nogui-x64-ReleaseLTCG.exe" of DuckStation, because Vk3DVision crashes just by launching a game with the interface of the other exe. This is why I recommend configuring everything first with the other exe and then setting some hotkeys to open the quick menu, decrease and increase resolution, etc.
- The "Multisample Antialiasing" option doesn't work in 3D. It's inside "Settings -> Advanced Settings". It's fine in DX11.
- Fast forwarding can make convergence reset to default.


Installation (DX11)
- Don't use Windows 7. The fix relies on flip model, which the emulator uses by default. That feature should work on Windows 8 and newer.
- Get the latest emulator version for Windows x64 from github.
- geo-11 (with build v0.6.182): download this file and extract its contents in the "duckstation-windows-x64-release" folder, where "duckstation-qt-x64-ReleaseLTCG.exe" is. Remember to edit "d3dxdm.ini" to change your "direct_mode" to the output you need. It's sbs by default. For 3D Vision monitors, both "direct_mode = nvidia_dx11" and "nvidia_dx9" work but "nvidia_dx9" may have imperfect vsync.
- 3D Vision (old alternative): download this file and extract its contents in the "duckstation-windows-x64-release" folder, where "duckstation-qt-x64-ReleaseLTCG.exe" and "duckstation-nogui-x64-ReleaseLTCG.exe" are.
- To configure the emulator easily, use "duckstation-qt-x64-ReleaseLTCG.exe" to your liking, but there are some key components for stereoscopic 3D. I'm going to mention them even if some of them are correct by default:
  • Settings -> Display Settings -> Basic -> Renderer -> Hardware (D3D11)
  • Settings -> Display Settings -> Basic -> Fullscreen Mode -> Borderless Fullscreen
  • Settings -> Display Settings -> Basic -> Use Blit Swap Chain -> Off
  • Settings -> Enhancement Settings -> PGXP -> Geometry Correction -> On
  • Settings -> Enhancement Settings -> PGXP -> Texture Correction -> On
Metal Gear Solid also needs "Settings -> Enhancement Settings -> PGXP -> CPU Mode (Very Slow) -> On".

- Run the game you want. The first time, in 3D Vision modes, Windows will ask for permission to modify the Nvidia profile.


Installation (Vulkan)
- Get the latest emulator version for Windows x64 from github.
- Download this file and extract its contents anywhere you want (it can be the emulator folder or not).
- To configure the emulator easily, use "duckstation-qt-x64-ReleaseLTCG.exe" to your liking, but there are some key components for stereoscopic 3D. I'm going to mention them even if some of them are correct by default:
  • Settings -> Display Settings -> Basic -> Renderer -> Hardware (Vulkan)
  • Settings -> Display Settings -> Basic -> Fullscreen Mode -> Borderless Fullscreen
  • Settings -> Display Settings -> Basic -> Use Blit Swap Chain -> Off
  • Settings -> Enhancement Settings -> PGXP -> Geometry Correction -> On
  • Settings -> Enhancement Settings -> PGXP -> Texture Correction -> On
- Open "Profiles\DuckStation\Vk3DVision.ini" and set your preferred "Stereo3DViewMode" depending on your type of display. It's configured as "Stereo3DViewMode = 3DVision" by default. You can also set your preferred default separation and convergence.
- Run "Vk3DVision.exe" and then "duckstation-nogui-x64-ReleaseLTCG.exe". The emulator should trigger 3D and run in fullscreen. Then load the game you want.


Hotkeys (DX11)
p: convergence presets (0, 0.5, 1, 2, 3, 4, 8, 16). 1 by default. Different games need different convergence levels.
o: depth presets for 2D elements (0%, 25%, 50%, 62.5%, 75%, 85%, 100%). 0% depth by default.
i: maximum depth settings (x0.325, x0.4225, x0.4875, x0.56875, x0.62), because some games have more effective separation than others. x0.325 by default.
u: black frame insertion, intended for 30fps games. I don't recommend using it because it flickers a lot. One press enables it, another press makes the opposite frame black (which one has less latency may vary), and another press disables it. Disabled by default.


Hotkeys (Vulkan)
1,2,3,4,5,6 (not the numpad): convergence presets (0, 0.5, 1, 2, 3, 4). 1 by default. Different games need different convergence levels.
g,h,j,k,l: depth presets for 2D elements (0%, 50%, 70%, 85%, 100%). 0% depth by default.
y,u,i,o,p: maximum depth settings (x0.5, x0.65, x0.75, x0.875, x1.0), because some games have more effective separation than others. x0.5 by default. The numbers here are different than the DX11 ones, but the effective separation is the same.
- m: reset to default status of the hotkeys.


Recommendations (DX11)
- (For the old 3D Vision fix, not geo-11) To avoid one eye bugs (which can be solved by loading a savestate anyway), configure everything with "duckstation-qt-x64-ReleaseLTCG.exe" but then play the games with "duckstation-nogui-x64-ReleaseLTCG.exe", because 3D will be enabled during the entire session, even inside menus, so bugs like that one can't happen. It may be too annoying to navigate this UI if you prefer the other interface.
- If you have a powerful GPU, use a high "Internal Resolution Scale" setting in combination with the advanced setting "Multisample Antialiasing" set to some SSAA value.
- I don't recomment using any other "Texture Filtering" other than "Nearest-Neighbor". At least in Vagrant Story, I saw the motion blur effect being rendered black with other settings.
- For easy widescreen mode, go to Display Settings and set Aspect Ratio to "Auto (Match Window)" and enable the Widescreen Hack in the Enhancement settings.
- Enable all PGXP settings except Depth Buffer and CPU Mode. CPU Mode is needed for Metal Gear Solid, but it can cause issues in other games.
- Don't force vsync through the drivers, because the fast forward key in the emulator can't bypass it. Instead, use vsync in the emulator (Display Settings).


Recommendations (Vulkan)
- Since you need to play using the DuckStation exe that has a more limited interface, I recommend setting the hotkey that opens the quick menu, and also others to increase and decrease resolution, for example.
- Don't alt+tab or alt+enter. You risk a crash.
- Force vsync in the drivers. I needed it despite having it enabled in the emulator. But this makes fast forward do nothing.


If you liked the fix and want to contribute for more future fixes, you can donate to this PayPal account: masterotakusuko@gmail.com

Thursday, April 6, 2023

Half-Life 1: Ray Traced [Vulkan]


3D Vision fix for Half-Life 1: Ray Traced, which allows you to play the first Half-Life game with ray tracing. Last github release tested: 1.0.5a.

A GPU that supports ray tracing is required to make it work.

This fix is done only in frame sequential mode and not in single frame stereo, meaning that low fps will feel bad and unsynchronized between the eyes (because they are). Try to maintain 60fps or close to it.

For Nvidia GPUs, you need drivers newer than 452.06 (I used 531.41, so think about them as the minimum). With 452.06, the game will just refuse to run.


Fix in Vulkan done with Vk3DVision. You need to download Vk3DVision on its own, because the fix from this blog post is just the profile for the game.

For the different 3D outputs, check and configure the "Vk3DVision\Profiles\Half-Life RT\Vk3DVision.ini" file or read the Vk3DVision manual.

Note: I wasn't able to make it work in "3DVision" mode. It crashed at launch.


Fixed

  • Ray tracing shaders.
  • Partially fixed denoiser. With a hotkey to optionally disable it.
  • Stereoized non RTX geometry.
  • Stereoized volumetric lighting (in a sticky way).
  • Lens flares and decals occlusion problems.
  • Underwater distortion effect.

Known issues
  • The denoiser fix is imperfect.
  • The volumetric lighting fix is imperfect because it isn't "floating" in the air.

Installation
  • Install Half-Life 1: Ray Traced and follow the instructions there to first make it run in 2D.
  • I recommend running the game at least once first and configuring all the settings and output resolution.
  • Download Vk3DVision and unzip it anywhere, if you don't have it already. Version 4.20.14 at the very least.
  • Download this file and extract its contents in your "Vk3DVision\Profiles" folder, which comes with Vk3DVision.
  • Open "Vk3DVision.exe" and then run the game exe, which should be called "xash3d.exe", or run the "xash3d-console.bat" if you also want to be able to change the FOV or load maps with the console. By default the presentation is configured as SBS_LEFT, because I couldn't get it to work in 3DVision. Open "Vk3DVision\Profiles\Half-Life RT\Vk3DVision.ini" and change the "Stereo3DViewMode = SBS_LEFT" line to what you need.
  • Do not use any of these settings:
    • NVIDIA DLSS
    • AMD FSR 2.1
  • Configure separation and convergence to your liking in "Vk3DVision.ini". Defaults are 100 and 0.16 respectively.

Recommendations
  • Disable the "Lens dirt" option.
  • The game is very demanding. You can either drop the "Window size" or use the "Vintage" option to use a lower internal resolution.

Hotkeys
  • F1: toggle to disable the ray tracing denoiser.
  • F7: toggle to put the crosshair at 95% depth. It's at screen depth by default to not affect menus.
  • F8: 24 convergence toggle. It's at 16 convergence by default.
  • 0 (not the numpad): radial blur toggle. Not disabled by default.


If you liked the fix and want to contribute for more future fixes, you can donate to this PayPal account: masterotakusuko@gmail.com
Or you can join my Patreon: https://www.patreon.com/masterotaku

Tuesday, December 6, 2022

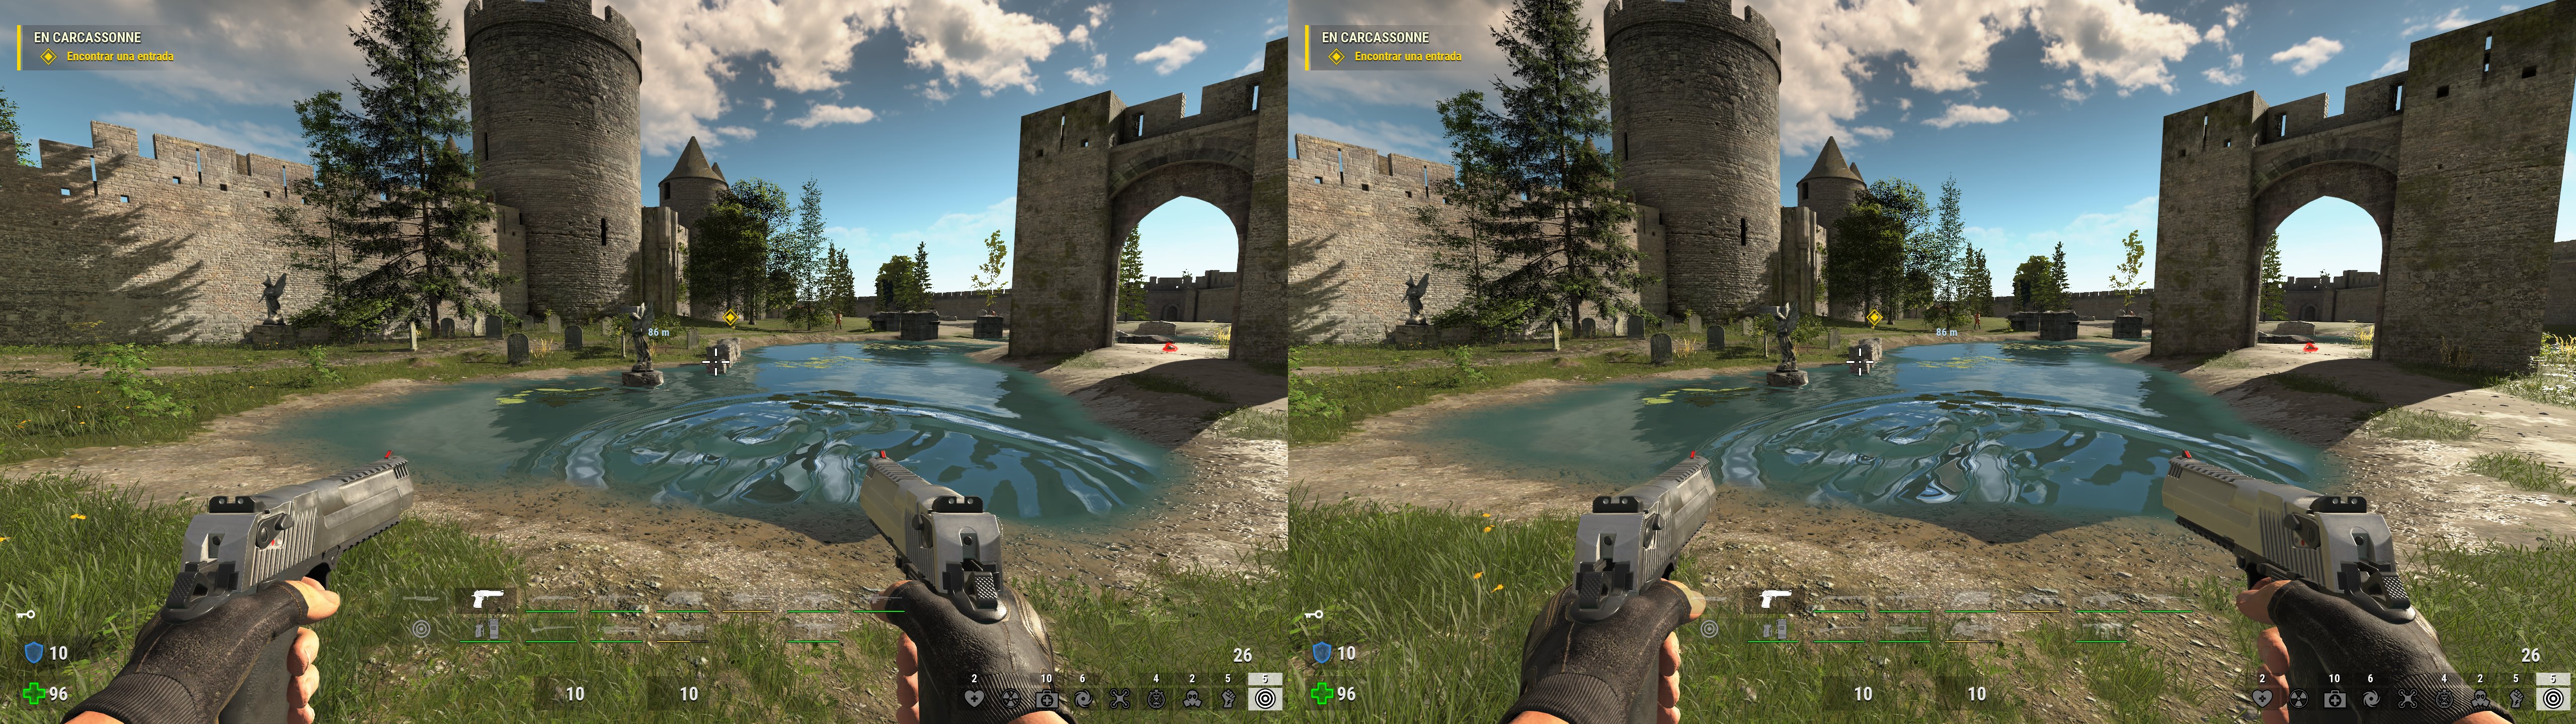
Quake [OpenGL] [Vulkan] [DX9] [DX11]

3D Vision (and geo-11) fixes and recommendations for multiple Quake versions and source ports. Each fix with a different downloadable fix.

The list of ports I tried/fixed/configured is: vkQuake (including vkquake-rt), QuakeSpasm Spiked, Darkplaces, ezQuake, MarkV, Quake Enhanced.

For the older DirectQ source port (DX9), you can check this blog post by eqzitara.

Quake Enhanced will be fixed at a later date when it's available on GOG. Done.


I recommend keeping a separate Quake installation for each version/port, because config files, mods, save files or 3D fixes can have conflicts.


Fixes in OpenGL done with OpenGL3DVision. For outputs different than 3D Vision, check and configure the "3DVisionWrapper.ini" file.

Fixes in Vulkan done with Vk3DVision. For outputs different than 3D Vision, check and configure the "Vk3DVision\Vk3DVision.ini" file or read the included manual.

Fixes in DirectX 11 done with geo-11.


Update (2022-12-26): added Quake Enhanced fix, done with geo-11.

Update (2022-12-06): updated vkQuake fix to support the "vkquake-rt" version (1.0.1 at this moment), with ray tracing. It also supports vkQuake 1.22.1 (the latest version as of this day). Support for older vkQuake versions (like 1.11.0) is dropped.


vkQuake (Vulkan)


Pros

  • The smoothest of all at 120fps, with great performance.
  • Correct physics at any fps.
  • Good MSAA and supersampling options.
  • Option to enable the classic underwater effect.
  • The fix lets you put the crosshair at depth (static).
  • Ray tracing, when using vkquake-rt instead of the normal vkQuake. Nvidia GPUs of 2000 series and newer is mandatory, as well as recent drivers.


Cons

  • No HD textures support.
  • No new advanced graphics (shadows, lighting...). Except when using the ray tracing version, of course.


Fixed

  • Stereoized graphics.
  • Fixed "classic" option for the "underwater fx" setting.
  • Crosshair at depth with the F7 hotkey.
  • (vkquake-rt) Stereoized ray tracing.
  • (vkquake-rt) Stereoized (more or less) denoiser. You can use F1 to disable it, making the game flicker more.
  • (vkquake-rt) Corrected some sky elements.
  • (vkquake-rt) Volumetric lighting, although it's "sticky" for some reason. Also fixed its occlusion.
  • (vkquake-rt) Radial blur. It can also be disabled with the 0 key.
Known issues
  • The crosshair hotkey slightly affects some other HUD elements. I couldn't avoid that.

Installation
  • Install vkQuake. The fix was done for the 1.22.1 version.
  • First configure the game graphics in 2D as you like, because changing the video mode (resolution, antialiasing...) while in 3D may crash the game.
  • Download Vk3DVision and unzip it anywhere, if you don't have it already. Version 4.19.20 at the very least.
  • Download this file and extract its contents in your "Vk3DVision\Profiles" folder, which comes with Vk3DVision.
  • By default the presentation is configured SBS_LEFT. Open "Vk3DVision\Profiles\vkQuake\Vk3DVision.ini" and change the "Stereo3DViewMode = SBS_LEFT" line to what you need.
  • Run "Vk3DVision.exe" and then "vkQuake.exe". Close the Vk3DVision window after you have stopped playing the game.
  • To play the expansions or other custom maps, you can make shortcuts to the exe and then add a "-" and the name of the folder to the end, like "-hipnotic" (without quotes).

Recommendations
  • I like the look of the textures and antialiasing when configured like this (your resolution and antialiasing samples may vary if you need better performance):

  • To enable the crosshair, press the tilde key (or whatever is at the left of your 1 key) and type "crosshair 1". To increase the size to x5, for example, type "scr_crosshairscale 5". Update: crosshair option now available through the menu.
  • Change fov through the console, by typing for example "fov 105".
  • For the "vkquake-rt" version, the "VINTAGE" graphics mode is good for performance. 1024x768 is adequate for a 2080Ti GPU (or just 1280x720 resolution). The CRT mode is also interesting.


Hotkeys
  • F1: toggle to disable the ray tracing denoiser, when using the vkquake-rt version.
  • F7: toggle to put the crosshair at 95% depth. It's at screen depth by default.
  • F8: 24 convergence toggle. It's at 16 convergence by default.
  • 0 (not the numpad): radial blur toggle for vkquake-rt. Not disabled by default.

QuakeSpasm Spiked (OpenGL)


Pros

  • As smooth as vkQuake, with great performance.
  • Correct physics at any fps.
  • MSAA support.


Cons

  • No HD textures support.
  • No new advanced graphics (shadows, lighting...).
  • No supersampling option.
  • The crosshair can't be at depth because of incompatibilities with correct geometry. Better disable it.


Fixed

  • Stereoized graphics, thanks to the legacy mode in the OpenGL wrapper.

Installation
  • Install QuakeSpasm Spiked, the latest "Win64" version.
  • First configure the game graphics in 2D as you like, because changing the video mode (resolution, antialiasing...) while in 3D may crash the game.
  • It's important to set "sleep between frames" to "off" to get the maximum smoothness, as well as "maximum fps" to your refresh rate number.
  • Download this file and extract its contents in your "Quake" folder (or whatever you called it), where "quakespasm-spiked-win64.exe" is. This is just Helifax's OpenGL wrapper (64 bits version) configured with legacy mode and a preconfigured convergence of 16. Default convergence is 16, but you need to run the game as admin at least once for that to apply.
  • To play the expansions or other custom games, you can make shortcuts to the exe and then add a "-game " and the name of the folder to the end, like "-game hipnotic" (without quotes).
  • If you need to change resolution or antialiasing later on, temporarily rename the "opengl32.dll" file to something else to not trigger 3D.

Recommendations
  • In your "config.cfg" file from the subfolder you use, set vid_fsaa "8" to get 8x antialiasing, although that won't help as much as supersampling if you decide to keep textures pixelated.
  • As I mentioned in the installation instructions, set "sleep between frames" to "off".
  • Change fov through the console, by typing for example "fov 105".

Darkplaces (OpenGL)


Pros

  • HD textures support.
  • New advanced graphics (shadows, lighting...).
  • MSAA support.


Cons

  • Worst performance of the bunch, if you enable all the extra graphics options and use antialiasing.
  • Character movement is jerky, although camera movement is fine.
  • No supersampling option (but that would make it way too demanding anyway).
  • The crosshair can't be at depth because of incompatibilities with lighting. Better disable it.

Fixed

  • Stereoized graphics.
  • Fixed shadows and lighting while preventing some geometry problems.

Known issues

  • The new lighting has clipping problems that I can't solve.

Installation
  • Install Darkplaces. The latest Windows 64 OpenGL build.
  • First configure the game graphics in 2D as you like, because changing the video mode (resolution, antialiasing...) while in 3D may crash the game.
  • Download this file and extract its contents in your "Quake" folder (or whatever you called it), where "darkplaces.exe" is. Default convergence is 16, but you need to run the game as admin at least once for that to apply.
  • To play the expansions or other custom games, you can make shortcuts to the exe and then add a "-game " and the name of the folder to the end, like "-game hipnotic" (without quotes).
  • If you need to change resolution or antialiasing later on, temporarily rename the "opengl32.dll" file to something else to not trigger 3D.

Recommendations
  • I recommend not using any antialiasing in the game options, because the game can become very demanding (and not only for the GPU).
  • Configure your desired FOV through the ingame options.


ezQuake (OpenGL)


Pros

  • HD textures support.


Cons

  • Not smooth to me, for both character and camera movement.
  • Not any graphics configuration inside the game. What the hell?
  • Crosshair can't be at depth. Better disable it.


Fixed

  • Stereoized graphics, thanks to the legacy mode in the OpenGL wrapper.

Installation
  • Install ezQuake.
  • First configure the game graphics in 2D as you like, because changing the video mode (resolution, antialiasing...) while in 3D may crash the game.
  • Download this file and extract its contents in your "Quake" folder (or whatever you called it), where "ezquake.exe" is. It's the exact same fix as for QuakeSpasm Spiked (legacy mode), but with 32 bit dll files. Default convergence is 16, but you need to run the game as admin at least once for that to apply.
  • To play the expansions or other custom games, you can make shortcuts to the exe and then add a "-game " and the name of the folder to the end, like "-game hipnotic" (without quotes).
  • If you need to change resolution or antialiasing later on, temporarily rename the "opengl32.dll" file to something else to not trigger 3D.

Recommendations
  • Change fov through the console, by typing for example "fov 105".

MarkV (DirectX 9)


Pros

  • HD textures support. Although I don't know how to make textures work from other ports.
  • DirectX 9, so 3D works out of the box.
  • Smooth, with synchronized left and right images instead of sequential.
  • The underwater effect is the classic one, like in vkQuake.
  • Some window reflections.


Cons

  • No MSAA nor supersampling options.
  • The crosshair can't be at depth because of incompatibilities with lighting.
  • Apparently I can't fix the underwater effect (waves start from screen depth) because I can't hunt the shader.
  • No crosshair at depth (again, I think I can't hunt the shader). Better disable it.

Installation
  • Install MarkV.
  • Play in fullscreen.
  • Not fix provided because it isn't necessary.
  • To play the expansions or other custom games, you can make shortcuts to "mark_v.exe" and then add a "-game " and the name of the folder to the end, like "-game hipnotic" (without quotes).

Recommendations
  • Change your FOV through the console, by typing for example "fov 105".

Quake Enhanced (DirectX 11)


Pros

  • Smooth, with synchronized left and right images instead of sequential.
  • Advanced lighting and improved models, as well as other extra effects.
  • Dynamic crosshair depth in the fix.
  • Expansions included in the game.


Cons

  • No MSAA nor supersampling options.

Fixed

  • Lighting and shadows.
  • Skyboxes.
  • Added dynamic crosshair depth, except for splitscreen local multiplayer.
  • Motion blur.

Installation
  • Install the game and make sure it runs in DX11 mode. The "%USERPROFILE%\Saved Games\Nightdive Studios\Quake\kexengine.cfg" file should contain this:
    seta r_rhirenderfamily "d3d11"
  • geo-11 fix (with build v0.6.90): download this file and extract its contents in the "Quake Enhanced" folder, where "Quake_Shipping_Playfab_GOG_x64.exe" is (at least that's the exe name for the GOG version). Remember to edit "d3dxdm.ini" to change your "direct_mode" to the output you need. It's sbs by default. For 3D Vision monitors, "direct_mode = nvidia_dx11" works (in both borderless and fullscreen) but "direct_mode = nvidia_dx9" doesn't at this moment (black screen).
  • This is mandatory to make the dynamic crosshair work: "Options -> Enhancements -> Resolution -> High".

Hotkeys
  • F1: three convergence presets, with or without autoconvergence (enabled by default in "d3dxdm.ini" to also handle third person camera). By default the middle preset is used.
  • F2: static HUD depth presets (0%, 20%, 40%, 60%, 80%, 100%). 0% by default.
  • F4: dynamic crosshair toggle. Enabled by default.


If you liked the fix and want to contribute for more future fixes, you can donate to this PayPal account: masterotakusuko@gmail.com

Monday, May 30, 2022

Serious Engine RT [Vulkan]


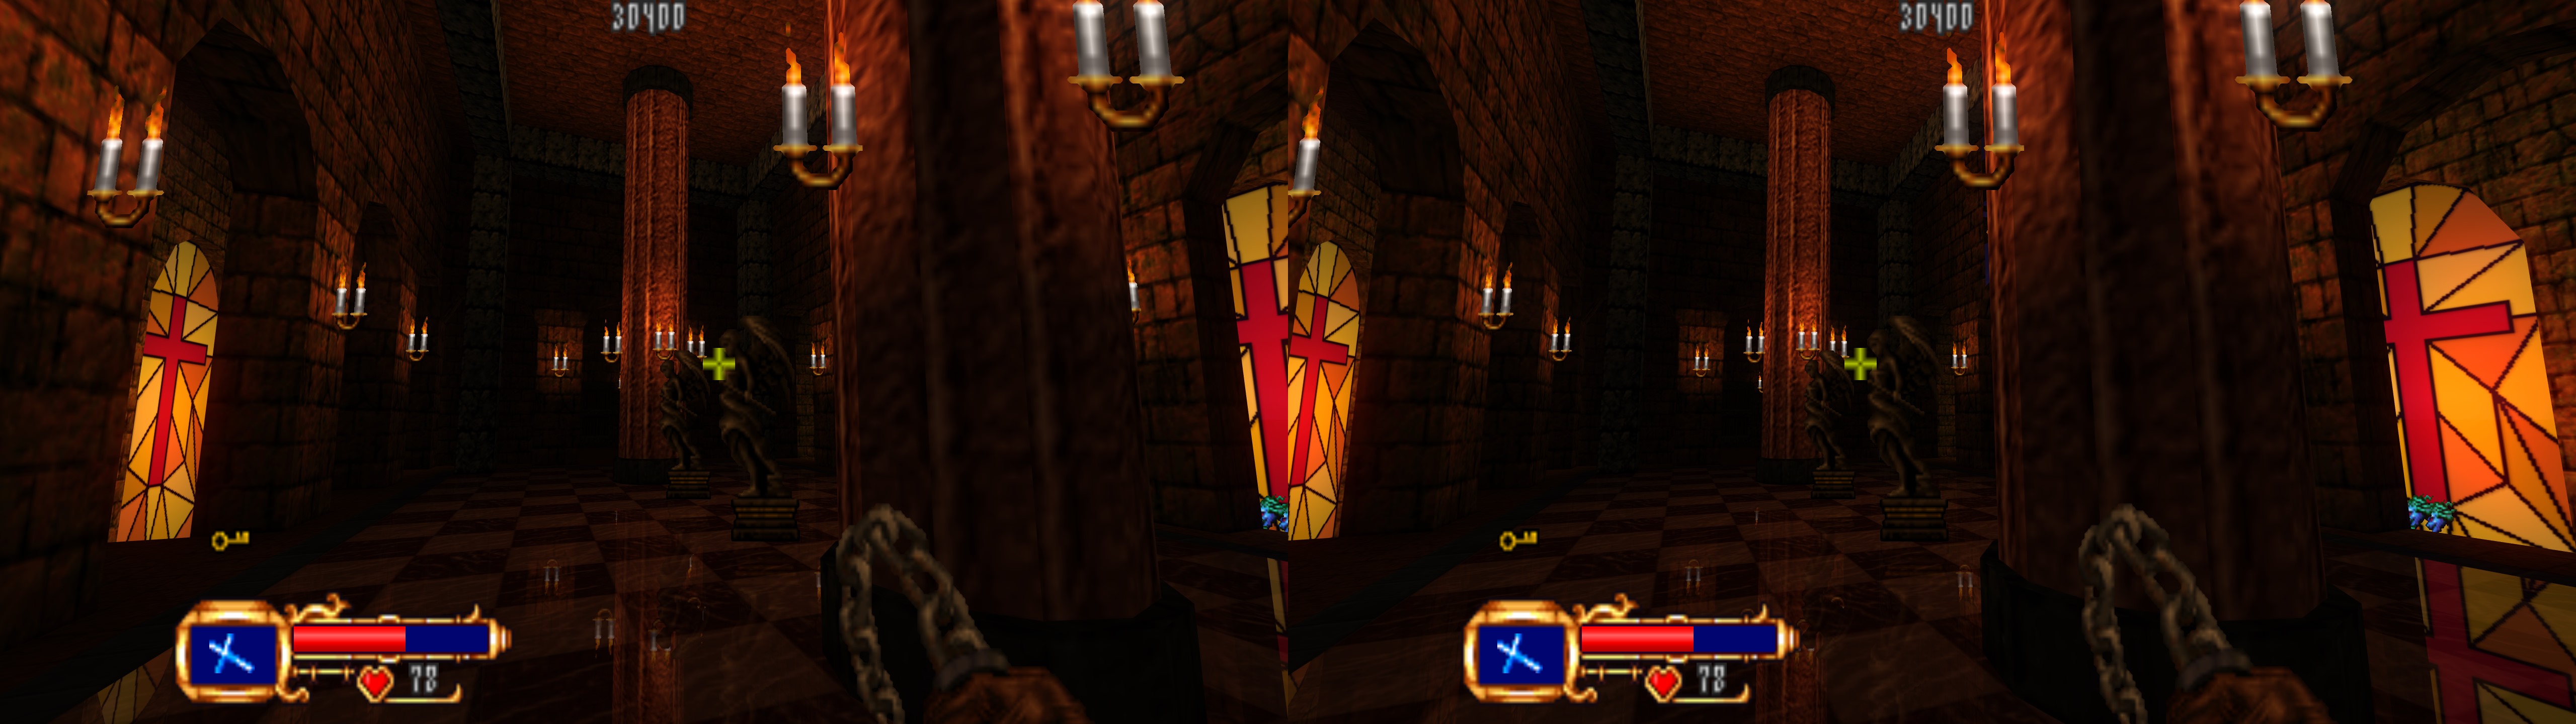
3D Vision fix for Serious Engine RT, which allows you to play Serious Sam: The First Encounter with ray tracing. Last github release tested: 1.5.


Update (2022-05-30): fix updated for game version 1.5 (most shaders are new). Improved some things about the denoiser a bit and also put lens flares at full depth, as well as fixed their occlusion.


A GPU that supports ray tracing is required to make it work. I only have a Nvidia GPU, so I can't ensure first hand that AMD will work.

For Nvidia GPUs, you need drivers newer than 452.06 (I used 512.95, so think about them as the minimum). With 452.06, the game will just refuse to run.


For the general purpose of playing this game, I still recommend playing the HD version via Serious Sam Fusion (different non RTX graphics improvements, better performance, dynamic crosshair). Fix for that here.


Fix in Vulkan done with Vk3DVision. For outputs different than 3D Vision, check and configure the "Vk3DVision\Vk3DVision.ini" file or read the included manual.


Fixed

  • Ray tracing shader (stereoized geometry, shadows, reflections... everything).
  • Partially fixed denoiser, with a hotkey to optionally remove its "temporal" effect.
  • Stereoized some non RTX geometry.
  • HUD and crosshair are set to 95% depth.
  • Lens flares now at full depth and their occlusion fixed.
  • Skybox pushed to more depth.

Known issues
  • The denoiser is only partially fixed (only the center of the screen is supposedly correct) and it can negatively affect some reflections if the temporal part isn't disabled with the F1 hotkey.

Installation
  • Install Serious Engine RT and the original game files you need. 
  • I recommend running the game at least once first and configuring all the settings and output resolution.
  • Download Vk3DVision and unzip it anywhere, if you don't have it already. Version 4.19.20 at the very least.
  • Download this file and extract its contents in your "Vk3DVision\Profiles" folder, which comes with Vk3DVision.
  • Open "Vk3DVision.exe" and then run the game exe, which should be called "SeriousSamTFE.exe". By default the presentation is configured for 3D Vision monitors in DX9. Open "Vk3DVision\Profiles\Serious Engine RT\Vk3DVision.ini" and change the "Stereo3DViewMode = 3DVision" line to what you need.
  • Resolution percentage is usually safe to change while playing in 3D, as well as most options aside from the output resolution and DLSS.

Recommendations
  • Unless you don't like the look, I recommend playing with the temporal part of the denoiser disabled (F1 hotkey), because the fix in that case doesn't present any problems with reflections.
  • If you get a red warning when opening the game in 3D Vision, try opening a 3D screenshot before playing the game (you can do it after too, if you alt+tab out).
  • Set "sharp turning" to "yes" in the controls options to have normal camera movement.
  • Even with 0% sensitivity the mouse moves too fast at 2000 DPI, so try reducing your mouse DPI if you can't find a command to reduce sensitivity even more in the game.
  • To increase the FOV, follow one of these instructions from pcgamingwiki.

Hotkeys (Vulkan)
  • F1: toggle to remove the temporal part of the denoiser. The game will look more flickery but there won't be any stereoization bugs. Most of the denoiser work will be valid, but dark areas may suffer.
  • F2: 0 convergence. Not much use to this. Change it to another value if you want.
  • F3: 0.5 convergence.
  • F4: 0.75 convergence. Default value.
  • F5: 1 convergence.

If you liked the fix and want to contribute for more future fixes, you can donate to this PayPal account: masterotakusuko@gmail.com
Or you can join my Patreon: https://www.patreon.com/masterotaku

Sunday, May 29, 2022

PrBoom: Ray Traced [Vulkan]


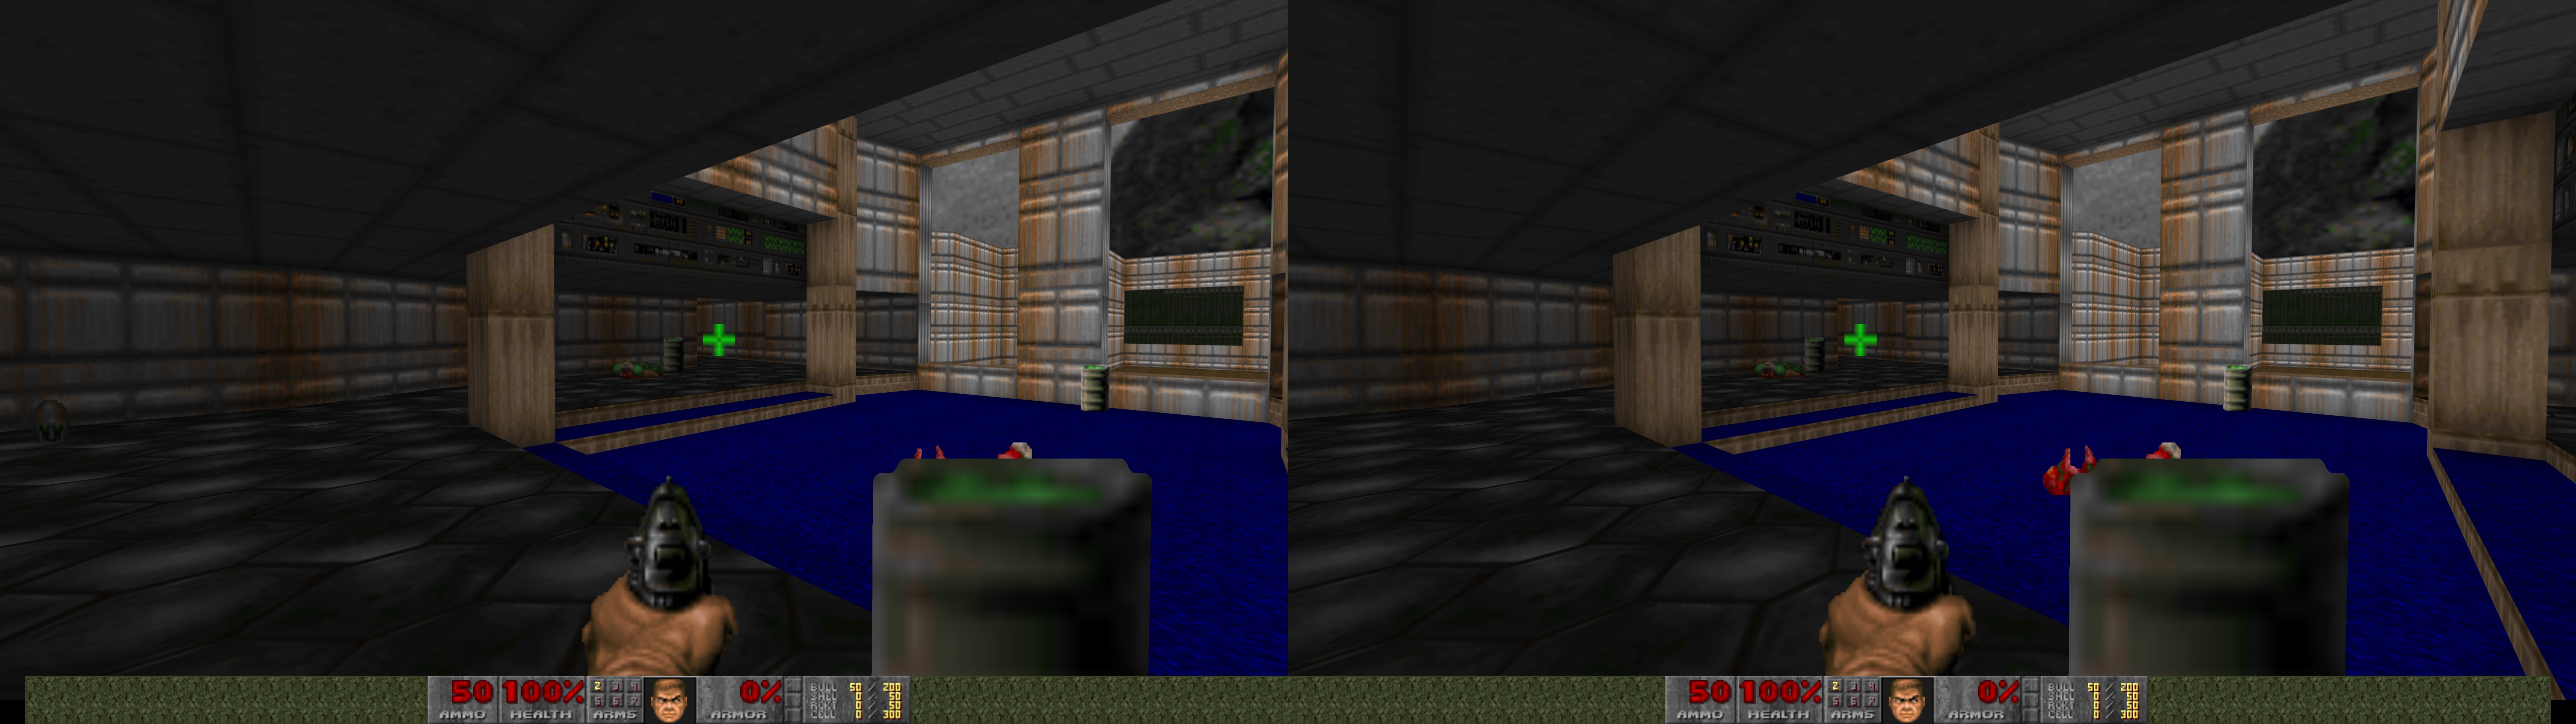
3D Vision fix for PrBoom: Ray Traced, which allows you to play the first Doom game with ray tracing. Last github release tested: 1.0.7.

A GPU that supports ray tracing is required to make it work. I only have a Nvidia GPU, so I can't ensure first hand that AMD will work.

This fix is done only in frame sequential mode and not in single frame stereo, meaning that low fps will feel bad and unsynchronized between the eyes (because they are). Try to maintain 60fps or close to it. Thankfully this is a game that doesn't look bad at low resolutions. If at some point I learn how to convert the fix to single frame stereo, I'll do it.

For Nvidia GPUs, you need drivers newer than 452.06 (I used 512.95, so think about them as the minimum). With 452.06, the game will just refuse to run.


Fix in Vulkan done with Vk3DVision. You need to download Vk3DVision on its own, because the fix from this blog post is just the profile for the game.

For outputs different than 3D Vision, check and configure the "Vk3DVision\Profiles\prboom-rt\Vk3DVision.ini" file or read the Vk3DVision manual.


Fixed

  • Ray tracing shader.
  • Partially fixed denoiser, but disabled by default. With a hotkey to optionally enable it.
  • Stereoized non RTX geometry.

Known issues
  • The denoiser (if enabled with the "p" key) is only partially fixed and it can negatively affect some reflections. I would only recommend enabling it for very dark areas to avoid heavy flickering.

Installation
  • Install PrBoom: Ray Traced, the Doom wad you need, and mods if you want. 
  • I recommend running the game at least once first and configuring all the settings and output resolution.
  • Download Vk3DVision and unzip it anywhere, if you don't have it already. Version 4.19.20 at the very least.
  • Download this file and extract its contents in your "Vk3DVision\Profiles" folder, which comes with Vk3DVision.
  • Open "Vk3DVision.exe" and then run the game exe, which should be called "prboom-plus.exe". By default the presentation is configured for 3D Vision monitors in DX9. Open "Vk3DVision\Profiles\prboom-rt\Vk3DVision.ini" and change the "Stereo3DViewMode = 3DVision" line to what you need.
  • Do not use any of these settings:
    • VIDEO MODE other than "RT".
    • NVIDIA DLSS
    • CRT INTERLACING
  • Configure separation and convergence to your liking in "Vk3DVision.ini". Defaults are 160 and 0.15 respectively. Since it's a first person mode, you probably can set your preferred settings ingame, write them in the ini and forget about them. The gun position isn't a static 2D sprite. It has a real world position so with a good convergence level (like default) it will converge more than what you'd want. You'll have to learn to "see through" the weapon unless you want a pretty flat experience with lower convergence.

Recommendations
  • Unless you don't like the look, I recommend playing with the denoiser disabled.
  • If you get a red warning when opening the game in 3D Vision, try opening a 3D screenshot before playing the game (you can do it after too, if you alt+tab out).
  • Set LIGHT GI BOUNCES to "1" or "2 FOR POLY LIGHTS" to avoid a big performance drop.
  • Use the FLASHLIGHT setting at DEFAULT. It looks better.
  • If you want to admire the graphics better, enable mouselook in the options.
  • Use a RENDER SIZE as low as you need to get high enough fps to feel good playing it.

Hotkeys (Vulkan)
  • p: toggle to enable the denoiser. It will make reflections somewhat incorrect, but dark areas will flicker less.


If you liked the fix and want to contribute for more future fixes, you can donate to this PayPal account: masterotakusuko@gmail.com
Or you can join my Patreon: https://www.patreon.com/masterotaku

Saturday, April 2, 2022

Rage 2 (Epic Games Store version)


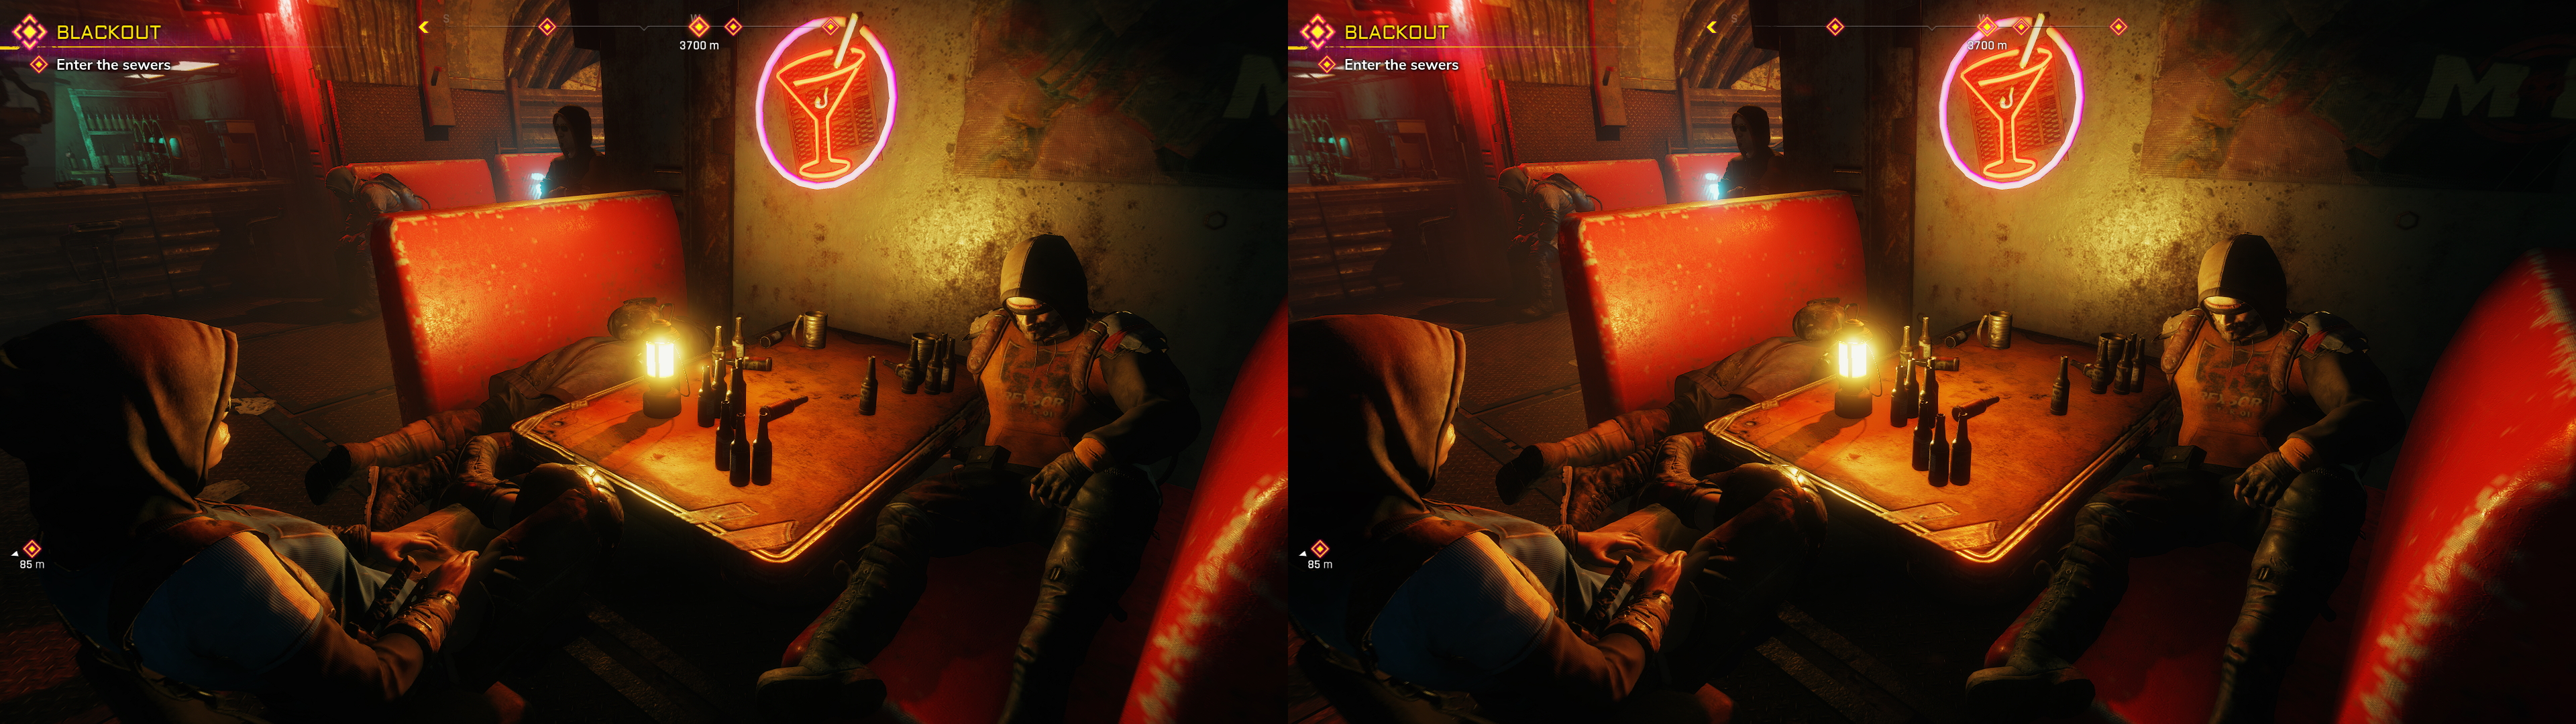
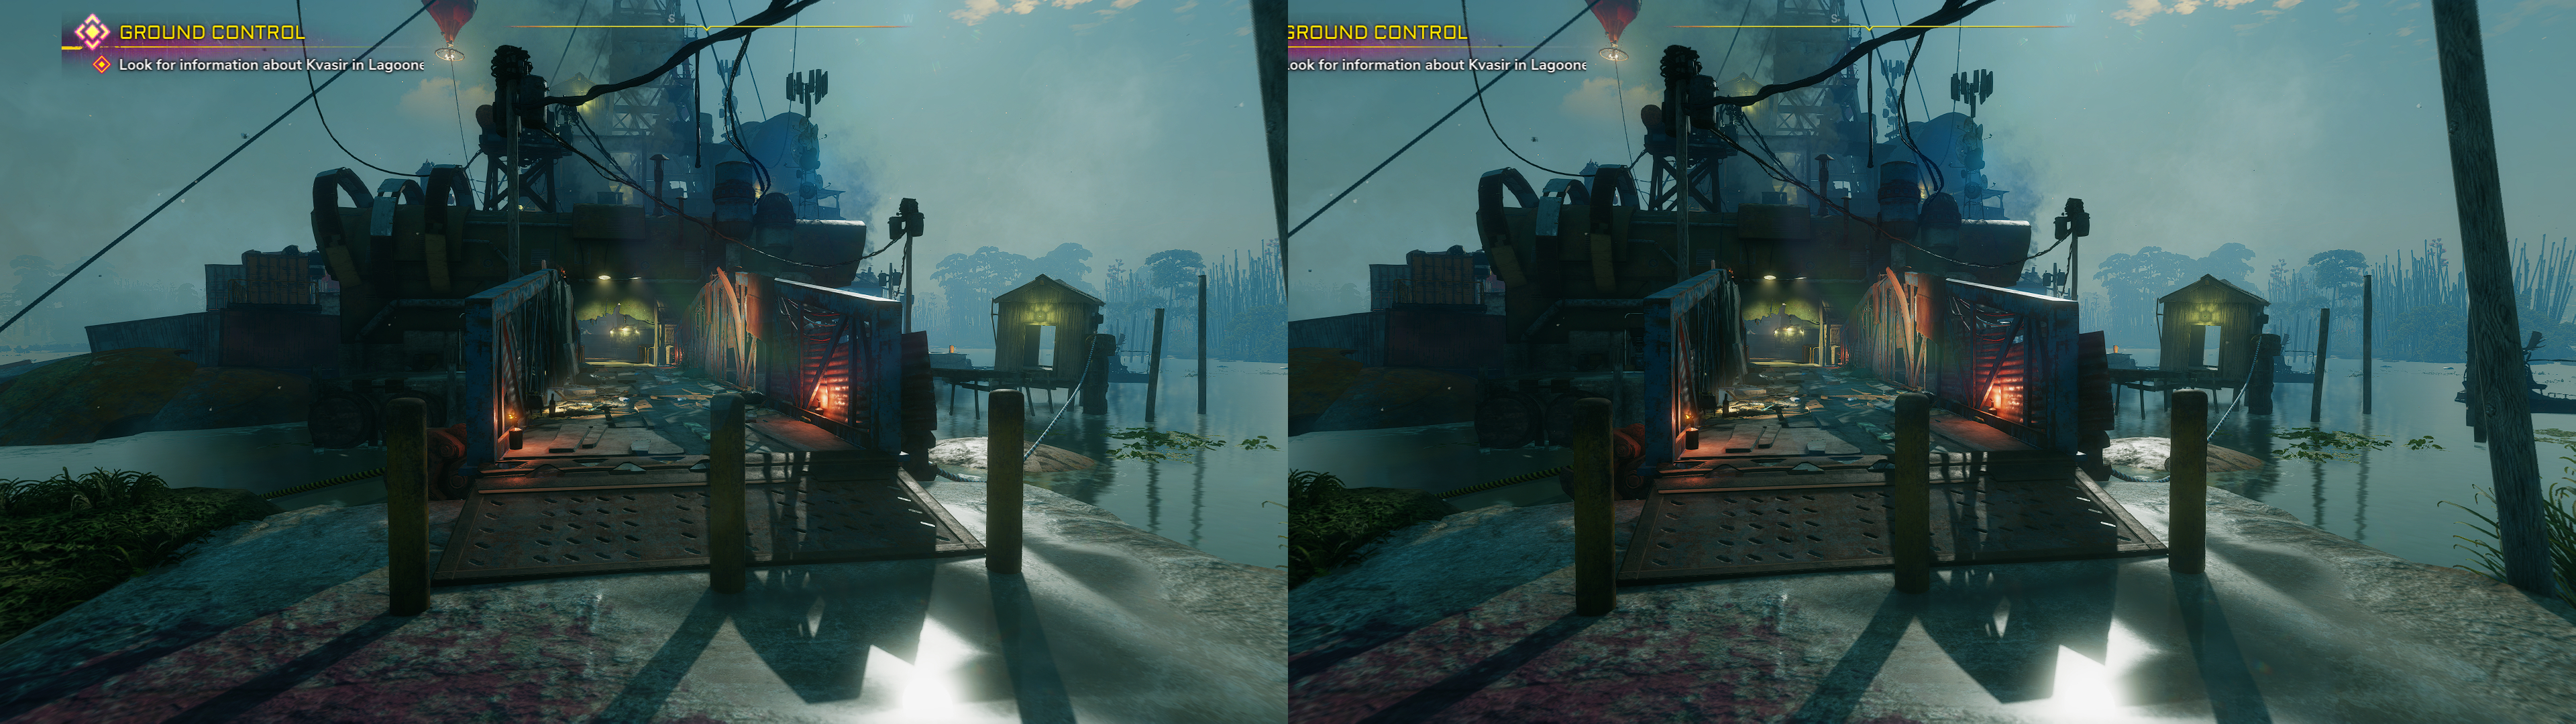
3D fix for Rage 2 (Epic Games Store version), made with Helifax's Vk3DVision v4.19.19 driver

Special thanks to Helifax for adding FrameSync and the finishing touches to the fix.


Supported 3D modes

Steam OpenVR

HelixVision

nVidia 3D Vision

SBS and TNB formats


Required settings

Run the game and set the following graphics options:

Window Mode: Borderless

Motion Blur: Off

Anti-Aliasing: Off or FXAA

Player Self-Shadow: On

Shading Quality: High


Installation

Download this archive and extract it either in the Rage2 game folder or where you keep your 3D fixes.

Vk3DVision.ini (located in "Vk3DVision\Profiles\Rage2") is configured for 3DVision mode. Open this file and change the Stereo3DViewMode setting according to your hardware.

Go to "C:\Users\YourUser\Saved Games\id Software\Rage 2" and open "settings.ini". Make sure the Fullscreen and Windowed resolutions match your desktop resolution like in this example:

[Display]

Fullscreen=1

FullscreenWidth=1920

FullscreenHeight=1080

WindowedWidth=1920

WindowedHeight=1080

Once this file is configured, the in-game resolution must not be changed anymore. Use the Resolution Scale options instead.

Open Vk3DVision.exe and start the game.

Note that you may encounter issues starting the game through the Epic Launcher.

For a better compatibility, you can close the launcher and run the game manually by creating a shortcut for RAGE2.exe and using the command -epicportal in the Target field. (e.g. C:\games\Rage2\RAGE2.exe -epicportal)


Hotkeys

F1: Cutscenes convergence

F2: Vehicle convergence

F3: Custom HUD depth

Middle Mouse Button (MMB): UI + Crosshair depth on/off

F4-F8: Crosshair depth presets

F9: Low convergence weapon mode (experimental)

F10: Vk3DVision menu


Notes

This fix works only on Windows 10 with nVidia drivers v452.06 or newer. Earlier driver versions are not tested.

Use the MMB hotkey in menus, or in cutscenes if you see flickering text.

The F3 hotkey will push the HUD to full depth by default. This can also correct text glitches that sometimes appear during gameplay.

SSAO may have clipping issues in some rare indoor spots.


Wednesday, December 29, 2021

Flycast (Dreamcast emulator) [DX11] [Vulkan]


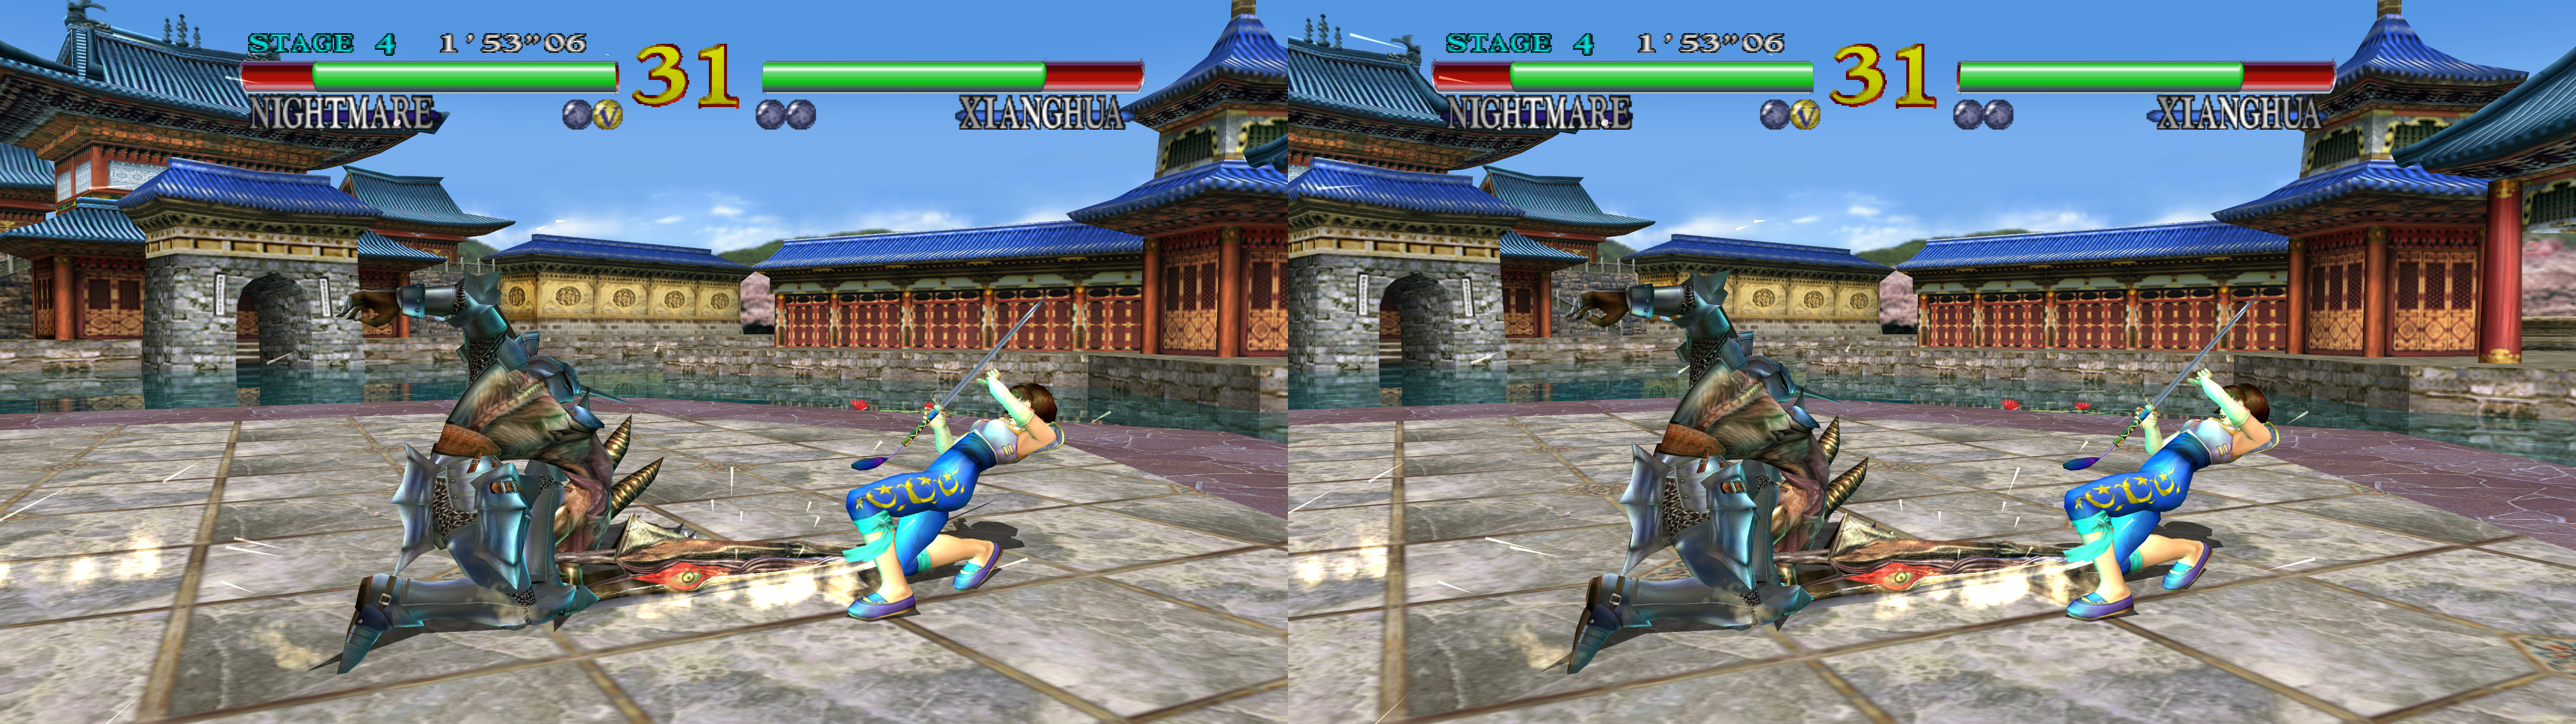
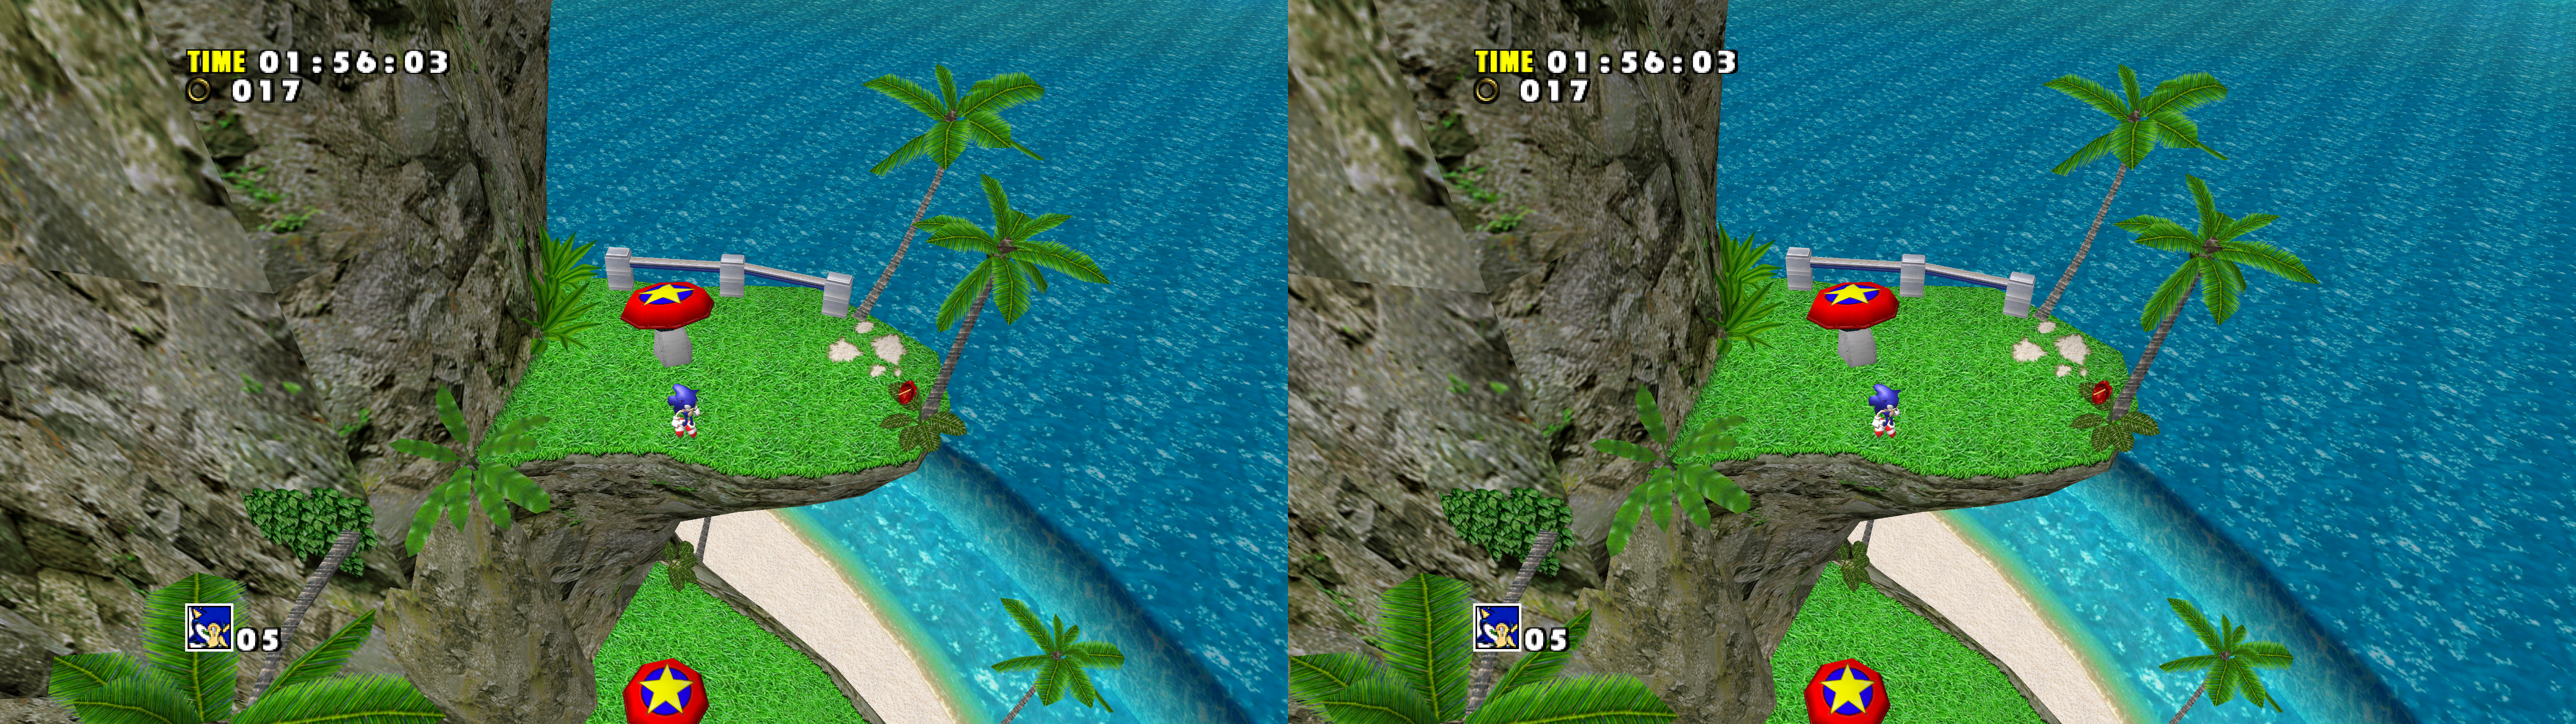
3D Vision and geo-11 fix for Flycast, a Dreamcast emulator. Separate fixes for the "DirectX 11" and "Vulkan" graphics API options.


Fixed in DirectX 11 with 3Dmigoto and geo-11.

Fixed in Vulkan with Vk3DVision.


What the fix does
- It stereoizes geometry, because even in DX11, 3D Vision Automatic doesn't stereoize anything because of the way shaders are made in the emulator.
- It has a hotkey with depth options for elements that are detected as 2D. Divided into multiple hotkeys in Vulkan.
- For DX11, hotkeys to control which eye is dominant (if you don't want a centered view) and the possibility to reverse 3D. The dominant eye is a native option of Vk3DVision already.
- Adds an OSD that can be shown with F1 for the DX11 renderer. It shows the current state of hotkeys, and separation and convergence values.


Known issues (Common)
- "Transparent Sorting" set to "Per Pixel" doesn't work correctly. In Vulkan it crashes, and in DX11 many effects are only visible in one eye. Use "Per Triangle" or "Per Strip" instead. I tested "Per Triangle" the most.
- You will have to configure the "StereoCutoff" settings every time you want to play and with different settings per game, because the depth value of HUD elements varies per game, as well as normal convergence values. Default settings are more or less safe in general, but the convergence you need can vary wildly.


Installation (DX11)
Don't use Windows 7. The fix relies on flip model, which the 3Dmigoto "d3d11.dll" forces. That feature should work on Windows 8 and newer.
- Get the latest emulator version for Windows x64 from github.
- geo-11 (with build v0.6.58): download this file and extract its contents in the "flycast" folder, where "flycast.exe" is. Remember to edit "d3dxdm.ini" to change your "direct_mode" to the output you need. It's sbs by default. For 3D Vision monitors, only "direct_mode = nvidia_dx11" works (nvidia_dx9 isn't triggering 3D Vision), so better use the Vulkan fix for 3D Vision monitors if you're using new drivers or GPUs. No drawbacks in using the geo-11 fix (compared to the 3D Vision fix) with old drivers or GPUs.
- 3D Vision (outdaterd): download this file and extract its contents in the "flycast" folder, where "flycast.exe" is.
- Run the emulator and set the "Graphics API" setting to "DirectX 11". Make sure "Transparent Sorting" is NOT set to "Per Pixel". Use any resolution you want, and widescreen or not, what you prefer.
- (3D Vision) Use alt+enter to set the emulator to fullscreen the first time, which should trigger 3D. Everything in the emulator is configured from the inside, so you won't need to revert to a window. I exit the emulator with alt+F4.
- Run the game you want. The first time, Windows will ask for permission to modify the Nvidia profile.


Installation (Vulkan)
- Get the latest emulator version for Windows x64 from github.
- Download this file and extract its contents in the "flycast" folder, where "flycast.exe" is.
- Run the emulator and set the "Graphics API" setting to "Vulkan". Make sure "Transparent Sorting" is NOT set to "Per Pixel". Use any resolution you want, and widescreen or not, what you prefer.
- Use alt+tab to set the emulator to fullscreen, which should trigger 3D. Everything in the emulator is configured from the inside, so you won't need to revert to a window. I exit the emulator with alt+F4.
- Open "Vk3DVision\Vk3DVision.ini" and set your preferred "Stereo3DViewMode" depending on your type of display. It's configured as "Stereo3DViewMode = 3DVision" by default. You can also set your preferred default separation and convergence. For monitor users, I recommend setting "Separation" to over 100 if 100 is too low. I use 160 personally.
- Run "Vk3DVision.exe" and then "flycast.exe". The emulator should trigger 3D and run in fullscreen. Then load the game you want.


Hotkeys (DX11)
- F1: toggles the OSD at the left of the screen that shows the current state of hotkeys and other values.
F2: convergence presets (0, 0.05, 0.5, 1.01, 2.01, 10.01, 25.01, 50.01, 100.01, 200.01, 300.01, 600.01, 1000.01). 1 by default. Different games need different convergence levels.
F3: presets for the first stereo cutoff setting (0.7, 0.9, 1, 1.001, 300). 0.9 by default. This controls the maximum depth value that is allowed to be stereoized. If you see geometry becoming flat near the camera, you need to use a higher value (extreme example: Soul Reaver needs the 300 setting). If HUD elements fly out of the screen, controlled by convergence, use a lower value.
F4: presets for the second stereo cutoff setting (0.25, 0.4, 10.01). 0.4 by default. Same function as the previous hotkey, but for different shaders that are more likely to be part of the HUD.
F5: depth presets for 2D elements (0%, 20%, 40%, 60%, 80%, 100%). 0% depth by default.
F6: dominant eye (center, left, right). Center by default. Useful to not use a centered view if you want HUD elements to at least always be visible in one eye.
F8: reverse 3D toggle. Normal orientation by default.

You can reset the settings with F10, as usual for 3Dmigoto. It won't reset separation and convergence.


Hotkeys (Vulkan)
- 1,2,3,4,5,6,7,8,9,0 (not the numpad): convergence presets (0, 0.05, 0.5, 1, 2, 10, 25, 100, 300, 1000). 1 by default. Different games need different convergence levels.
- y,u,i,o,p: presets for the first stereo cutoff setting (0.7, 0.9, 1, 1.001, 300). 0.9 by default. This controls the maximum depth value that is allowed to be stereoized. If you see geometry becoming flat near the camera, you need to use a higher value (extreme example: Soul Reaver needs the 300 setting). If HUD elements fly out of the screen, controlled by convergence, use a lower value.
v,b,n: presets for the second stereo cutoff setting (0.25, 0.4, 10.01). 0.4 by default. Same function as the previous hotkeys, but for different shaders that are more likely to be part of the HUD.
- m: this resets the settings, including convergence but not separation.


If you liked the fix and want to contribute for more future fixes, you can donate to this PayPal account: masterotakusuko@gmail.com
Or you can join my Patreon: https://www.patreon.com/masterotaku