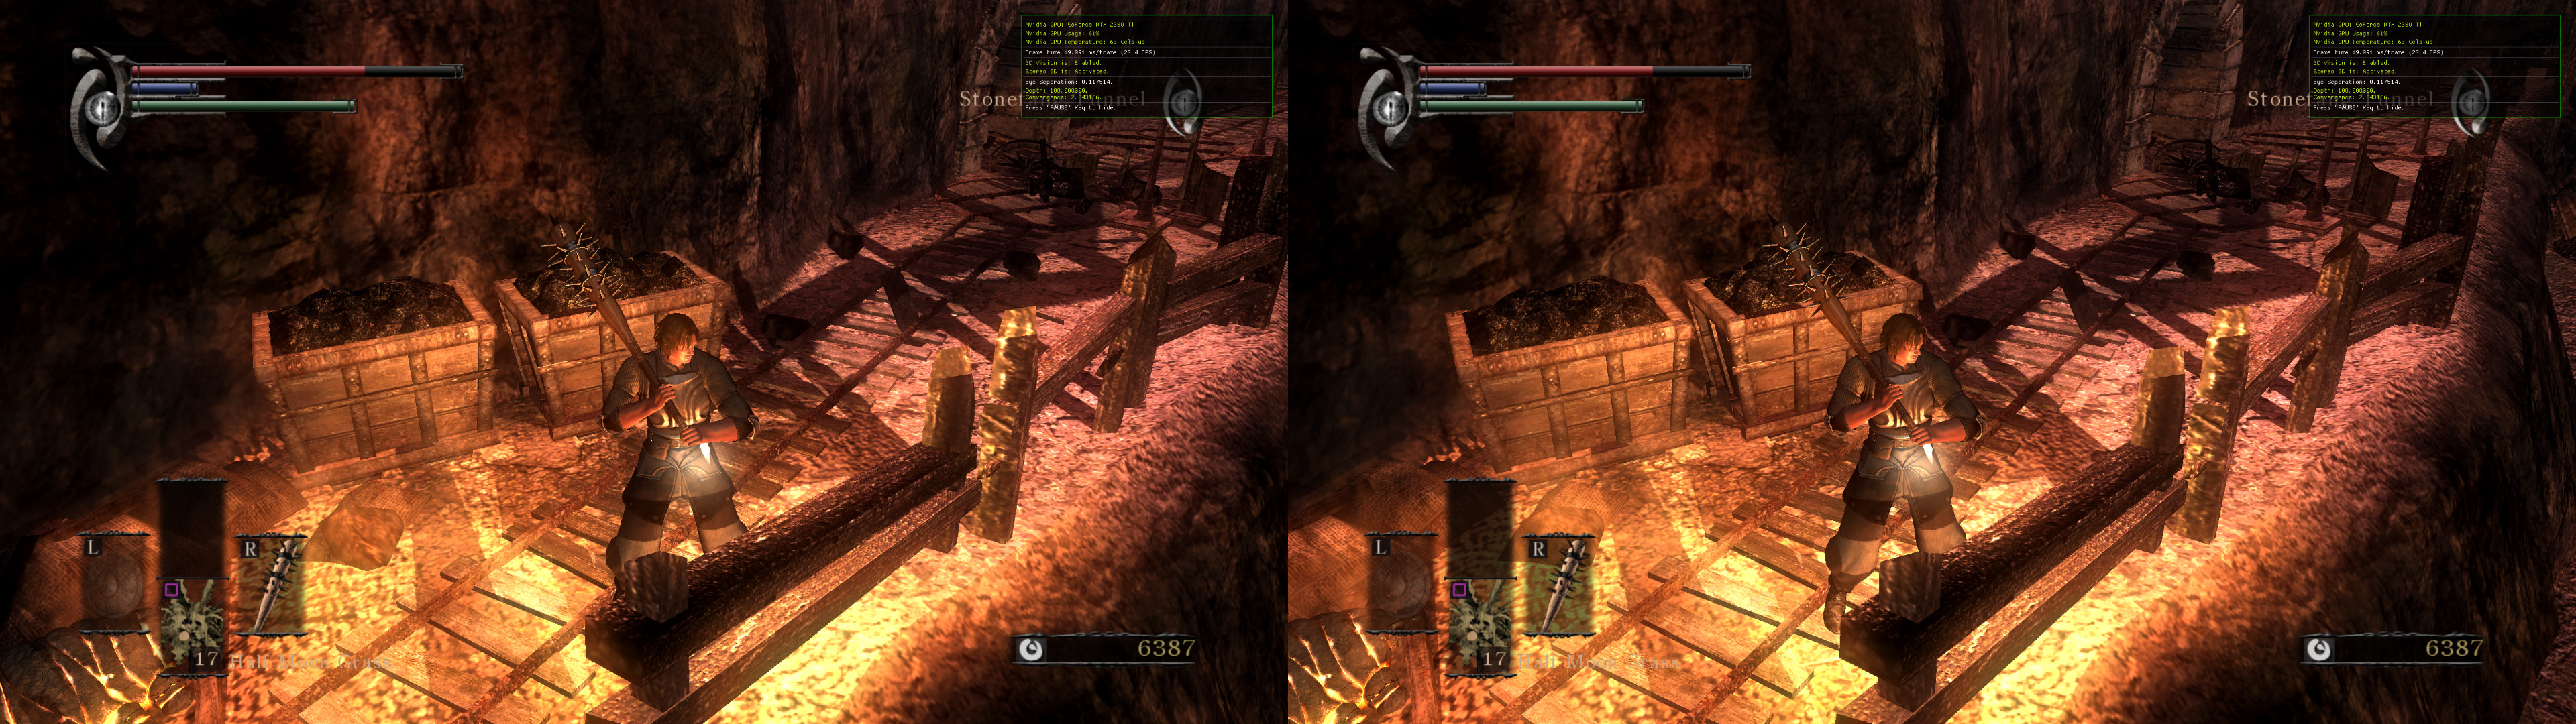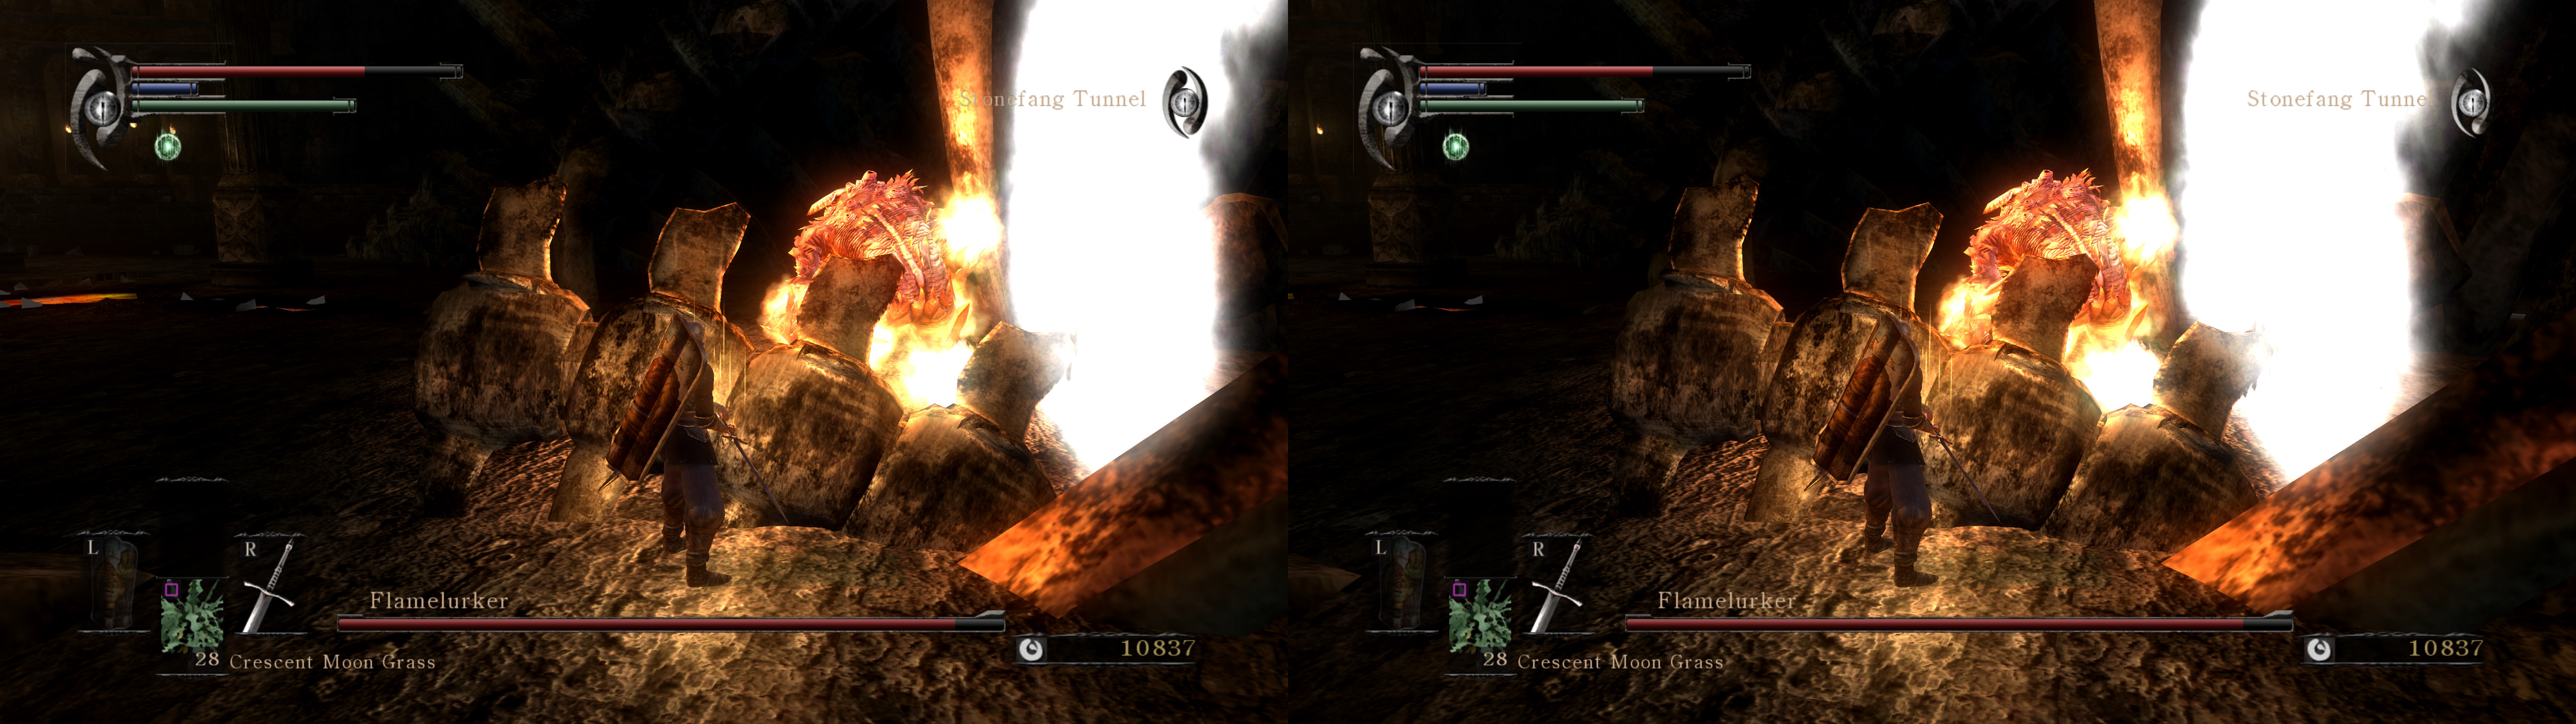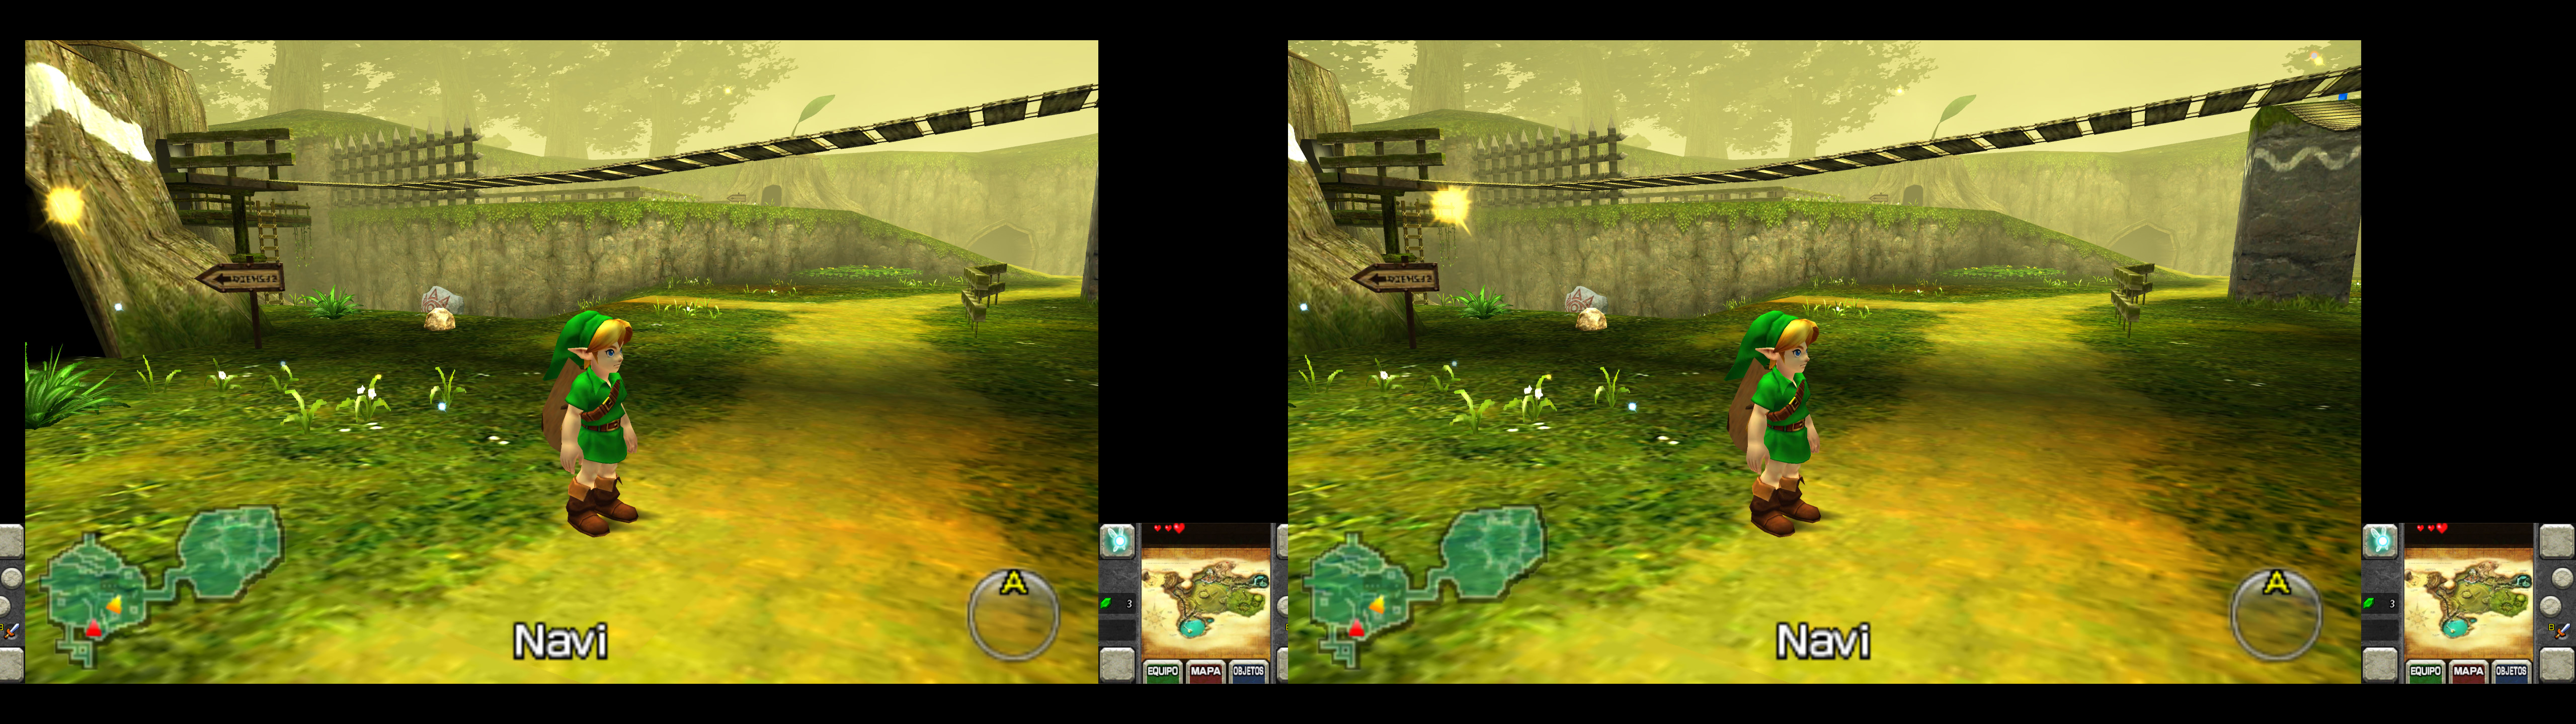
Showing posts with label OpenGL3DVision. Show all posts

Tuesday, June 3, 2025

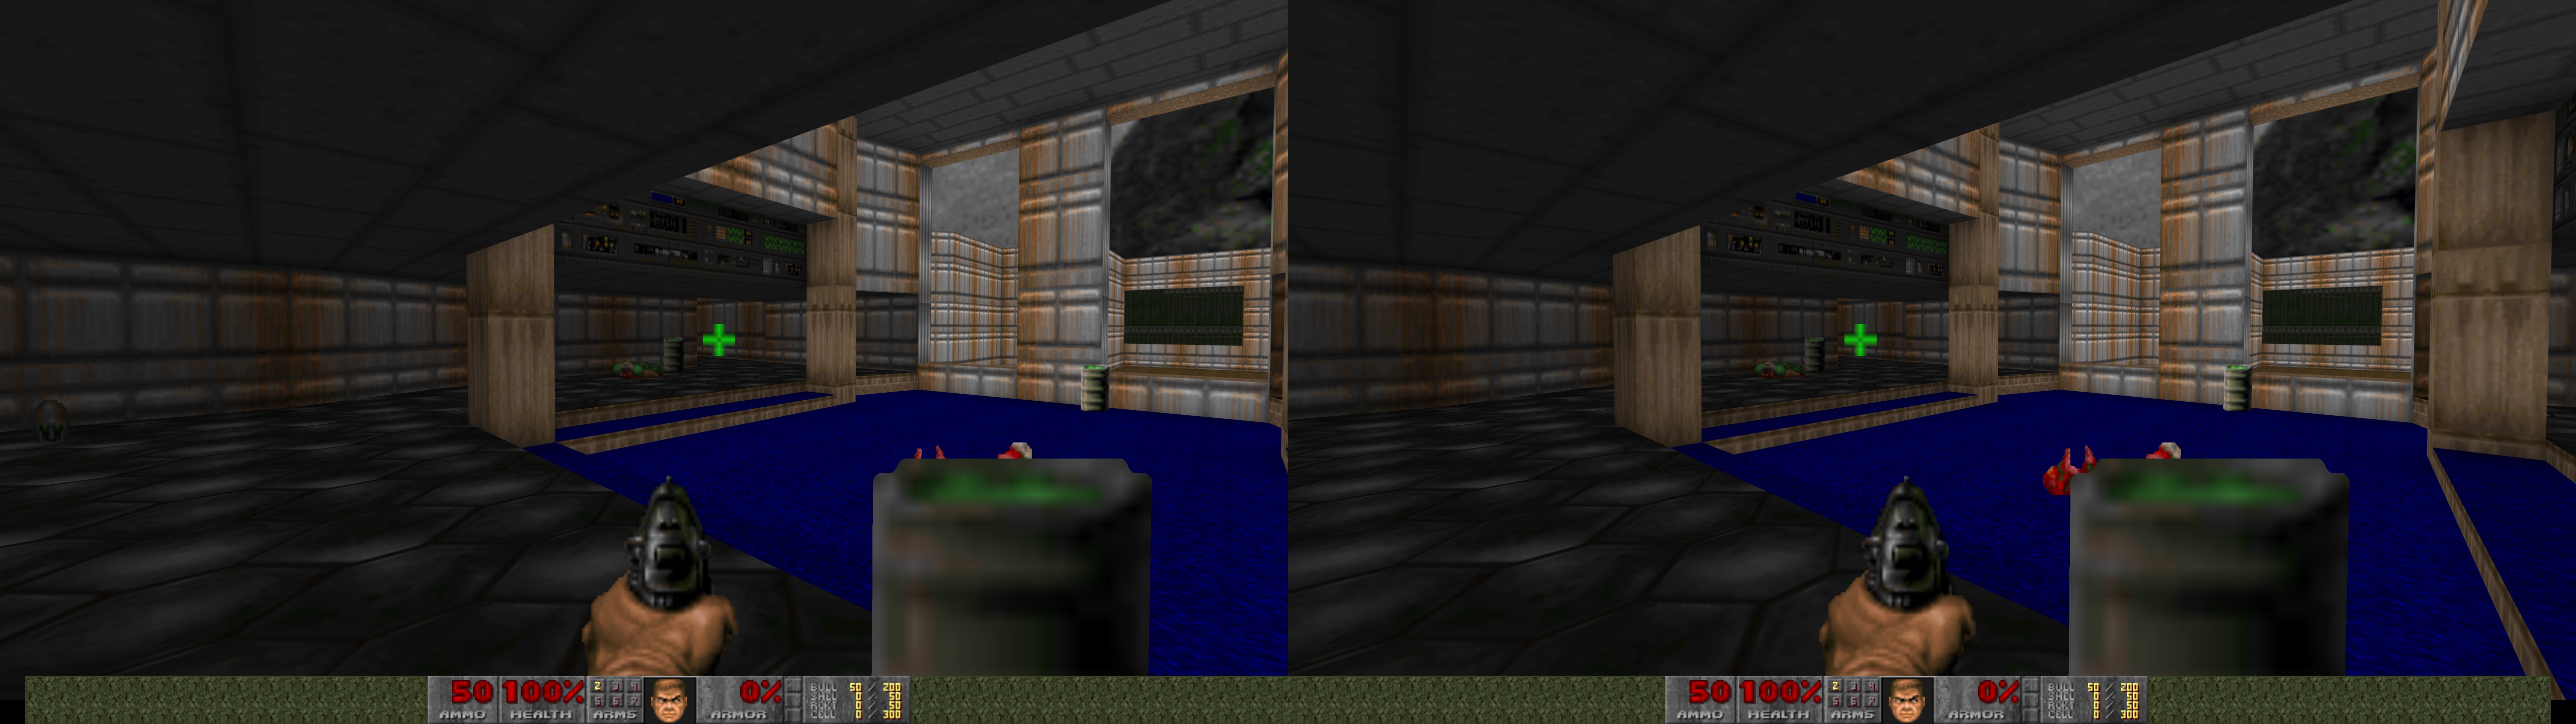
GZDoom


OpenGL and Vulkan fix for GZDoom, 64 bits version, the source port of the old Doom games (and all supported mods). The Vulkan fix also supports Selaco, a paid game that uses GZDoom. Thanks to Helifax for making OpenGL3DVision and Vk3DVision.

As of the latest update, I'm focusing on the Vulkan fix, because it has better performance. I don't think I'll update the OpenGL fix anymore.
Last GZDoom version tested: 4.14.2


Update (2025-06-03): added Vk3DVision fix, also supporting Selaco. I don't think the OpenGL version of GZDoom is worth updating anymore.

Update (2019-09-02)
: added the "libmmd.dll" file that some people needed to make the fix work. If for some reason you also need "ucrtbased.dll", you can unzip it from this file.

Update (2019-09-01): fix updated to the latest OpenGL wrapper, improved stereoization formula and tested with GZDoom 4.2.0. The old fix version here.


-------------------------------------------------------------
Vulkan section here. Recommended

The fix doesn't use single frame stereo, because at least for me, it wasn't possible to make it work correctly.

Fixed
- Stereoized geometry.
- Distant geometry that was too close to the camera is now pushed to depth.
- HUD + crosshair, and weapon convergence scaling hotkeys.


Installation
- Download and unzip the latest version of Vk3DVision somewhere in your PC.
- Download this file (it's a game profile) and unzip it inside the "Profiles" folder of your Vk3DVision installation. You should have a "gzdoom" folder inside "Profiles" as a result.
- Inside the "gzdoom" folder, open "Vk3DVision.ini" to set your preferred "Stereo3DViewMode". It's set to "SBS_LEFT" by default, and set to recognize the "gzdoom.exe" and "SELACO.exe" files.
- Run "Vk3DVision.exe".
- Run GZDoom in Vulkan mode. You can use any games or mods you want.


Hotkeys
- l: normal convergence.
- p: high convergence.
- o: crosshair and HUD depth toggle to 87.5% depth.
- j: weapon depth toggle, which is enabled by default. This makes it convergence dependant, to make sense with the world scale. At the default 16 convergence, it will be at screen depth. With higher convergence, it will pop out of the screen, and with lower convergence, it will be deeper inside the screen.


Special information about Selaco
- Disable the Steam overlay. It makes the game crash when Vk3DVision is running.
- Running the game through Steam will trigger "SELACO_Vulkan.bat", which launches a different exe than normal and somehow avoids the Vk3DVision injection. Make a copy of that file and replace "WorkshopDownloader.exe" with "SELACO.exe". Now you can launch it with Steam, but in my experience it disables Steam achievements.
- The game is DRM free so you can just launch "SELACO.exe" if you want.
- Instead of this Vulkan fix, you can also play it in OpenGL with native 3D by forcing the GZDoom options menu to open ("openmenu optionsmenu" in the console that you can open with the tilde key), but even if it's synchronized 3D, performance is worse than in Vulkan, you don't have HUD depth options, iron sights increase separation in an unwanted way, and opening the data pad crashes the game. Not worth it, in my opinion.


Notes
- Make sure you haven't enabled any native 3D mode in GZDoom. It will shift the image to a side and hurt performance.
- To help with CPU performance, don't enable ambient occlusion or bloom. Especially in Selaco, which can be a very CPU demanding game when lots of shooting and particles are happening.


-------------------------------------------------------------
Old OpenGL section here. Not recommended now.

Explanation
- In Windows 7, it can be played in 3D Vision natively using quad buffer stereoscopic 3D (in the OpenGL renderer options). However, at some point in Windows 10, it doesn't trigger the glasses nor produce a 3D image anymore. This fix is aimed at people that can't get that mode to work.
- This fix uses frame sequential 3D (just like all OpenGL fixes in this site), meaning that very fast horizontal camera movements can cause a bit of disorientation. However, it's very easy to get 60fps per eye, so it isn't that easy to notice.
- You can use your Nvidia convergence hotkeys, unlike in the native 3D mode of GZDoom. To customize depth, open "3DVisionWrapper.ini" and change the value of "DepthMultiplicationFactor".
- If you want to use the native 3D implementation of the game, you can use 3D SBS narrow mode in GZDoom and set "Enable3DPostEffect = true" in "3DVisionWrapper.ini". Keep in mind that ingame 3D modes are reset at every launch. With your Nvidia convergence hotkeys you can move the screen into depth or make it pop out.


Fixed
- Stereoized geometry, without breaking any HUD elements.
- HUD, crosshair, and weapon depth hotkeys made for GZDoom 4.2.0.


Installation
- Download this file and extract its contents in your gzdoom folder, like "gzdoom-bin-4-2-0-Windows-x64", where "gzdoom.exe" is.
- Set "gzdoom.exe" to run as administrator.
- Play the game in OpenGL mode, but don't use any 3D or VR mode in the ingame options.
- Enable the full options menu, go to Display Options -> Dynamic Light Options -> Light shadowmaps. Set it to "Yes".

Hotkeys
- l: normal convergence.
- p: high convergence.
- o: crosshair depth toggle (if you use a crosshair in the HUD options).
- i: HUD depth toggle.
- j: weapon depth toggle.


Notes
- The extra hotkeys (aside from convergence) may not work in different versions than the ones I tested. I will update this fix for future versions every once in a while..
- Stereoization will work in all future versions, I assume.
- If you use a newer GZDoom version and HUD hotkeys don't work, I recommend deleting the contents of the "Shaders" folder.


If you liked the fix and want to contribute for more future fixes, you can donate to this PayPal account: masterotakusuko@gmail.com

Sunday, May 4, 2025

Tomb Raider IV-VI Remastered [OpenGL]


3D fix for Tomb Raider IV-VI Remastered, the 2025 remaster of the Tomb Raider IV, Chronicles and The Angel of Darkness.

This fix was made (and includes) OpenGL3DVision, version 12.3, 64 bits.


I haven't finished playing the games. I just checked enough of each game to be fairly confident that there is nothing else to fix. Although I don't know if there could be other broken effects in TR6.


Fixed

  • Shadows.
  • Specular reflections.
  • Skyboxes for both remastered and classic graphics.
  • Scissor clipping with classic graphics, thanks to an ini setting.

Known issues
  • In Tomb Raider IV (and maybe Chronicles), with classic graphics, some levels may show inverted 3D for geometry at some specific locations and camera angles.

Installation
  • Download this file and extract its contents in the "Tomb Raider IV-VI Remastered" folder, where "tomb456.exe" is.
  • Open "3DVisionWrapper.ini" and select the "RenderMode" that you need. By default it's set to 0, for 3D Vision displays. The default "Separation" is 100. You can change that in the ini or hold ctrl+F1 / ctrl+F2 to tweak it. ctrl+F3 / ctrl+F4 for convergence.
  • Run the game.

Hotkeys
  • j: 450 convergence. Intended mostly for cutscenes.
  • k: 900 convergence (default, although in 3D Vision you may need to press the key).
  • l: 1200 convergence.
  • o: this sets the HUD depth to 40%.
  • p: this sets the HUD depth to something convergence dependant.

Notes
  • If you have a lot of GPU performance to spare, make a profile for the game in Nvidia Profile Inspector (if you don't have it already), set "Antialiasing - Mode" to "Override any application setting", and "Antialiasing - Setting" to "32xS [Combined: 2x2 SS + 8x MS]". This will especially make the classic graphics look better.
  • Don't try to limit the fps of the game. Just let vsync do its job. This will make the frame sequential 3D look pretty close to synchronized.
  • After you exit the game, check that the "tomb456.exe" process didn't get stuck. Kill it with the task manager if that happens.
  • Tomb Raider: The Angel of Darkness, unlike the previous two games, is limited to 60fps in 2D. This means 30fps per eye in 3D.

Friday, May 3, 2024

Tomb Raider I-III Remastered Starring Lara Croft [OpenGL]


3D fix for Tomb Raider I-III Remastered Starring Lara Croft, the 2024 remaster of the first three Tomb Raider games and their expansions.

This fix was made (and includes) OpenGL3DVision, version 12.3, 64 bits.


Fixed

  • Shadows.
  • Specular reflections.
  • Parallax occlusion mapping effects.
  • Skyboxes for both remastered and classic graphics.
  • Scissor clipping with classic graphics, thanks to an ini setting.

Known issues
  • In Tomb Raider III, with classic graphics, some levels may show inverted 3D for geometry at some specific locations and camera angles. I didn't find a way to counter this.

Installation
  • Download this file and extract its contents in the "Tomb Raider I-III Remastered" folder, where "tomb123.exe" is.
  • Open "3DVisionWrapper.ini" and select the "RenderMode" that you need. By default it's set to 0, for 3D Vision displays. The default "Separation" is 100. You can change that in the ini or hold ctrl+F1 / ctrl+F2 to tweak it. ctrl+F3 / ctrl+F4 for convergence.
  • Run the game.

Hotkeys
  • j: 450 convergence. Intended mostly for cutscenes.
  • k: 900 convergence (default, although in 3D Vision you may need to press the key).
  • l: 1200 convergence.
  • o: this sets the HUD depth to 40%.
  • p: this sets the HUD depth to something convergence dependant.

Notes
  • If you have a lot of GPU performance to spare, make a profile for the game in Nvidia Profile Inspector (if you don't have it already), set "Antialiasing - Mode" to "Override any application setting", and "Antialiasing - Setting" to "32xS [Combined: 2x2 SS + 8x MS]". This will especially make the classic graphics look better.
  • Don't try to limit the fps of the game. Just let vsync do its job. This will make the frame sequential 3D look pretty close to synchronized.
  • After you exit the game, check that the "tomb123.exe" process didn't get stuck. Kill it with the task manager if that happens.
  • Even if (as of the second game patch) the classic graphics are limited to 30fps, you still get 30fps per eye because the game outputs many repeated frames to fill the vsync cap. Remastered graphics don't have this internal limit.
  • The screenshots in this blog post show a black border. That happened to me at 3840x2160 for some reason, but not at 2560x1440.

Saturday, August 12, 2023

WipeOut Phantom Edition [OpenGL]


3D Vision fix for WipeOut Phantom Edition, an unofficial PC port of the original WipeOut for the PlayStation. This fix was made using Helifax's OpenGL3DVision wrapper (version v.10.1.Beta).

You can find the game here: https://github.com/wipeout-phantom-edition/wipeout-phantom-edition

Tested versions are v1.1.125 and v1.1.168 (the latest one as of the date of this post). It may work with future versions.


Fixed
- Stereoized graphics with the necessary custom formula.


Known issues
- Vehicle shadows, missile explosions and similar effects are at screen depth. The game doesn't give them any depth value.


Installation
- Download this file and extract its contents in the "wipeout" folder, where "wipeout.exe" is.
- Check "3DVisionWrapper.ini". It's configured for 3D Vision monitors by default, but you can change "AlternativeView_Mode" to other values to use SBS or TAB formats.
- Run the game.

Important: do not use windowed mode. By default the game runs at the desktop resolution. Leave it like that.

By default the game has 'interpolation "1"' in the "wipeout.cfg" file. Make sure to not change that so that you can get all the fps per eye you can.
Also, 'perspectiveCorrect "1"' is set by default in "wipeout.cfg", and it's mandatory for 3D.


Default convergence is 4 and I tuned the fix to work OK at that value. You can change it in "3DVisionWrapper.ini" but you'll need to run the game as administrator to load a default value different than 4.


If you liked the fix and want to contribute for more future fixes, you can donate to this PayPal account: masterotakusuko@gmail.com
Or you can join my Patreon: https://www.patreon.com/masterotaku

Tuesday, December 6, 2022

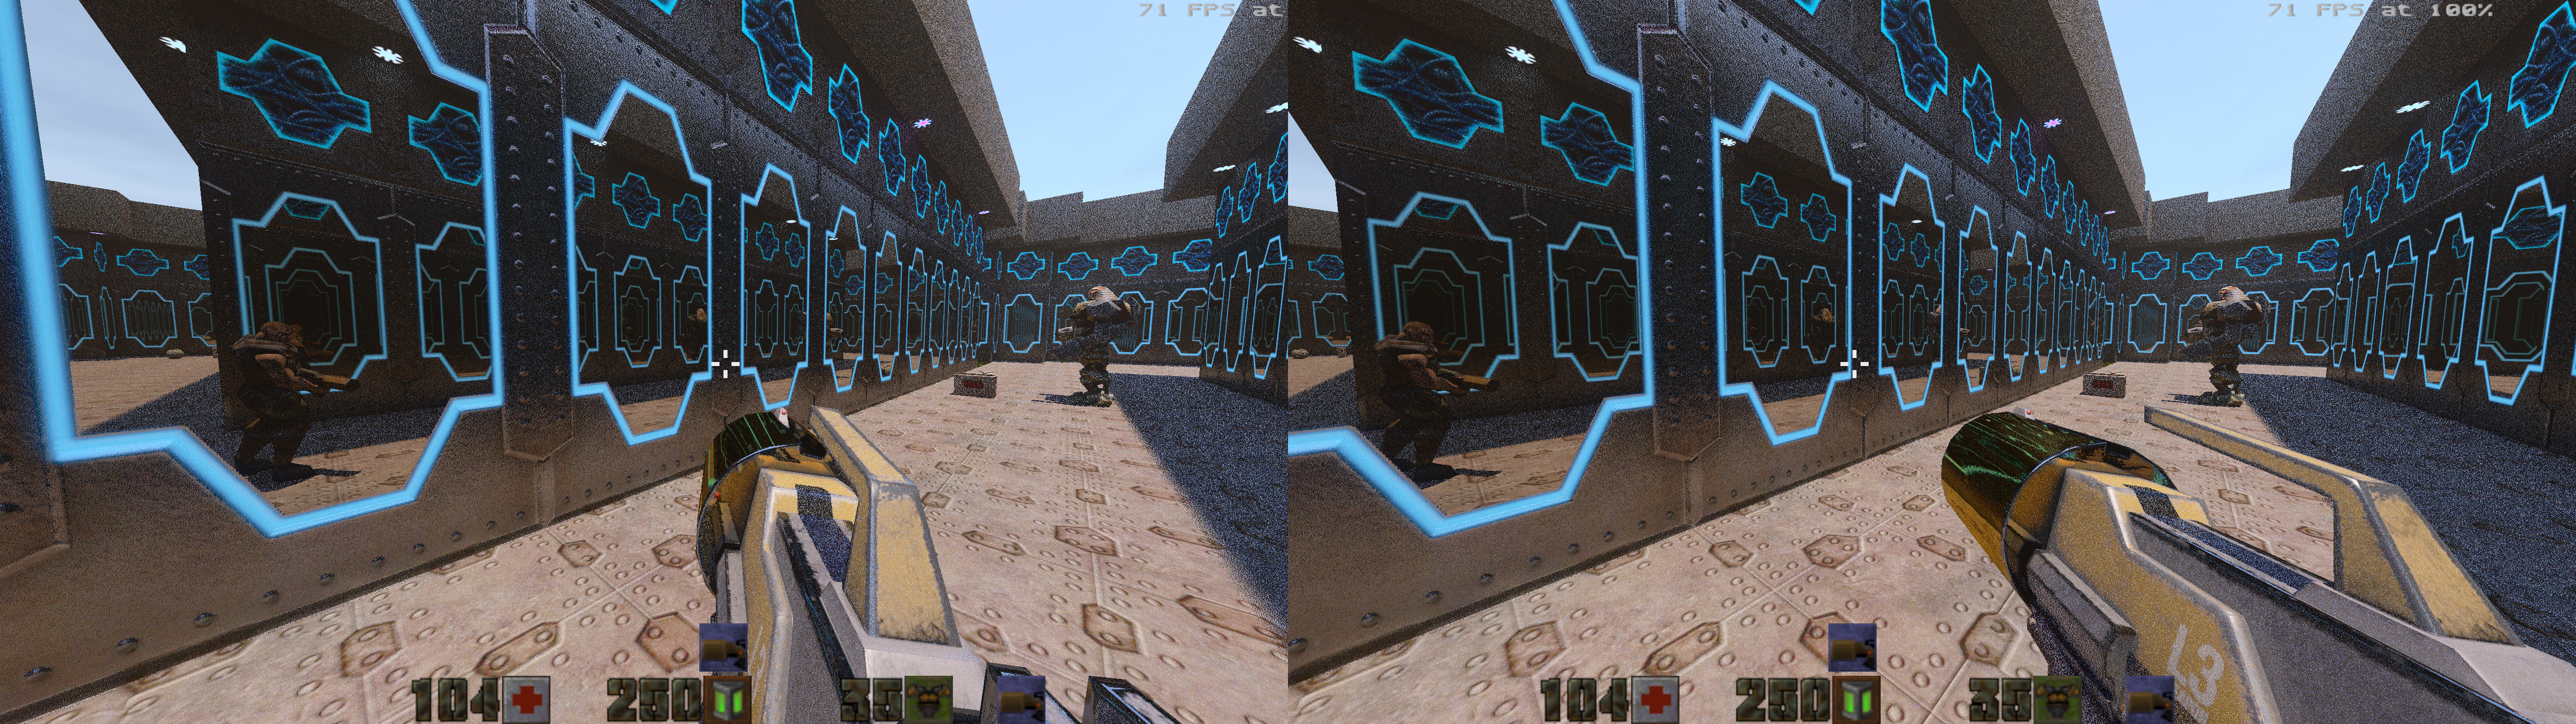
Quake [OpenGL] [Vulkan] [DX9] [DX11]

3D Vision (and geo-11) fixes and recommendations for multiple Quake versions and source ports. Each fix with a different downloadable fix.

The list of ports I tried/fixed/configured is: vkQuake (including vkquake-rt), QuakeSpasm Spiked, Darkplaces, ezQuake, MarkV, Quake Enhanced.

For the older DirectQ source port (DX9), you can check this blog post by eqzitara.

Quake Enhanced will be fixed at a later date when it's available on GOG. Done.


I recommend keeping a separate Quake installation for each version/port, because config files, mods, save files or 3D fixes can have conflicts.


Fixes in OpenGL done with OpenGL3DVision. For outputs different than 3D Vision, check and configure the "3DVisionWrapper.ini" file.

Fixes in Vulkan done with Vk3DVision. For outputs different than 3D Vision, check and configure the "Vk3DVision\Vk3DVision.ini" file or read the included manual.

Fixes in DirectX 11 done with geo-11.


Update (2022-12-26): added Quake Enhanced fix, done with geo-11.

Update (2022-12-06): updated vkQuake fix to support the "vkquake-rt" version (1.0.1 at this moment), with ray tracing. It also supports vkQuake 1.22.1 (the latest version as of this day). Support for older vkQuake versions (like 1.11.0) is dropped.


vkQuake (Vulkan)


Pros

  • The smoothest of all at 120fps, with great performance.
  • Correct physics at any fps.
  • Good MSAA and supersampling options.
  • Option to enable the classic underwater effect.
  • The fix lets you put the crosshair at depth (static).
  • Ray tracing, when using vkquake-rt instead of the normal vkQuake. Nvidia GPUs of 2000 series and newer is mandatory, as well as recent drivers.


Cons

  • No HD textures support.
  • No new advanced graphics (shadows, lighting...). Except when using the ray tracing version, of course.


Fixed

  • Stereoized graphics.
  • Fixed "classic" option for the "underwater fx" setting.
  • Crosshair at depth with the F7 hotkey.
  • (vkquake-rt) Stereoized ray tracing.
  • (vkquake-rt) Stereoized (more or less) denoiser. You can use F1 to disable it, making the game flicker more.
  • (vkquake-rt) Corrected some sky elements.
  • (vkquake-rt) Volumetric lighting, although it's "sticky" for some reason. Also fixed its occlusion.
  • (vkquake-rt) Radial blur. It can also be disabled with the 0 key.
Known issues
  • The crosshair hotkey slightly affects some other HUD elements. I couldn't avoid that.

Installation
  • Install vkQuake. The fix was done for the 1.22.1 version.
  • First configure the game graphics in 2D as you like, because changing the video mode (resolution, antialiasing...) while in 3D may crash the game.
  • Download Vk3DVision and unzip it anywhere, if you don't have it already. Version 4.19.20 at the very least.
  • Download this file and extract its contents in your "Vk3DVision\Profiles" folder, which comes with Vk3DVision.
  • By default the presentation is configured SBS_LEFT. Open "Vk3DVision\Profiles\vkQuake\Vk3DVision.ini" and change the "Stereo3DViewMode = SBS_LEFT" line to what you need.
  • Run "Vk3DVision.exe" and then "vkQuake.exe". Close the Vk3DVision window after you have stopped playing the game.
  • To play the expansions or other custom maps, you can make shortcuts to the exe and then add a "-" and the name of the folder to the end, like "-hipnotic" (without quotes).

Recommendations
  • I like the look of the textures and antialiasing when configured like this (your resolution and antialiasing samples may vary if you need better performance):

  • To enable the crosshair, press the tilde key (or whatever is at the left of your 1 key) and type "crosshair 1". To increase the size to x5, for example, type "scr_crosshairscale 5". Update: crosshair option now available through the menu.
  • Change fov through the console, by typing for example "fov 105".
  • For the "vkquake-rt" version, the "VINTAGE" graphics mode is good for performance. 1024x768 is adequate for a 2080Ti GPU (or just 1280x720 resolution). The CRT mode is also interesting.


Hotkeys
  • F1: toggle to disable the ray tracing denoiser, when using the vkquake-rt version.
  • F7: toggle to put the crosshair at 95% depth. It's at screen depth by default.
  • F8: 24 convergence toggle. It's at 16 convergence by default.
  • 0 (not the numpad): radial blur toggle for vkquake-rt. Not disabled by default.

QuakeSpasm Spiked (OpenGL)


Pros

  • As smooth as vkQuake, with great performance.
  • Correct physics at any fps.
  • MSAA support.


Cons

  • No HD textures support.
  • No new advanced graphics (shadows, lighting...).
  • No supersampling option.
  • The crosshair can't be at depth because of incompatibilities with correct geometry. Better disable it.


Fixed

  • Stereoized graphics, thanks to the legacy mode in the OpenGL wrapper.

Installation
  • Install QuakeSpasm Spiked, the latest "Win64" version.
  • First configure the game graphics in 2D as you like, because changing the video mode (resolution, antialiasing...) while in 3D may crash the game.
  • It's important to set "sleep between frames" to "off" to get the maximum smoothness, as well as "maximum fps" to your refresh rate number.
  • Download this file and extract its contents in your "Quake" folder (or whatever you called it), where "quakespasm-spiked-win64.exe" is. This is just Helifax's OpenGL wrapper (64 bits version) configured with legacy mode and a preconfigured convergence of 16. Default convergence is 16, but you need to run the game as admin at least once for that to apply.
  • To play the expansions or other custom games, you can make shortcuts to the exe and then add a "-game " and the name of the folder to the end, like "-game hipnotic" (without quotes).
  • If you need to change resolution or antialiasing later on, temporarily rename the "opengl32.dll" file to something else to not trigger 3D.

Recommendations
  • In your "config.cfg" file from the subfolder you use, set vid_fsaa "8" to get 8x antialiasing, although that won't help as much as supersampling if you decide to keep textures pixelated.
  • As I mentioned in the installation instructions, set "sleep between frames" to "off".
  • Change fov through the console, by typing for example "fov 105".

Darkplaces (OpenGL)


Pros

  • HD textures support.
  • New advanced graphics (shadows, lighting...).
  • MSAA support.


Cons

  • Worst performance of the bunch, if you enable all the extra graphics options and use antialiasing.
  • Character movement is jerky, although camera movement is fine.
  • No supersampling option (but that would make it way too demanding anyway).
  • The crosshair can't be at depth because of incompatibilities with lighting. Better disable it.

Fixed

  • Stereoized graphics.
  • Fixed shadows and lighting while preventing some geometry problems.

Known issues

  • The new lighting has clipping problems that I can't solve.

Installation
  • Install Darkplaces. The latest Windows 64 OpenGL build.
  • First configure the game graphics in 2D as you like, because changing the video mode (resolution, antialiasing...) while in 3D may crash the game.
  • Download this file and extract its contents in your "Quake" folder (or whatever you called it), where "darkplaces.exe" is. Default convergence is 16, but you need to run the game as admin at least once for that to apply.
  • To play the expansions or other custom games, you can make shortcuts to the exe and then add a "-game " and the name of the folder to the end, like "-game hipnotic" (without quotes).
  • If you need to change resolution or antialiasing later on, temporarily rename the "opengl32.dll" file to something else to not trigger 3D.

Recommendations
  • I recommend not using any antialiasing in the game options, because the game can become very demanding (and not only for the GPU).
  • Configure your desired FOV through the ingame options.


ezQuake (OpenGL)


Pros

  • HD textures support.


Cons

  • Not smooth to me, for both character and camera movement.
  • Not any graphics configuration inside the game. What the hell?
  • Crosshair can't be at depth. Better disable it.


Fixed

  • Stereoized graphics, thanks to the legacy mode in the OpenGL wrapper.

Installation
  • Install ezQuake.
  • First configure the game graphics in 2D as you like, because changing the video mode (resolution, antialiasing...) while in 3D may crash the game.
  • Download this file and extract its contents in your "Quake" folder (or whatever you called it), where "ezquake.exe" is. It's the exact same fix as for QuakeSpasm Spiked (legacy mode), but with 32 bit dll files. Default convergence is 16, but you need to run the game as admin at least once for that to apply.
  • To play the expansions or other custom games, you can make shortcuts to the exe and then add a "-game " and the name of the folder to the end, like "-game hipnotic" (without quotes).
  • If you need to change resolution or antialiasing later on, temporarily rename the "opengl32.dll" file to something else to not trigger 3D.

Recommendations
  • Change fov through the console, by typing for example "fov 105".

MarkV (DirectX 9)


Pros

  • HD textures support. Although I don't know how to make textures work from other ports.
  • DirectX 9, so 3D works out of the box.
  • Smooth, with synchronized left and right images instead of sequential.
  • The underwater effect is the classic one, like in vkQuake.
  • Some window reflections.


Cons

  • No MSAA nor supersampling options.
  • The crosshair can't be at depth because of incompatibilities with lighting.
  • Apparently I can't fix the underwater effect (waves start from screen depth) because I can't hunt the shader.
  • No crosshair at depth (again, I think I can't hunt the shader). Better disable it.

Installation
  • Install MarkV.
  • Play in fullscreen.
  • Not fix provided because it isn't necessary.
  • To play the expansions or other custom games, you can make shortcuts to "mark_v.exe" and then add a "-game " and the name of the folder to the end, like "-game hipnotic" (without quotes).

Recommendations
  • Change your FOV through the console, by typing for example "fov 105".

Quake Enhanced (DirectX 11)


Pros

  • Smooth, with synchronized left and right images instead of sequential.
  • Advanced lighting and improved models, as well as other extra effects.
  • Dynamic crosshair depth in the fix.
  • Expansions included in the game.


Cons

  • No MSAA nor supersampling options.

Fixed

  • Lighting and shadows.
  • Skyboxes.
  • Added dynamic crosshair depth, except for splitscreen local multiplayer.
  • Motion blur.

Installation
  • Install the game and make sure it runs in DX11 mode. The "%USERPROFILE%\Saved Games\Nightdive Studios\Quake\kexengine.cfg" file should contain this:
    seta r_rhirenderfamily "d3d11"
  • geo-11 fix (with build v0.6.90): download this file and extract its contents in the "Quake Enhanced" folder, where "Quake_Shipping_Playfab_GOG_x64.exe" is (at least that's the exe name for the GOG version). Remember to edit "d3dxdm.ini" to change your "direct_mode" to the output you need. It's sbs by default. For 3D Vision monitors, "direct_mode = nvidia_dx11" works (in both borderless and fullscreen) but "direct_mode = nvidia_dx9" doesn't at this moment (black screen).
  • This is mandatory to make the dynamic crosshair work: "Options -> Enhancements -> Resolution -> High".

Hotkeys
  • F1: three convergence presets, with or without autoconvergence (enabled by default in "d3dxdm.ini" to also handle third person camera). By default the middle preset is used.
  • F2: static HUD depth presets (0%, 20%, 40%, 60%, 80%, 100%). 0% by default.
  • F4: dynamic crosshair toggle. Enabled by default.


If you liked the fix and want to contribute for more future fixes, you can donate to this PayPal account: masterotakusuko@gmail.com

Monday, October 18, 2021

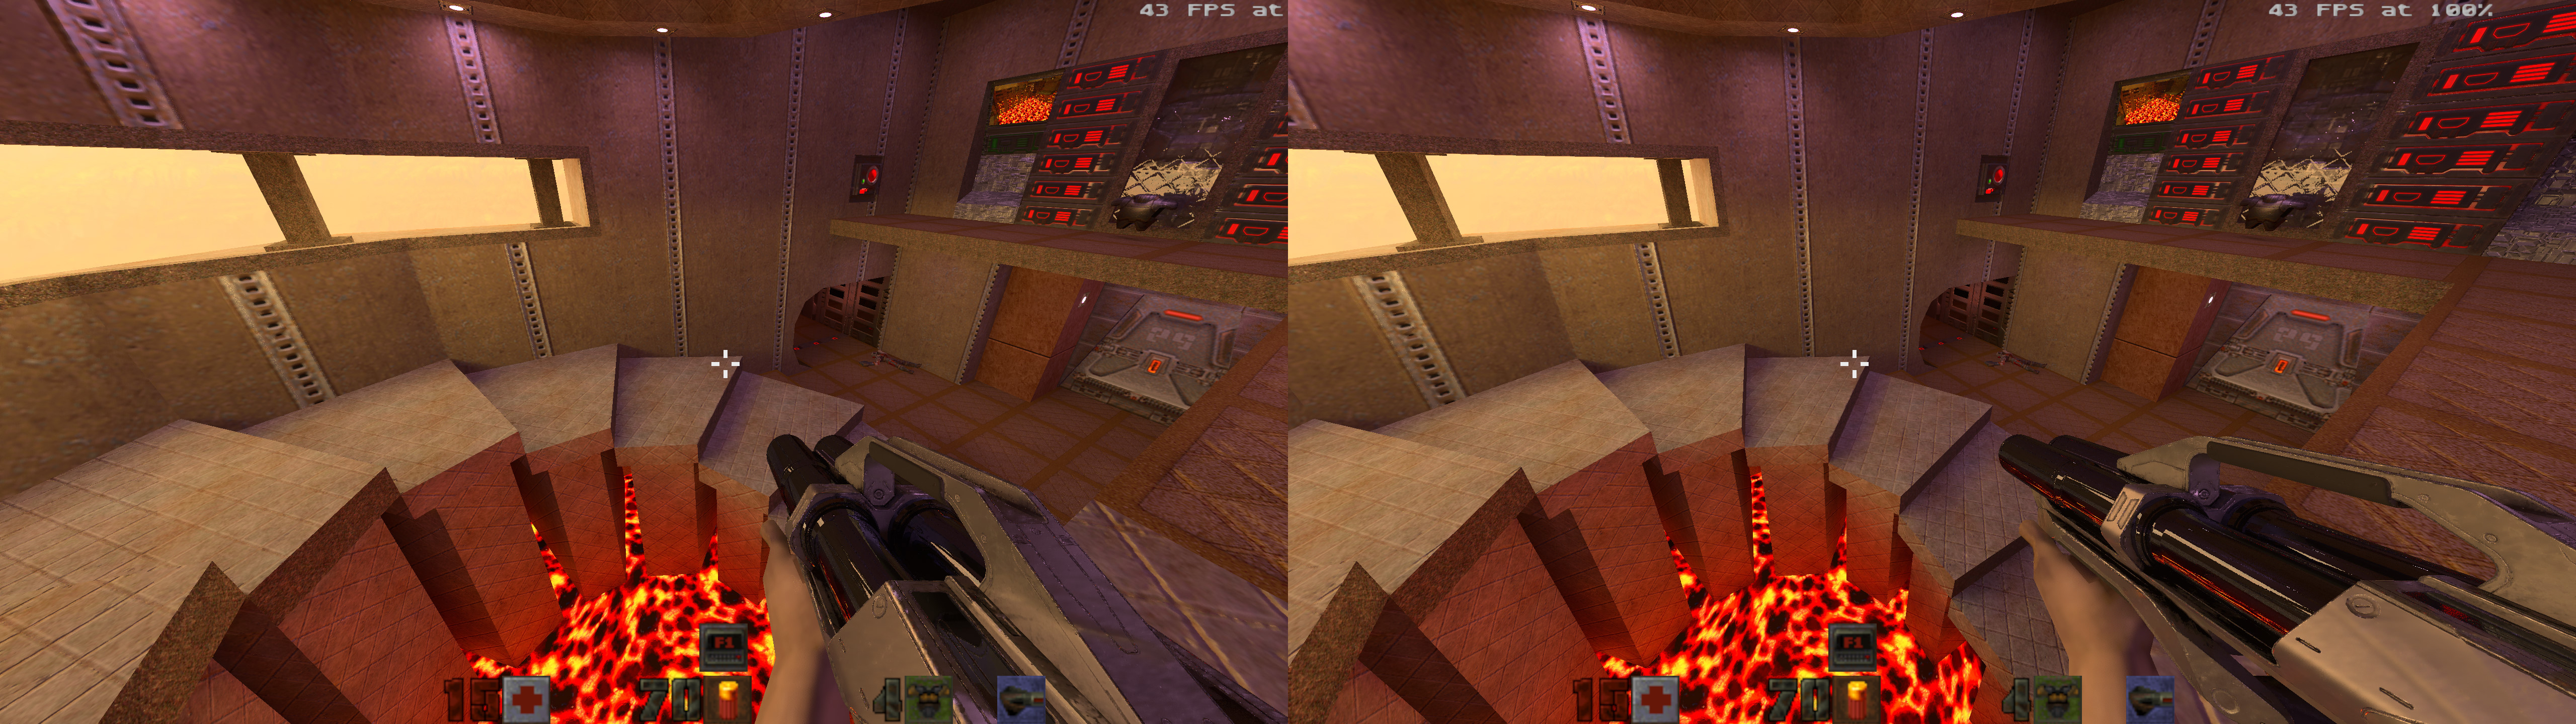
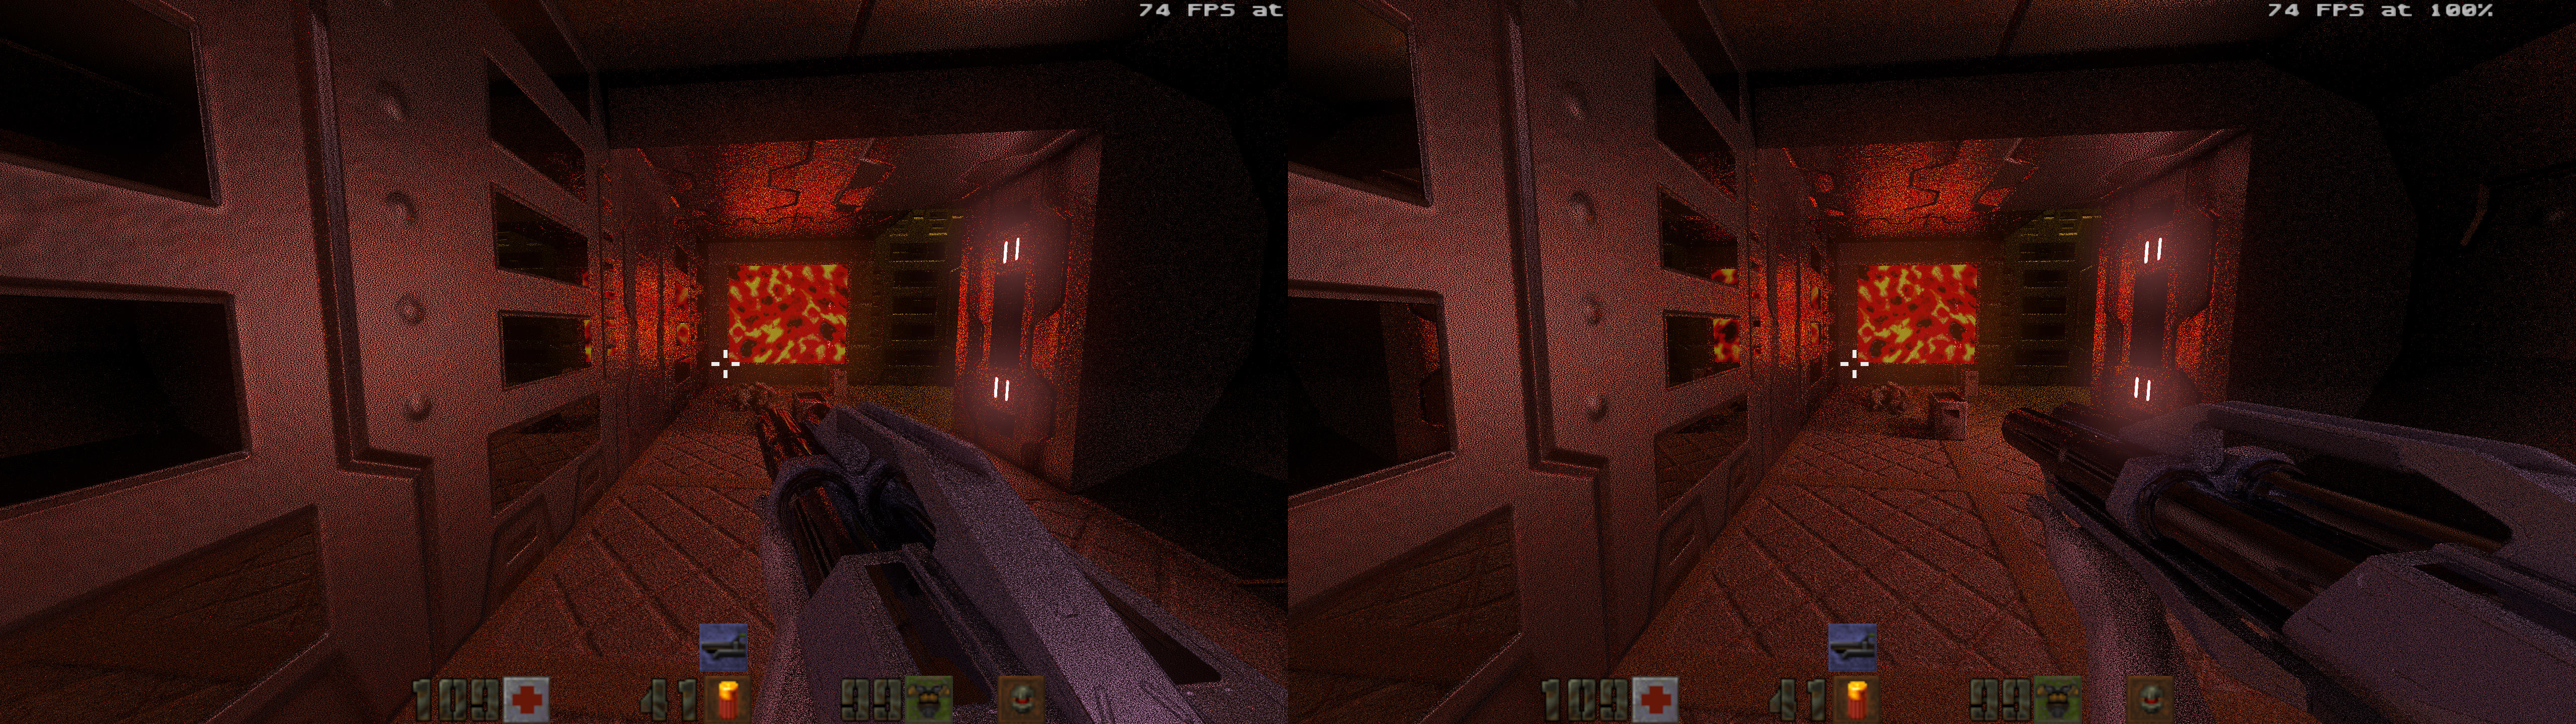
Quake II RTX [Vulkan] [OpenGL]


3D Vision fix for Quake II RTX, for both the Vulkan API (for RTX) and OpenGL (non RTX).

A GPU that supports ray tracing is required to make it work in Vulkan. I only have a Nvidia GPU, so I can't ensure first hand that AMD will work.

To use the "prefer KHR_ray_tracing_pipeline" ray tracing API with Nvidia, you need some drivers newer than 452.06 (I used 472.12, so think about them as the minimum). However, "prefer NV_ray_tracing" works fine with 452.06 and newer.


Fix in OpenGL done with OpenGL3DVision. For outputs different than 3D Vision, check and configure the "3DVisionWrapper.ini" file. It's just the OpenGL wrapper configured in legacy mode with preconfigured 16 convergence (if you run the game as admin at least once), therefore it won't be mentioned in many of the post sections. Crosshair not at depth.

Fix in Vulkan done with Vk3DVision. For outputs different than 3D Vision, check and configure the "Vk3DVision\Vk3DVision.ini" file or read the included manual.


Fixed

  • Ray tracing shaders (stereoized geometry, shadows, reflections, volumetric lighting... everything) for the two compatible ray tracing APIs.
  • Partially fixed denoiser, with a hotkey to optionally remove its "temporal" effect.
  • HUD and crosshair are set to 95% depth.

Known issues
  • The denoiser, if you use it, is only partially fixed (only the center of the screen is supposedly correct) and it can negatively affect some reflections if the temporal part isn't disabled with the F1 hotkey.

Installation
  • I recommend running the game at least once first and configuring all the settings and output resolution.
  • In the video options, select "rtx" as the renderer and set "ray tracing API" to "prefer NV_ray_tracing" or "prefer KHR_ray_tracing_pipeline". Do not use "KHR_ray_query" because it isn't supported by Vk3DVision.
  • Don't enable "anti-aliasing", as it isn't fixed in 3D. Use the "none" option.
  • Download this file and extract its contents in the "Quake II RTX" folder, where "q2rtx.exe" is.
  • Open "Vk3DVision.exe" and then run the game. By default the presentation is configured for 3D Vision monitors in DX9. Open "Quake II RTX\Vk3DVision\Vk3DVision.ini" and change the "Stereo3DViewMode = 3DVision" line to what you need.
  • Dynamic resolution scaling and the resolution percentage are safe options to change while playing in 3D. Only the "ray tracing API" option causes problems when changed while in 3D, and presumably changing the output resolution too.

To launch the game in OpenGL (no ray tracing), select that as the renderer and just play normally.


Recommendations
  • In my case, "prefer NV_ray_tracing" performs better than "prefer KHR_ray_tracing_pipeline".
  • Unless you don't like the look, I recommend playing with the denoiser disabled in the video options, because the fix in that case doesn't present any problems. The F8 key toggles the denoiser in real time. Also, the denoiser drops performance.
  • If you get a red warning when opening the game in 3D Vision, try opening a 3D screenshot before playing the game (you can do it after too, if you alt+tab out).
  • The F1 to F5 hotkeys from the fix are also used by the game. You can unset them or change them in the "function key bindings" menu.

Hotkeys (Vulkan)
  • F1: toggle to remove the temporal part of the denoiser. The game will look more flickery but there won't be any stereoization bugs. Most of the denoiser work will be valid, but dark areas may suffer.
  • F2: 0 convergence. Not much use to this. Change it to another value if you want.
  • F3: 16 convergence. Default value.
  • F4: 25 convergence.
  • F5: 50 convergence.

If you liked the fix and want to contribute for more future fixes, you can donate to this PayPal account: masterotakusuko@gmail.com

Sunday, May 24, 2020

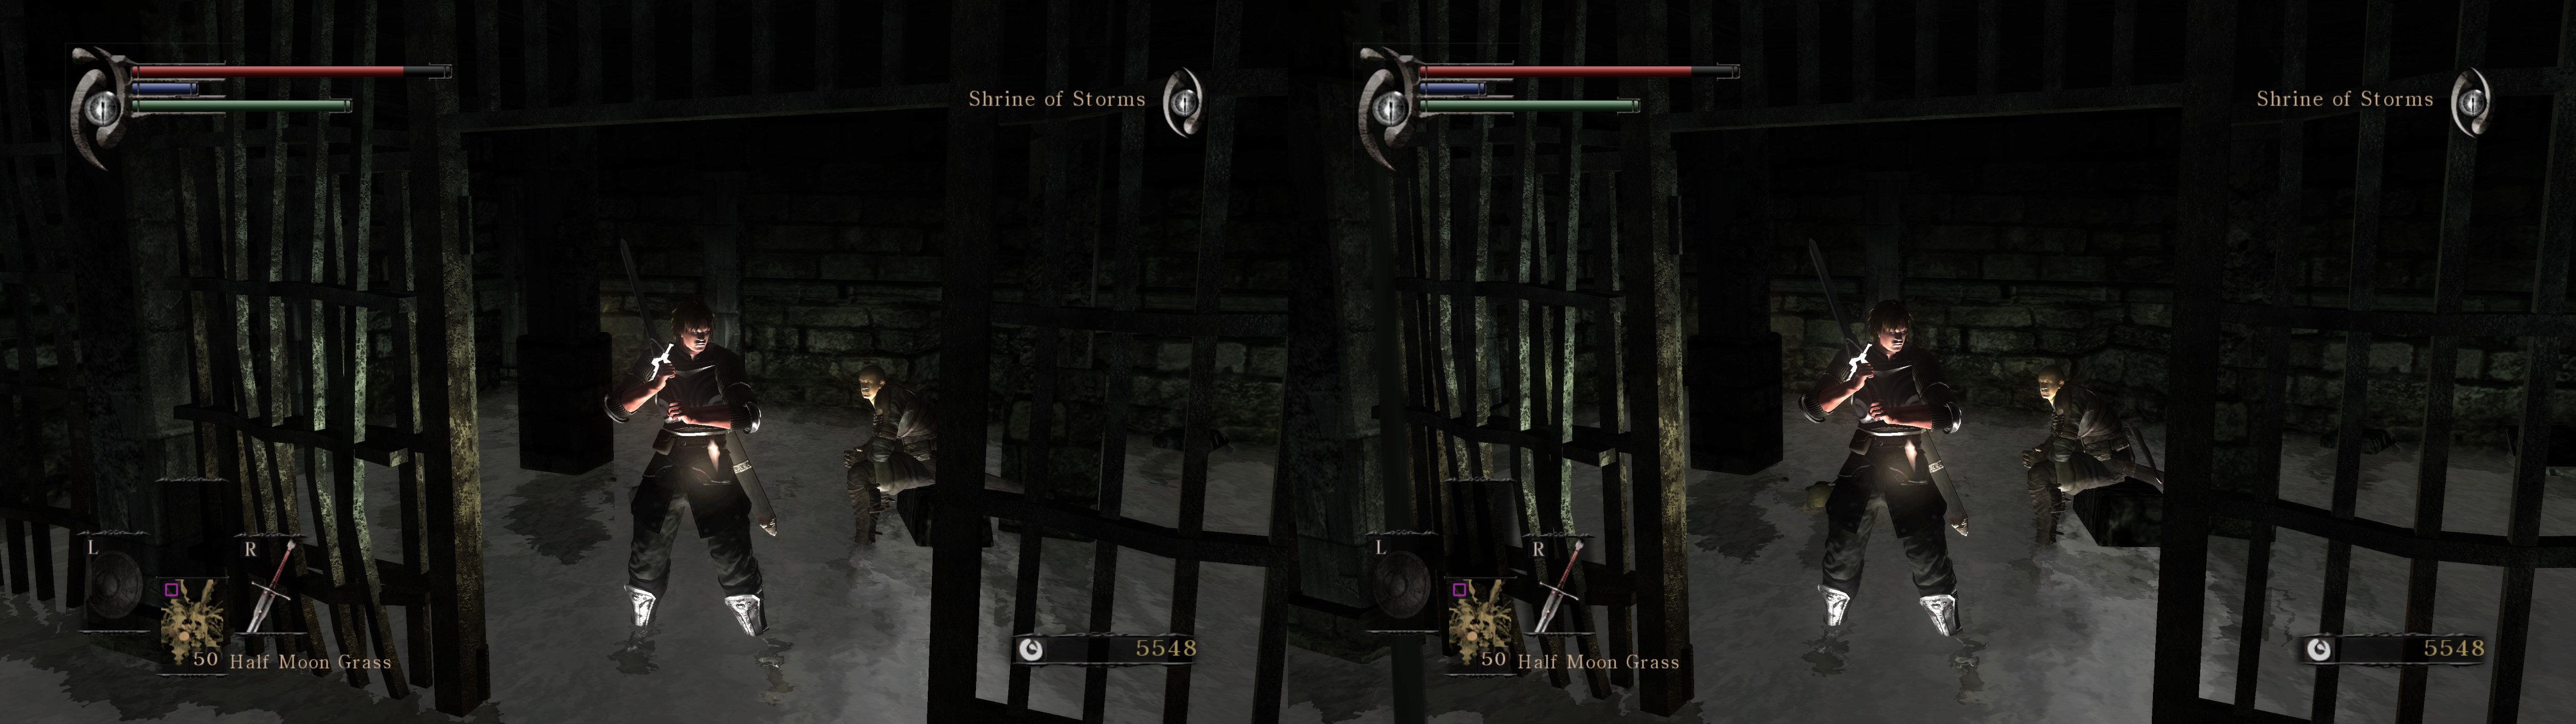
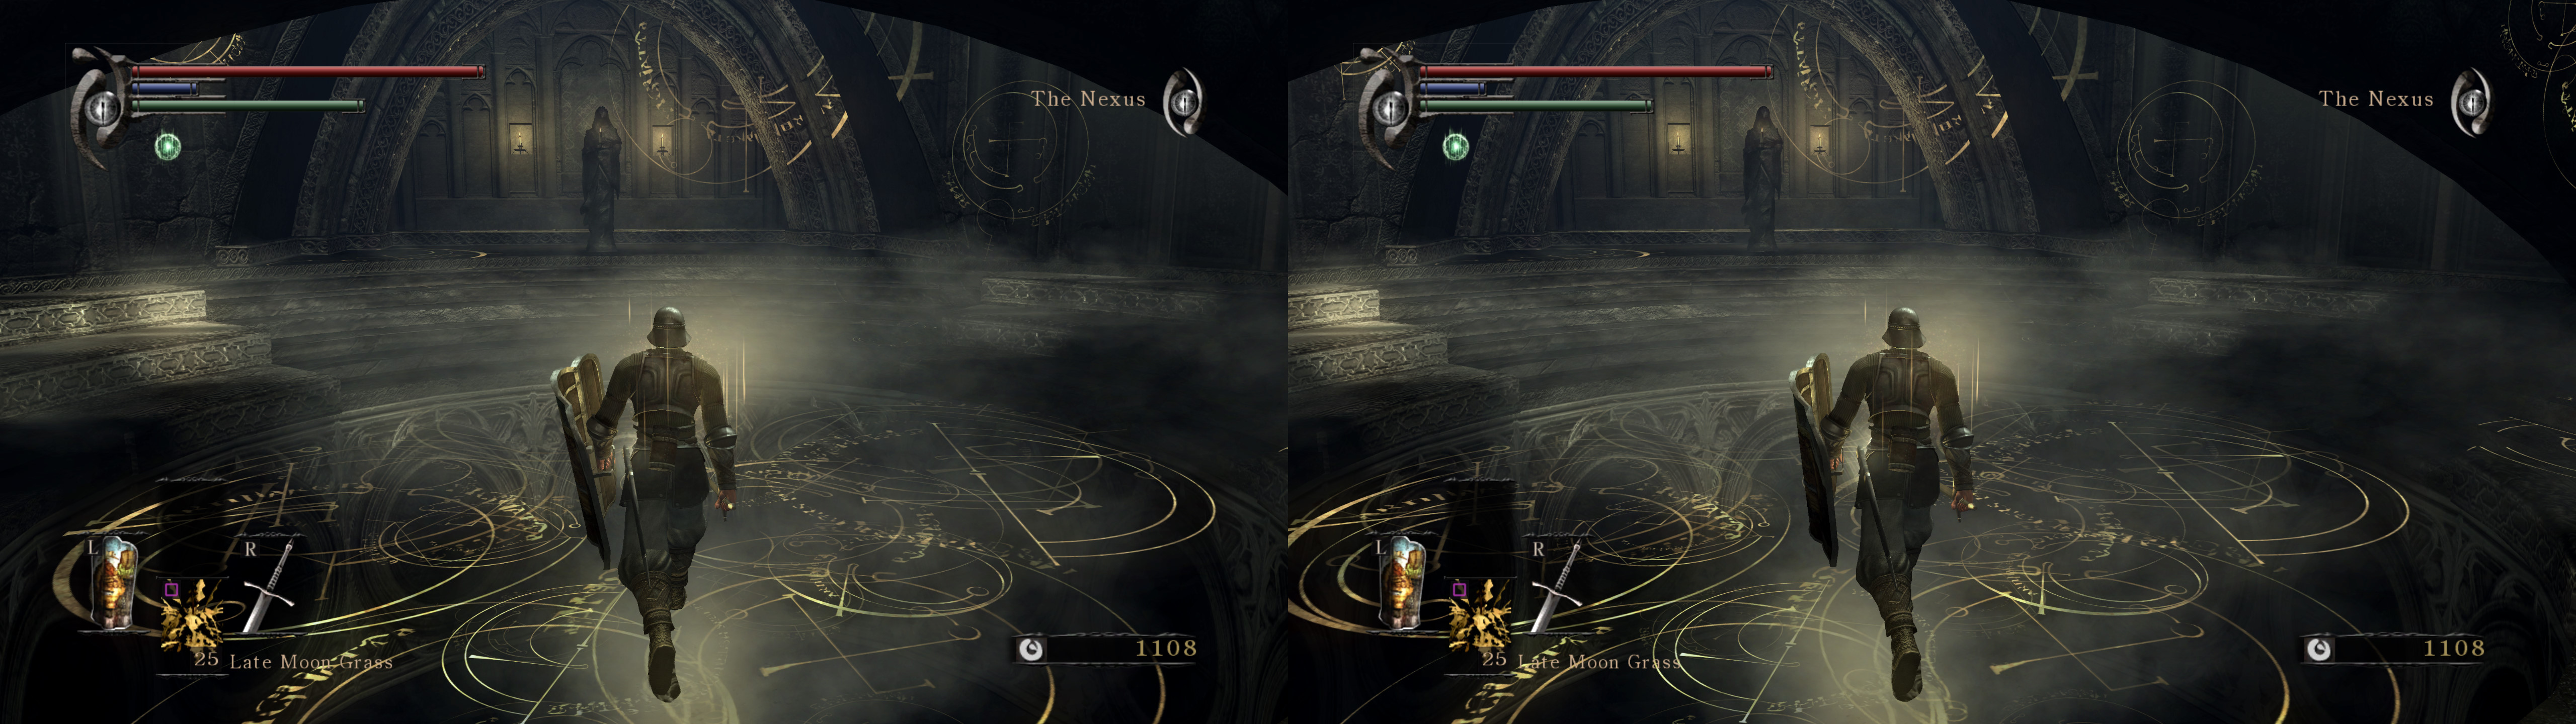
RPCS3 (PlayStation 3 emulator) [OpenGL]


3D Vision fix for RPCS3, the PlayStation 3 emulator. This fix was made thanks to the OpenGL wrapper that Helifax made (using the "OpenGL3DVision-v10.1.Beta" 64 bit version).


Update (2020-05-24): fix updated to work with newer emulator versions (at least 0.0.10-10425), because recently something changed in the code of the shaders. You can download the old fix here. The most recent fix is in the installation steps below.


Installation of the fix
- Download this file and extract its contents in the folder where "rpcs3.exe" is, like "rpcs3-v0.0.6-8503-f2a2dfda_win64" (it changes per build).
- Open the properties of the "rpcs3.exe" file and check the "Run as administrator" checkbox.


Configuration and running games
Configure the emulator options like this (globally or per game):
- GPU -> Renderer -> OpenGL
- Emulator -> Emulator Settings -> Automatically start games after boot
- Emulator -> Emulator Settings -> Start games in Fullscreen mode
- Emulator -> Emulator Settings -> Use native user interface

Choose the rest of settings as you like, like resolution scale, anisotropic filter, etc. That can be game dependant or depending on your hardware.
Make sure that in the current windows (or drivers) session you have used something in 3D at least once. Usually OpenGL refuses to trigger 3D Vision otherwise. For example, open a 3D screenshot, put it in fullscreen, enable 3D, exit fullscreen, and enable 3D again in windowed mode.

After everything is configured and prepared, play a game. After you are ingame, you can press the "Pause" key to disable the top right information window.


Fps limits
The OpenGL wrapper works in a way that divides fps by two in 3D. It means that for games like these you will be capped at half the fps per eye. If a game is usually 30fps in 2D, it means 15fps per eye in 3D. It it's 60fps in 2D, then 30fps per eye in 3D.

This is done in a frame sequential way. Each frame happens in a different moment in time. To give a simple example, imagine L1 is frame one (in time terms) going to left eye, R2 is frame two going to right eye, and so on:
- DirectX with 3D Vision Automatic: L1 R1 L2 R2 L3 R3 L4 R4. Four moments in time, eight total eye frames.
- OpenGL with this wrapper: L1 R2 L3 R4. Four moments in time, four total eye frames. You get half the visual information than DirectX in the same time.

To get 60fps per eye, you need games to run at 120fps in 2D. Thankfully, some games have patches for increased fps in RPCS3, surpassing the original capabilities. Let's take Demon's Souls as an example, which is an originally 30fps game.


Save that as "patch.yml" in the emulator folder. Make sure you have made a custom config for the game (right click a game and configure something for it) and then edit its yml file inside the "config\custom_configs" folder.

With "Vblank Rate: 120", the game will run at real 60fps, meaning 30fps per eye.
The other setting they tell you to change is "Clocks scale: 200". However, this doesn't control something important about game speed in this case. Instead, it controls the frame skipping rate of the game. It means that the game will always be targeting the full framerate, but when your PC can't keep up, it will display a black frame (for one of the eyes). Thankfully, the eyes remain synchronized, but these black frames can be very annoying. I recommend leaving Clocks scale at 100 (the original 30fps 2D). I prefer slowdowns rather than black frames.

You can set the vblank rate to 240 to get 60fps per eye (and also enable the 120fps patch), but realistically in 2019 we can't reach that number with current CPUs.

Silent Hill Downpour works at 60fps 2D (30fps 3D) with just the "Vblank Rate: 120" setting.


Problems and limitations
OpenGL is noticeably slower and has more graphics glitches than Vulkan in this emulator. If you can get good fps in Vulkan it doesn't mean they will be so close to that in OpenGL.

If a game for some reason closes the game window to open it later, it will inevitably crash. Example: Kingdom Hearts 2.5, or sometimes when the emulator wants to compile PPU modules after a game has started (which usually happens just once).


Hotkeys
- 0 to 9 (not the numpad): multiple convergence settings, from lower to higher. Default is 1 convergence. Each game will need different numbers and you can edit them in "3DVisionWrapper.ini", after the ";Convergence hotkeys." line.


Game fixes
For now, this fix specifically fixes all 3D issues of Demon's Souls (haloing, water and shadows).

The rest of games should already have basic stereoization and should be playable, if the emulator works in 2D already. I can't promise any game specific fix other than this or other future games I feel like fixing, because the fixing process in this case is tedious and time consuming.

If the emulator can at some point in the future make native 3D modes work, I'll try to adapt that to 3D Vision.


If you liked the fix and want to contribute for more future fixes, you can donate to this PayPal account: masterotakusuko@gmail.com

Saturday, August 17, 2019

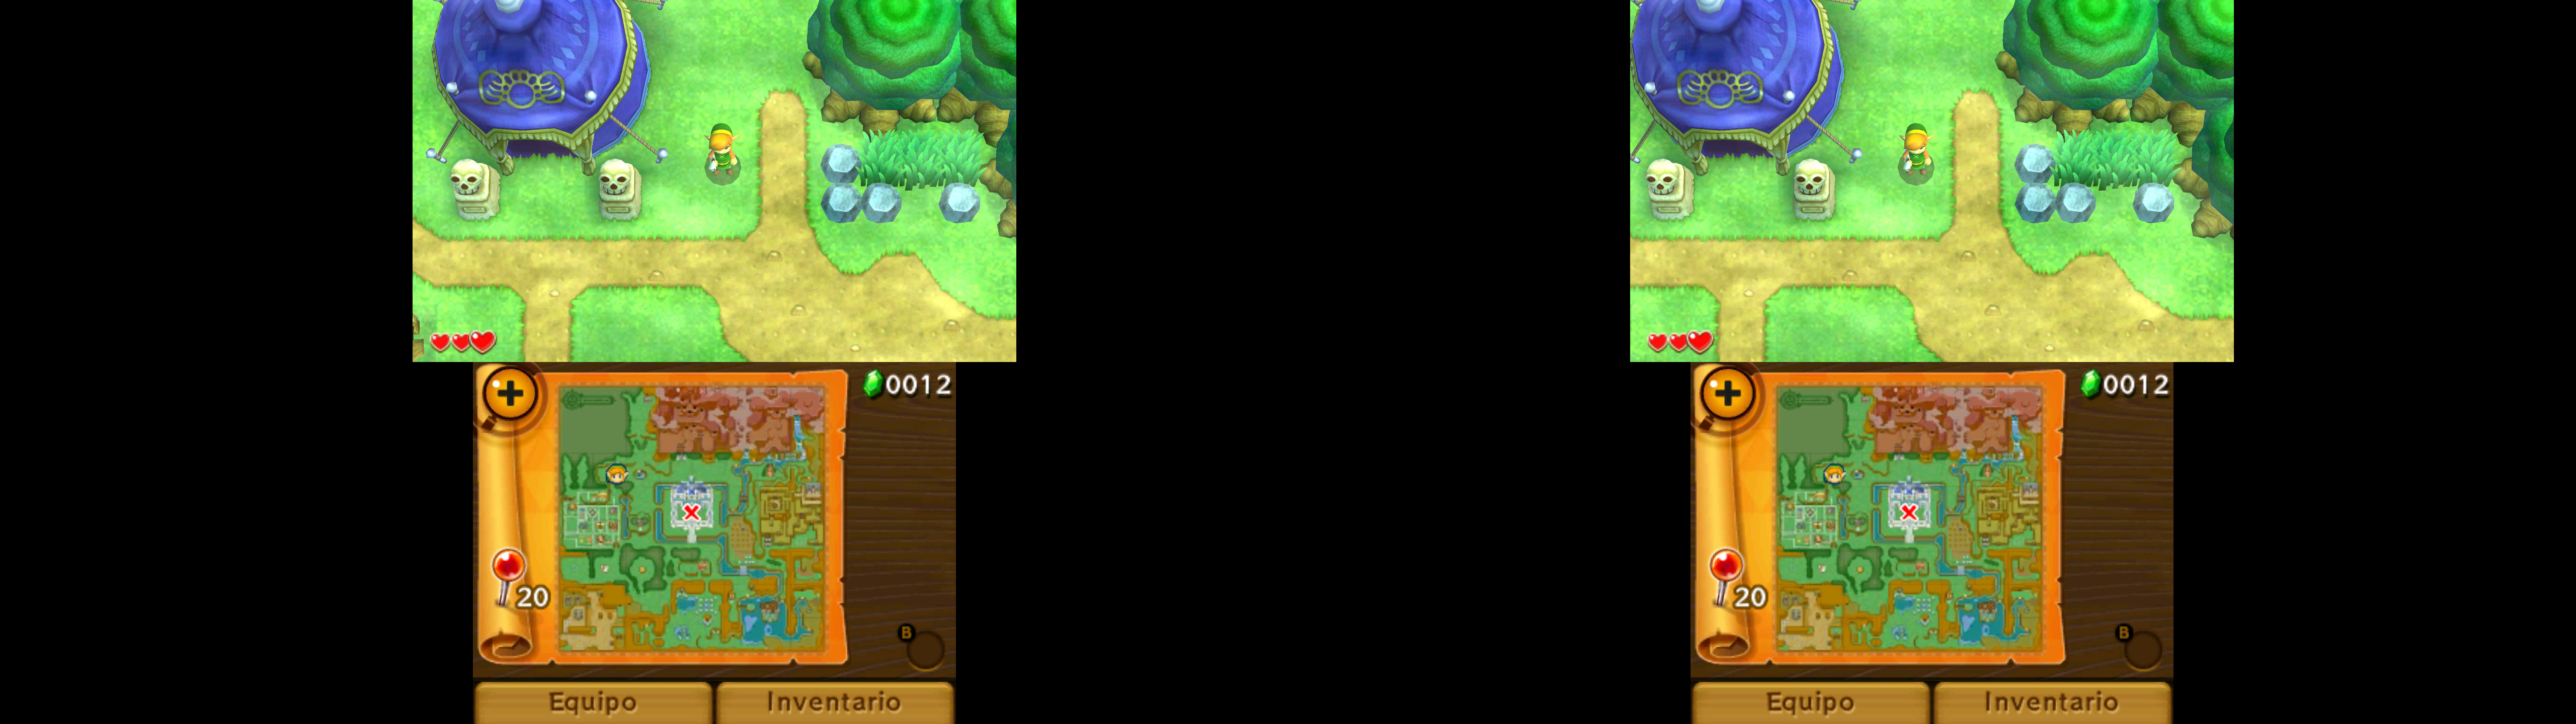
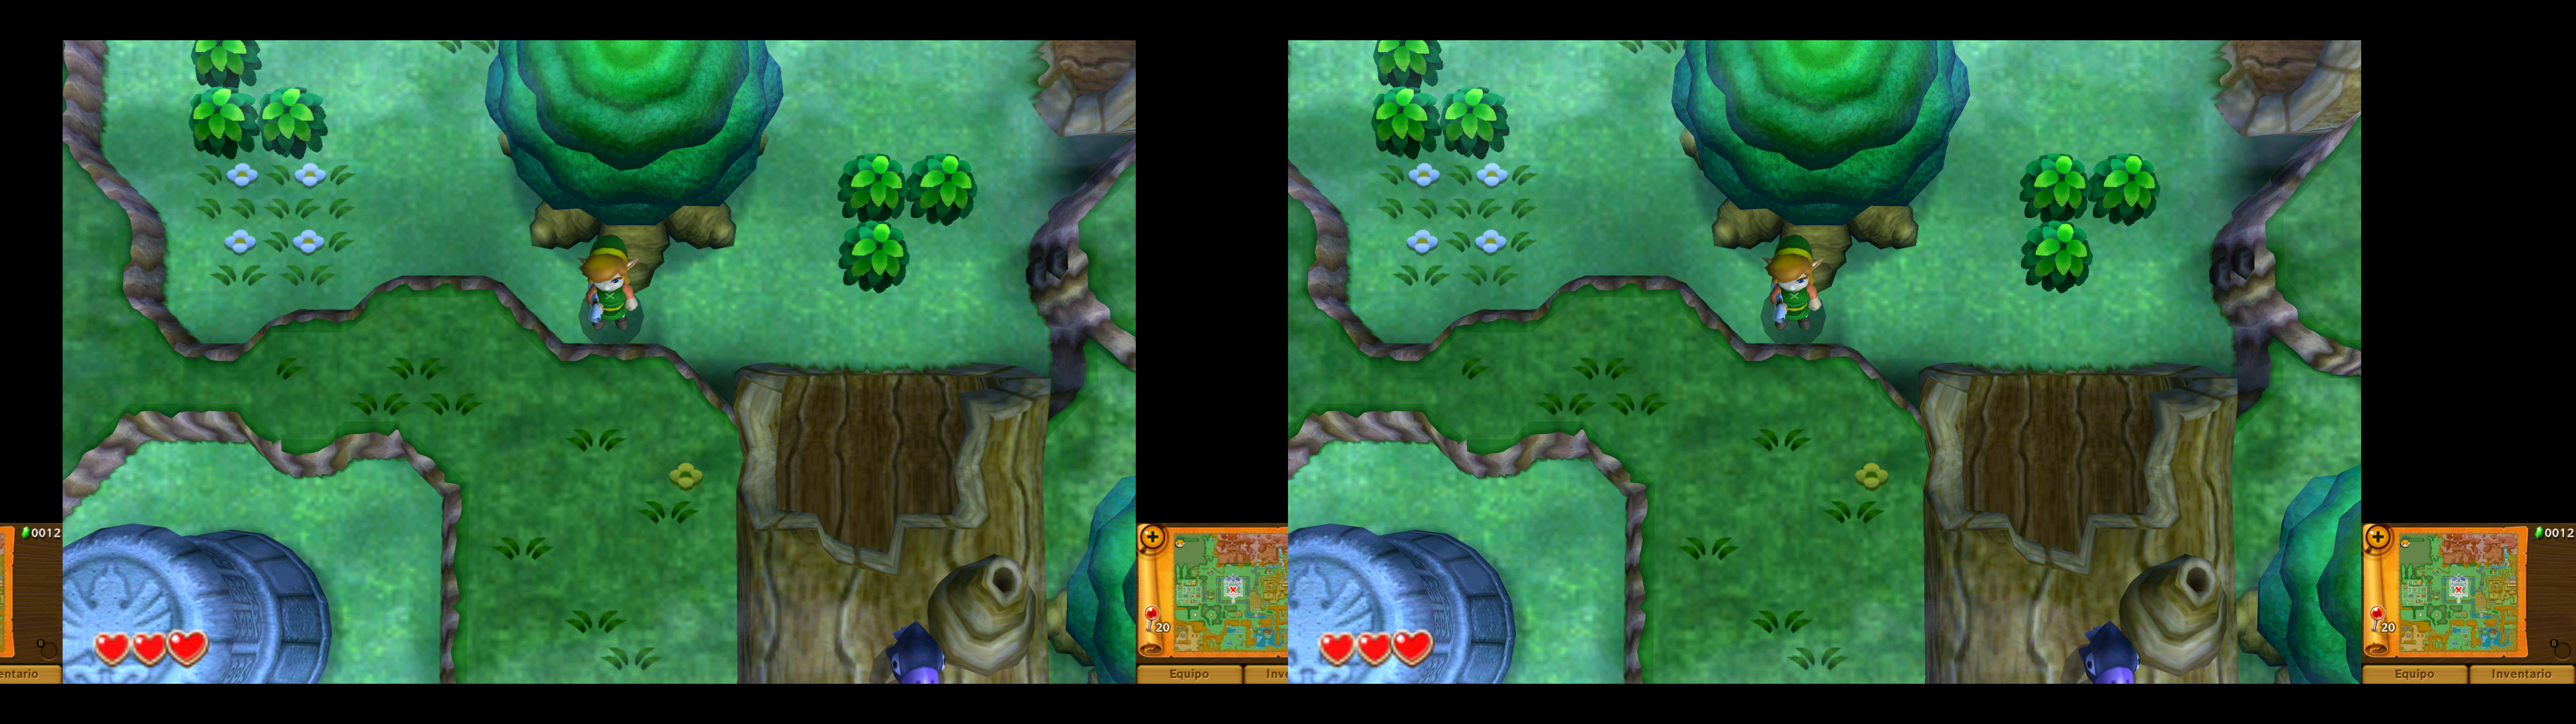
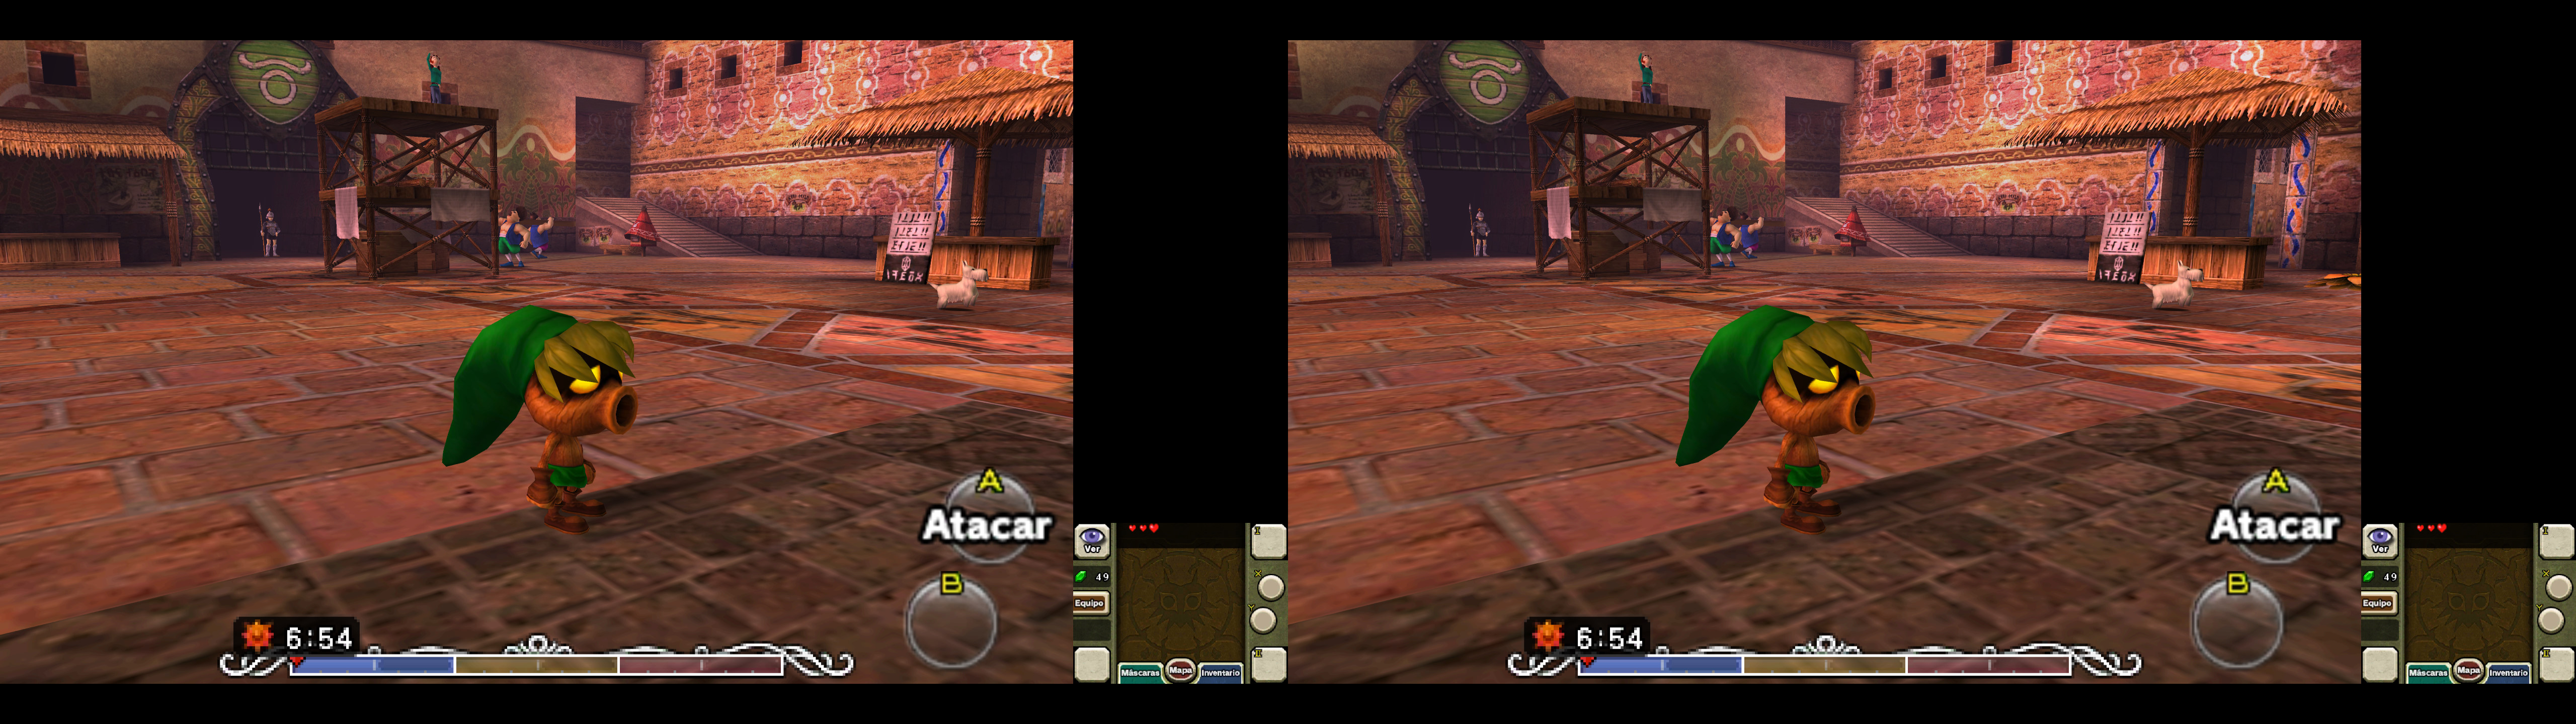
Citra (Nintendo 3DS emulator) - SBS to 3D Vision -


3D Vision fix for Citra, the Nintendo 3DS emulator. This fix converts the native SBS (side by side) 3D mode to 3D Vision, thanks to the OpenGL wrapper that Helifax made (using the "OpenGL3DVision-v10.1.Beta" 64 bit version).


Update (2020-02-07): fix updated with performance optimizations (basically, deleted unnecessary code for this fix from the files in the "StereoShaders" folder). You may see 10-20% lower GPU usage now. Still higher than not using this fix, but better than before.
Update (2019-08-17): fix updated to improve the "less than 0.5" convergence case, to not clip the screen in "Large Screen" layout. I have added hotkeys and updated some sections.


Installation of the fix
- Download this file and extract its contents in the folder where "citra-qt.exe" is, like "Citra\nightly-mingw" if you use nightly builds.
- Open the properties of the "citra-qt.exe" file and check the "Run as administrator" checkbox. Just in case, do it for the other Citra exe files. This will allow the wrapper to create a profile for the emulator.


Configuration and running games
- Preferably, use Nvidia DSR to put your desktop at 4x your native resolution to avoid the pixelation of this 3D conversion (pixels will be twice as wide due to stretching, but DSR will hide that).
- Configure the emulator 3D options, setting "Stereoscopic 3D Mode" to "Side by Side" and whatever depth you like. I prefer 100%.


- You can also choose the "Background Color" you prefer for unused screen space.
- Make sure that in the current windows (or drivers) session you have used something in 3D at least once. Sometimes OpenGL refuses to trigger 3D Vision otherwise. For example, open a 3D screenshot, put it in fullscreen, enable 3D, exit fullscreen, and enable 3D again in windowed mode.
- IMPORTANT: open two instances of Citra and play in the second one. This is necessary to make 3D Vision work.
- After that, when you are ready to launch a game, preferably put the emulator window in fullscreen.
- Launch a game, and preferably press F11 to make it completely fullscreen (the first time. For next game launches, it's preferable to let them use fullscreen directly to avoid distortion). You may need to turn on 3D manually, if the emulator doesn't trigger it automatically.

Emulator window depth
You will see the game window at screen depth as the base depth. If the game doesn't use 3D or anything, you won't need the glasses. However, I made a screen depth feature that uses convergence as a modifier. It moves only the right eye image whe you push the screen to depth (+convergence) and the left eye image when you make it pop out (-convergence), to avoid image cropping in the "Large Screen" layout.

The Nvidia convergence I set for this fix is 0.50. This puts the game window at screen depth, with the formula I use. If you reduce convergence, the screen will pop out. If you increase convergence, it will be at more depth. This last thing is useful for games that use low separation, like "The Legend of Zelda: A Link Between Worlds".

If you exceed the useable limits, the image will break and you will see how this 3D mode conversion works.


Increasing Citra separation
First make sure you don't have any emulator instance or process running. Then go to "C:\Users\YOURUSERNAME\AppData\Roaming\Citra\config", open "qt-config.ini", and edit the "factor_3d" setting to something higher than 100. The limit is 255. This way you can have a much higher separation than what the console allows.

Use it alongside pop out screen (see the section above) to make the game will effectively have more convergence, compensating the maximum separation of the infinite plane. At the cost of changing the depth of the HUD.


Touchscreen
The emulator expects you to click on the original squished touchscreen. However, due to this conversion, the screen won't have the same shape, so the ingame buttons you'll try to press won't be where you think they should be.


Hotkeys (not the numpad)
- 1: default convergence, 0.5. This puts the emulator screens at screen depth.
- 2 to 5: different pop out presets, from more pop out to less pop out.
- 6 to 0: different presets that push the screens to depth, from less to more.


Warning
In my experience, you can only play one game in one emulator session. If you want to play another game, close the emulator and open it again.

If a game can't be played in 3D on the real Nintendo 3DS, it can't be played in 3D at all. At most you can push the flat image to depth, if you like it.


For those interested in how I did this
To make this conversion, I needed to modify the "StereoShaders\stereo_frag.c" file. They are a few lines of code starting from line 60 ("//SBS to 3D Vision."). If you need to flip the eyes, just change the content of those "if/else" conditions.
I also changed some settings in "3DVisionWrapper.ini".

Wednesday, December 12, 2018

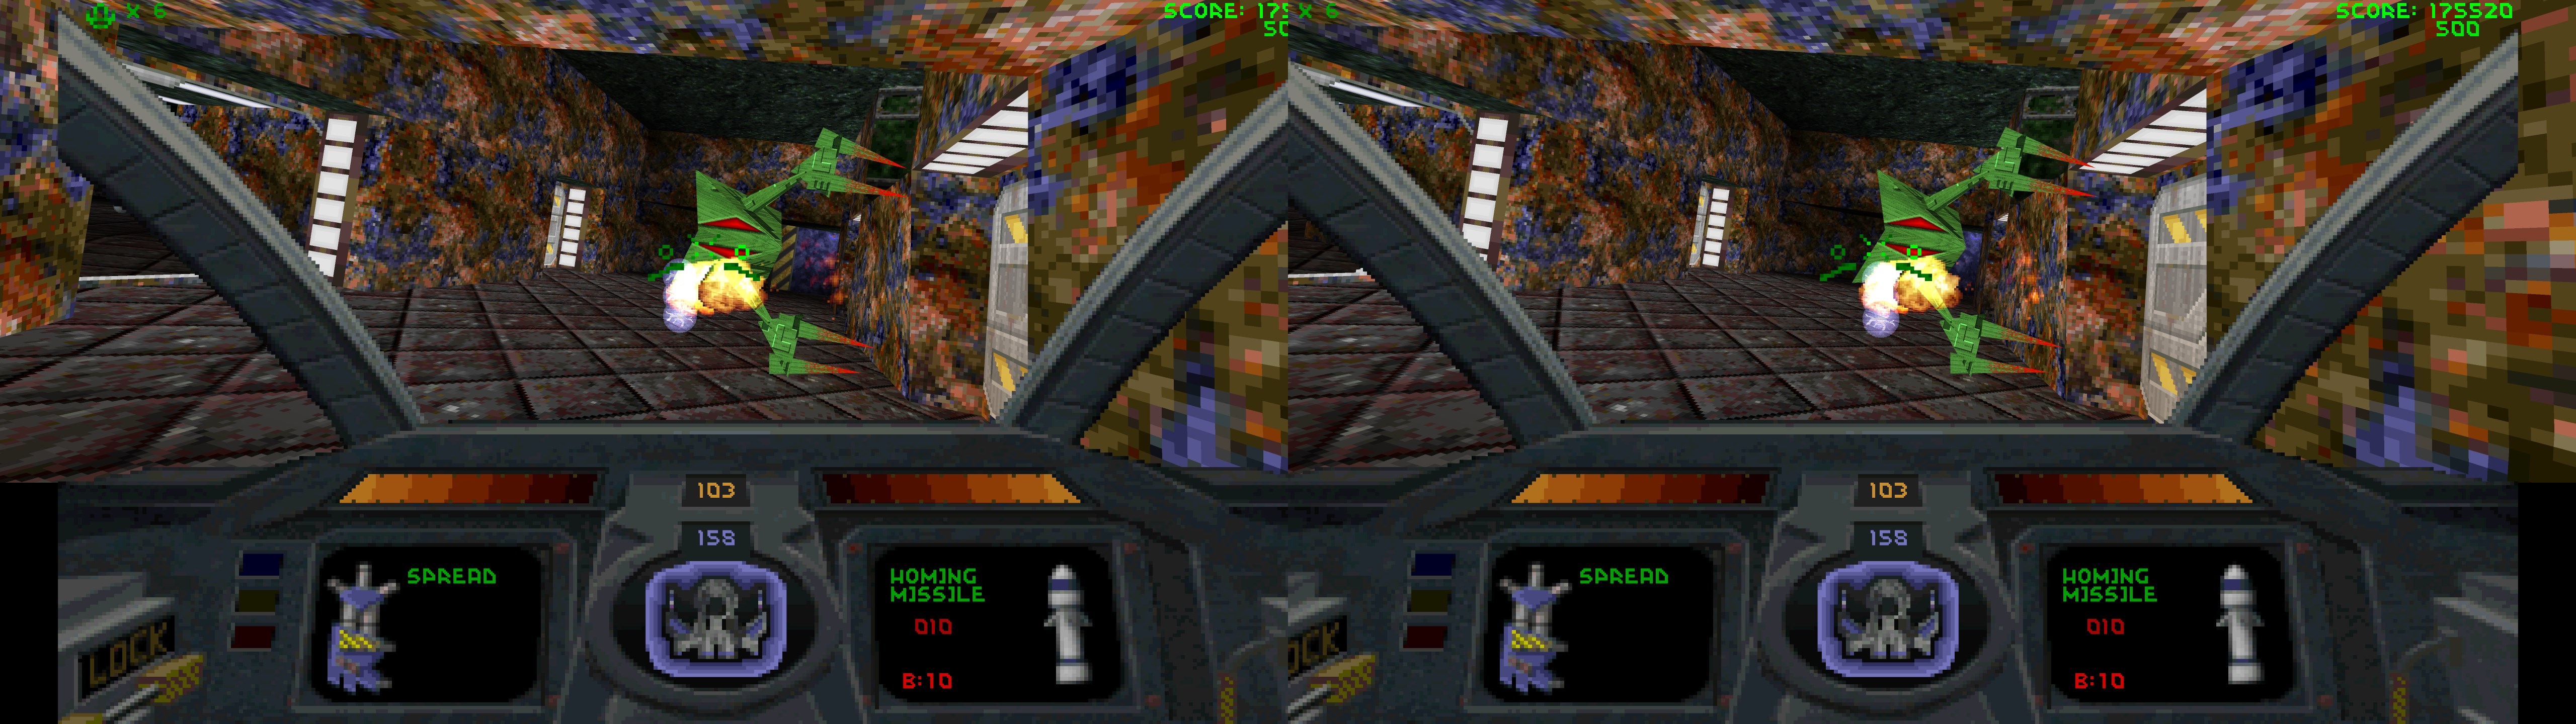
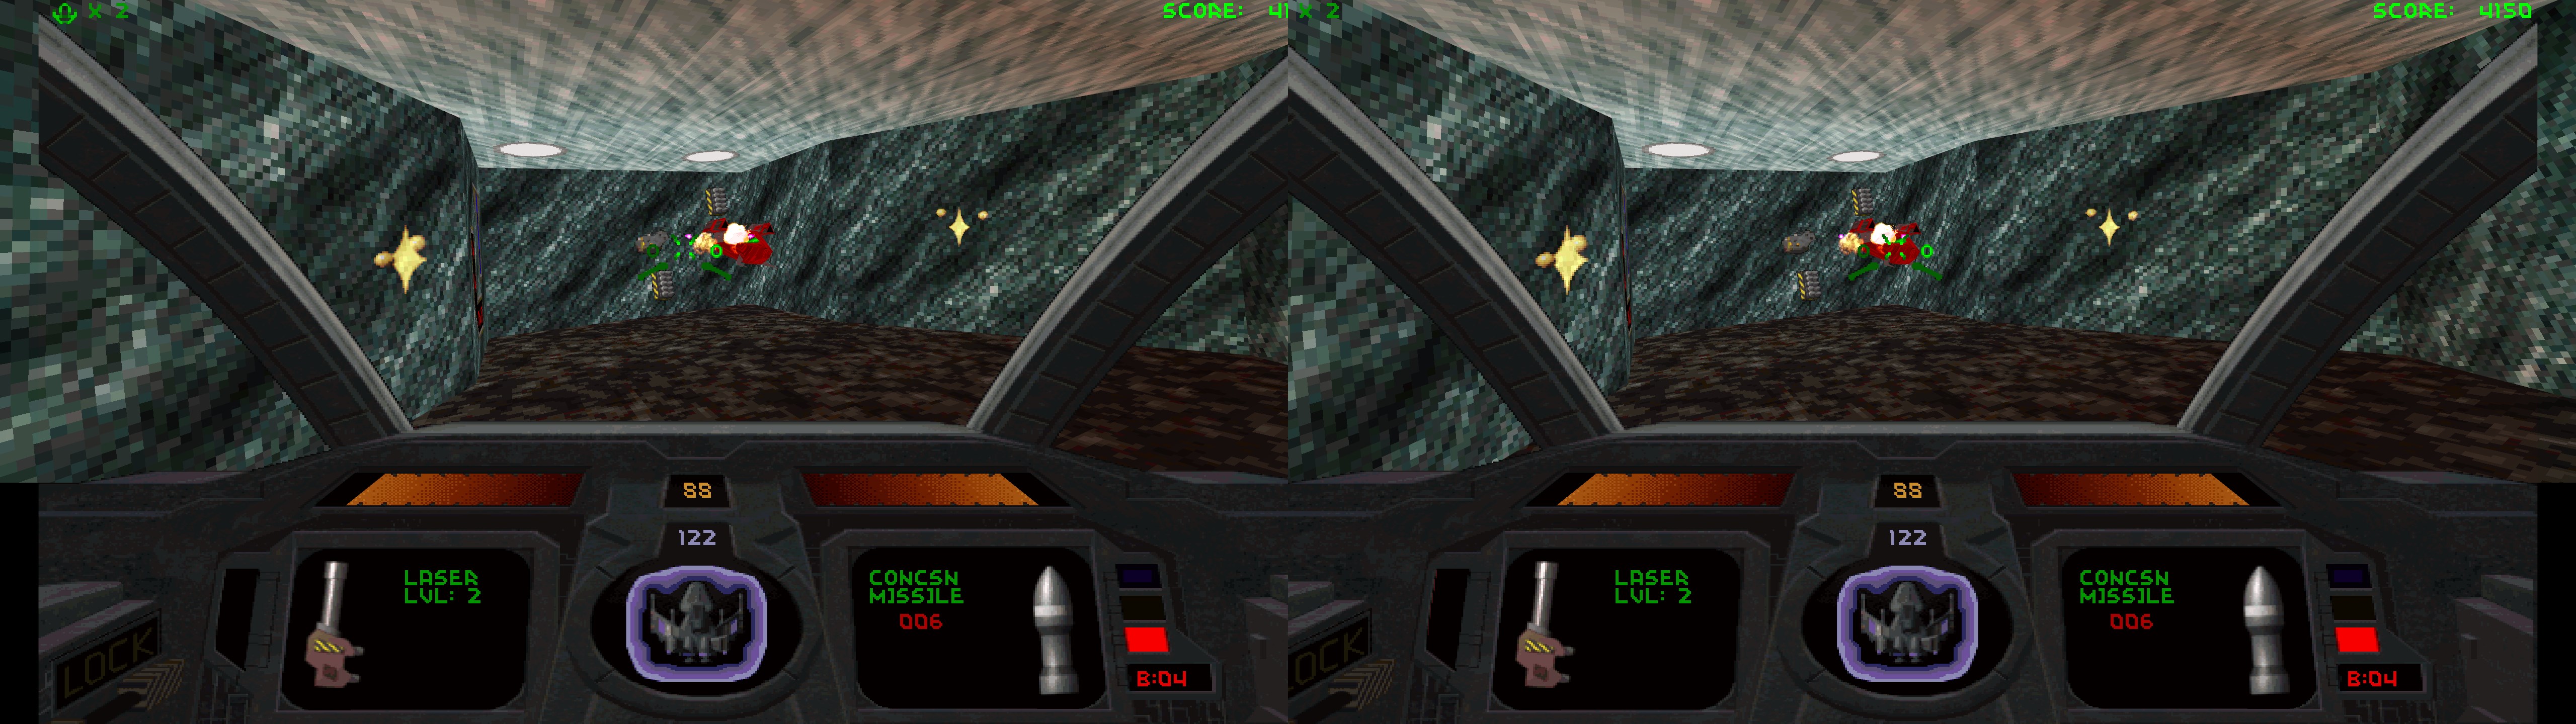
Descent 1 - 2 (DXX-Rebirth) [OpenGL]


3D Vision configuration and guide for Descent 1 and 2, using the DXX-Rebirth source port.

Update (2021-08-04): updated the OpenGL wrapper to the latest version (10.1 beta) and checked with the latest DXX-Rebirth version.

Installation
- Install the original games wherever you want. The purpose of those installations is getting some game files.
- Download the latest version of DXX-Rebirth.
- Inside it there are two folders, "D1X-Rebirth" and "D2X-Rebirth". Place them where you want them to be and follow their README files (you will have to copy some files from the games in there).
- Download this file and extract its contents in the "D1X-Rebirth" and/or the "D2X-Rebirth" folders, where "d1x-rebirth.exe" and "d2x-rebirth.exe" are respectively.
- Disable PPI scaling in the game exe to ensure it doesn't interfere with downsampling, if you use a higher than native resolution.
- Play the game.
- The game can visually freeze when you change graphics options. Consider renaming the "opengl32.dll" file that comes with the fix to configure everything in 2D until you are done.

The ingame HUD (not the main menu) is at 60% depth by default with this fix. To change it, open "3DVisionWrapper.ini", search the "LegacyHUDSeparation" variable and change its number. 0.0 is screen depth.


Hotkeys
l: low convergence.
p: high convergence.
- o: even higher convergence.


If you liked the fix and want to contribute for more future fixes, you can donate to this PayPal account: masterotakusuko@gmail.com