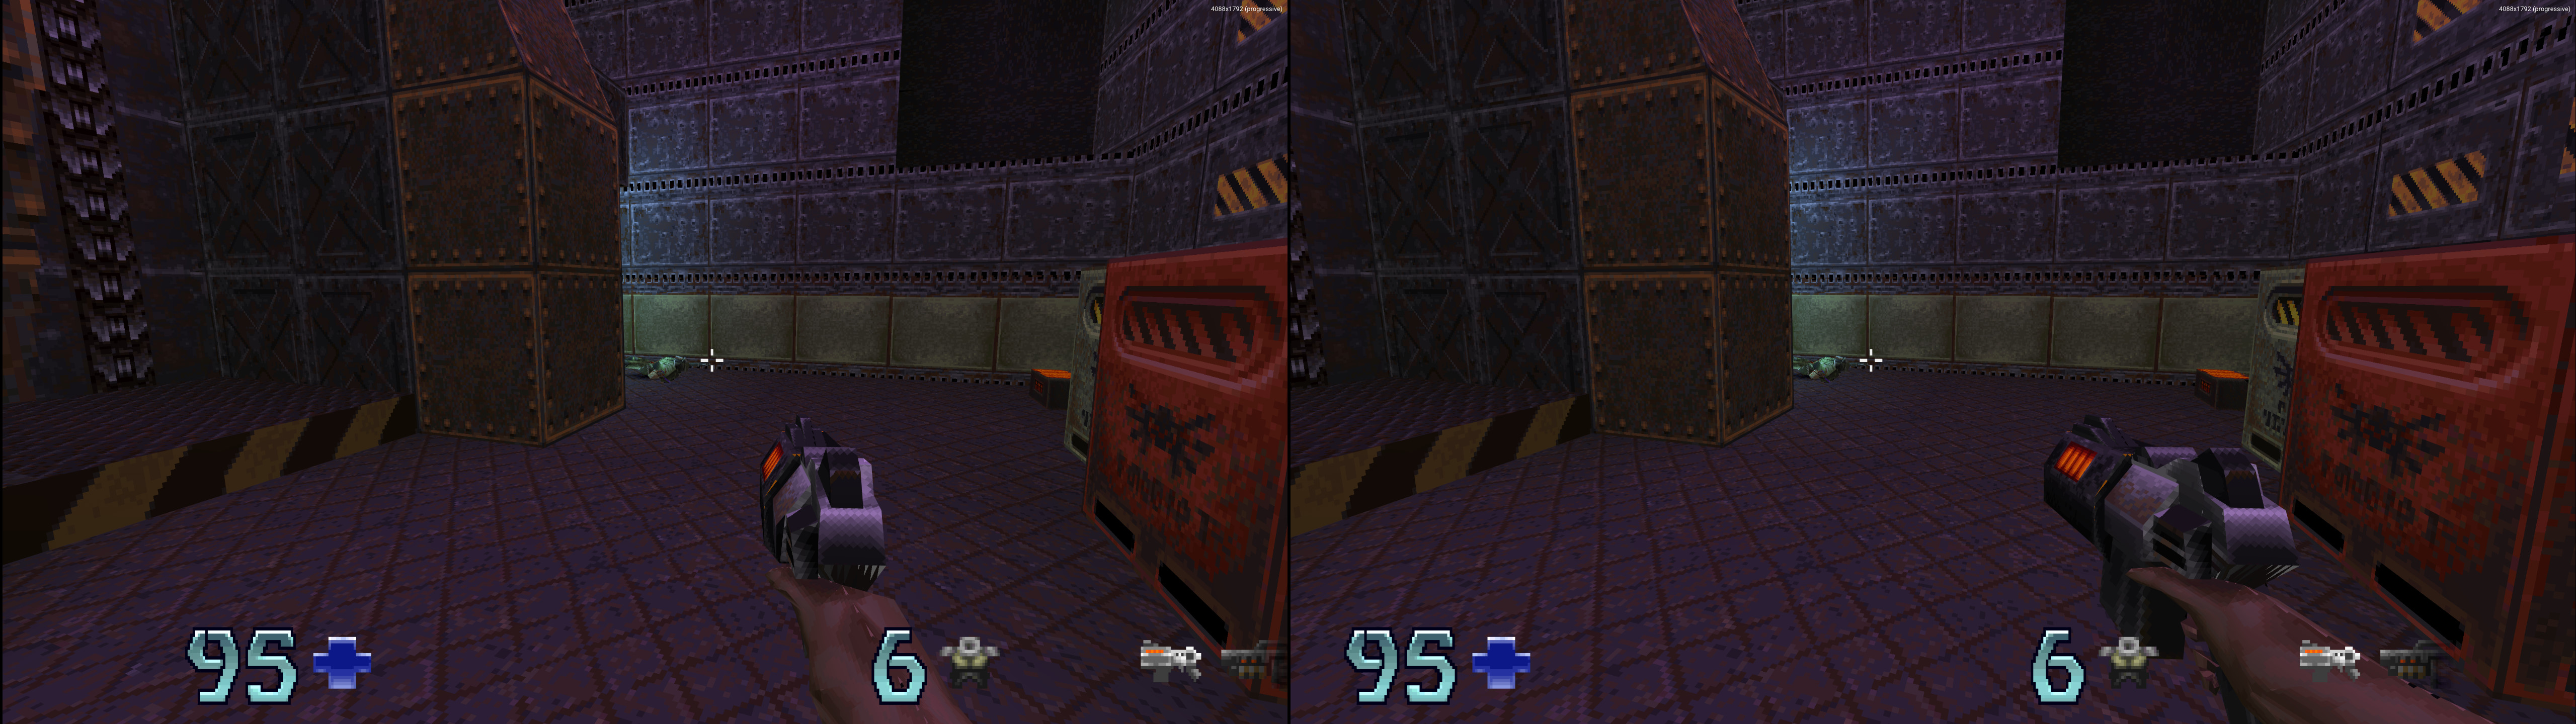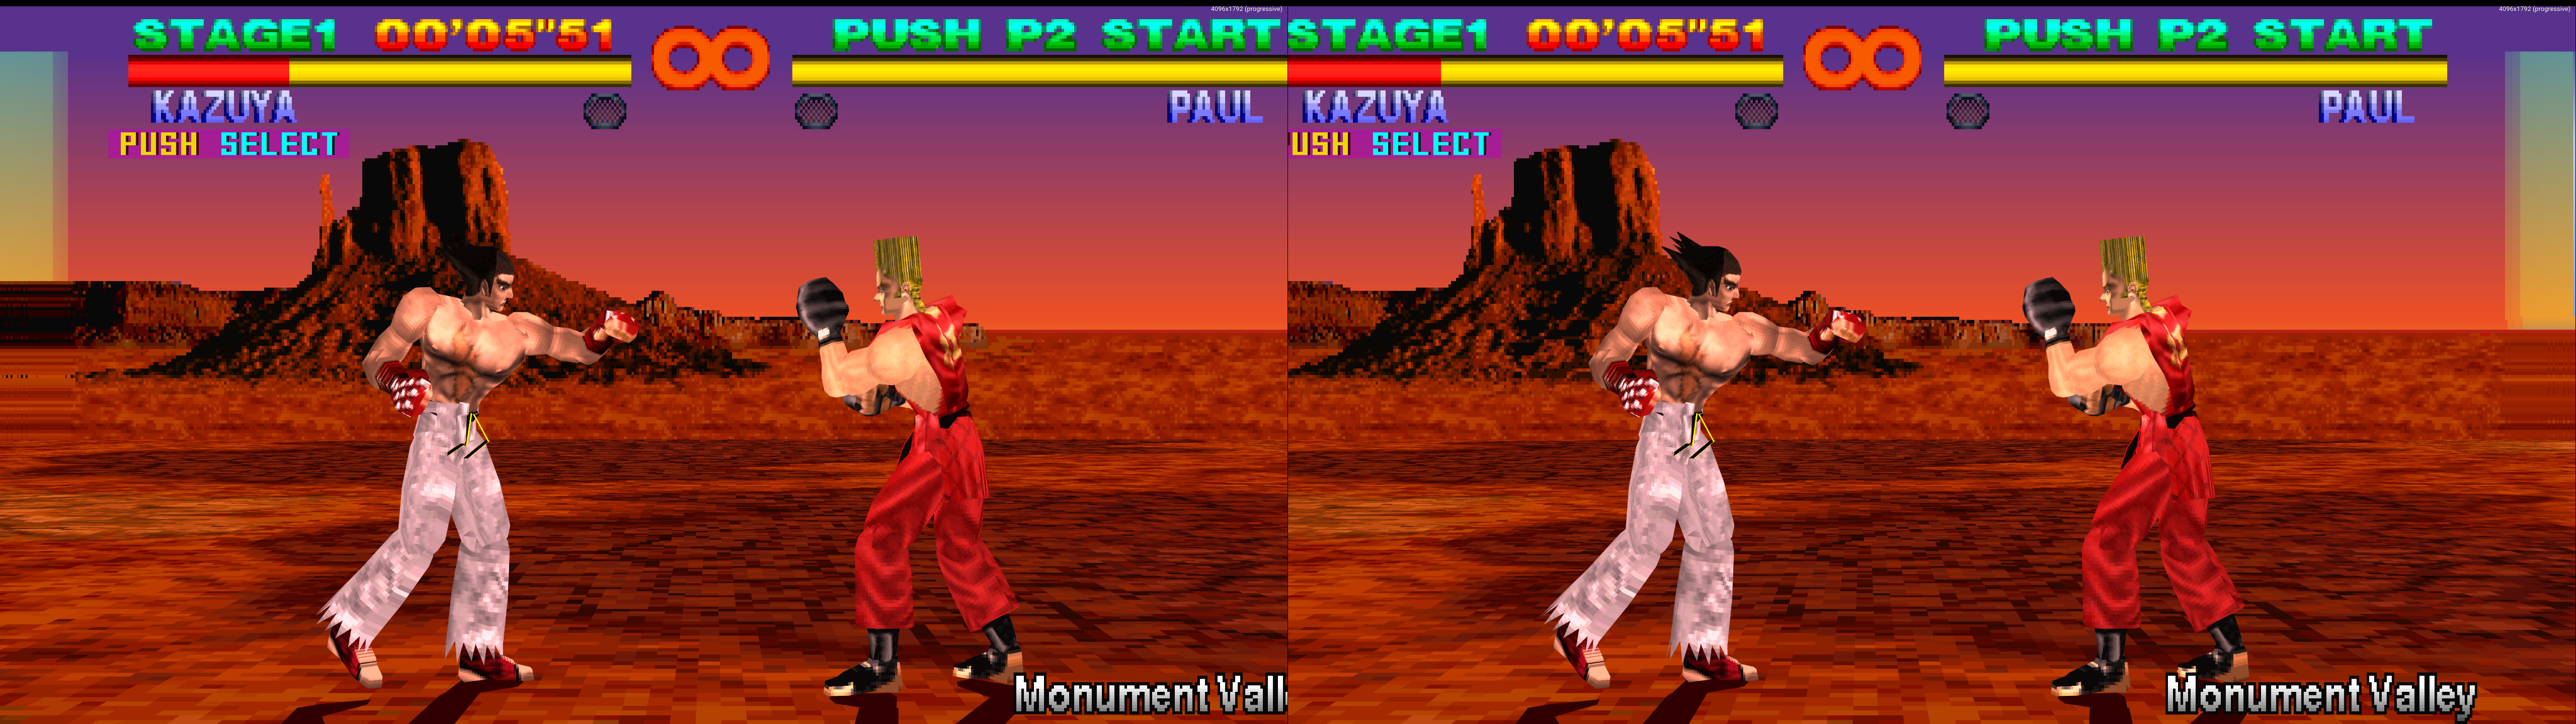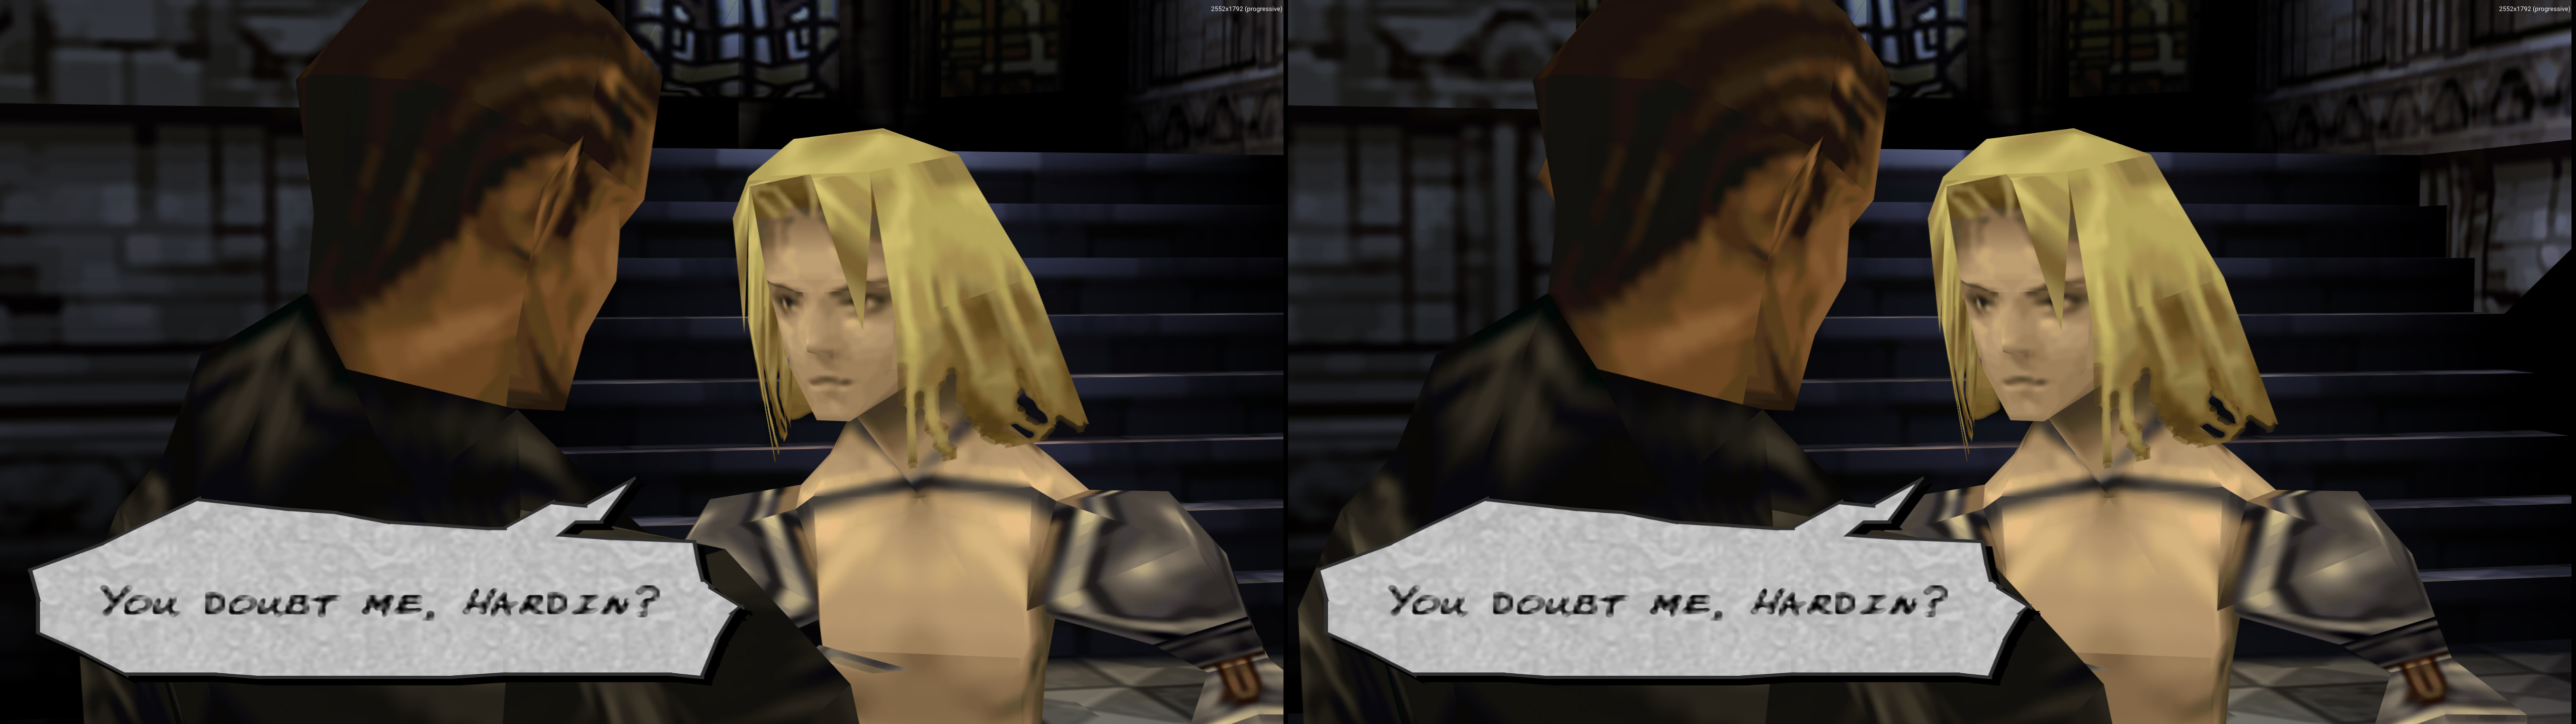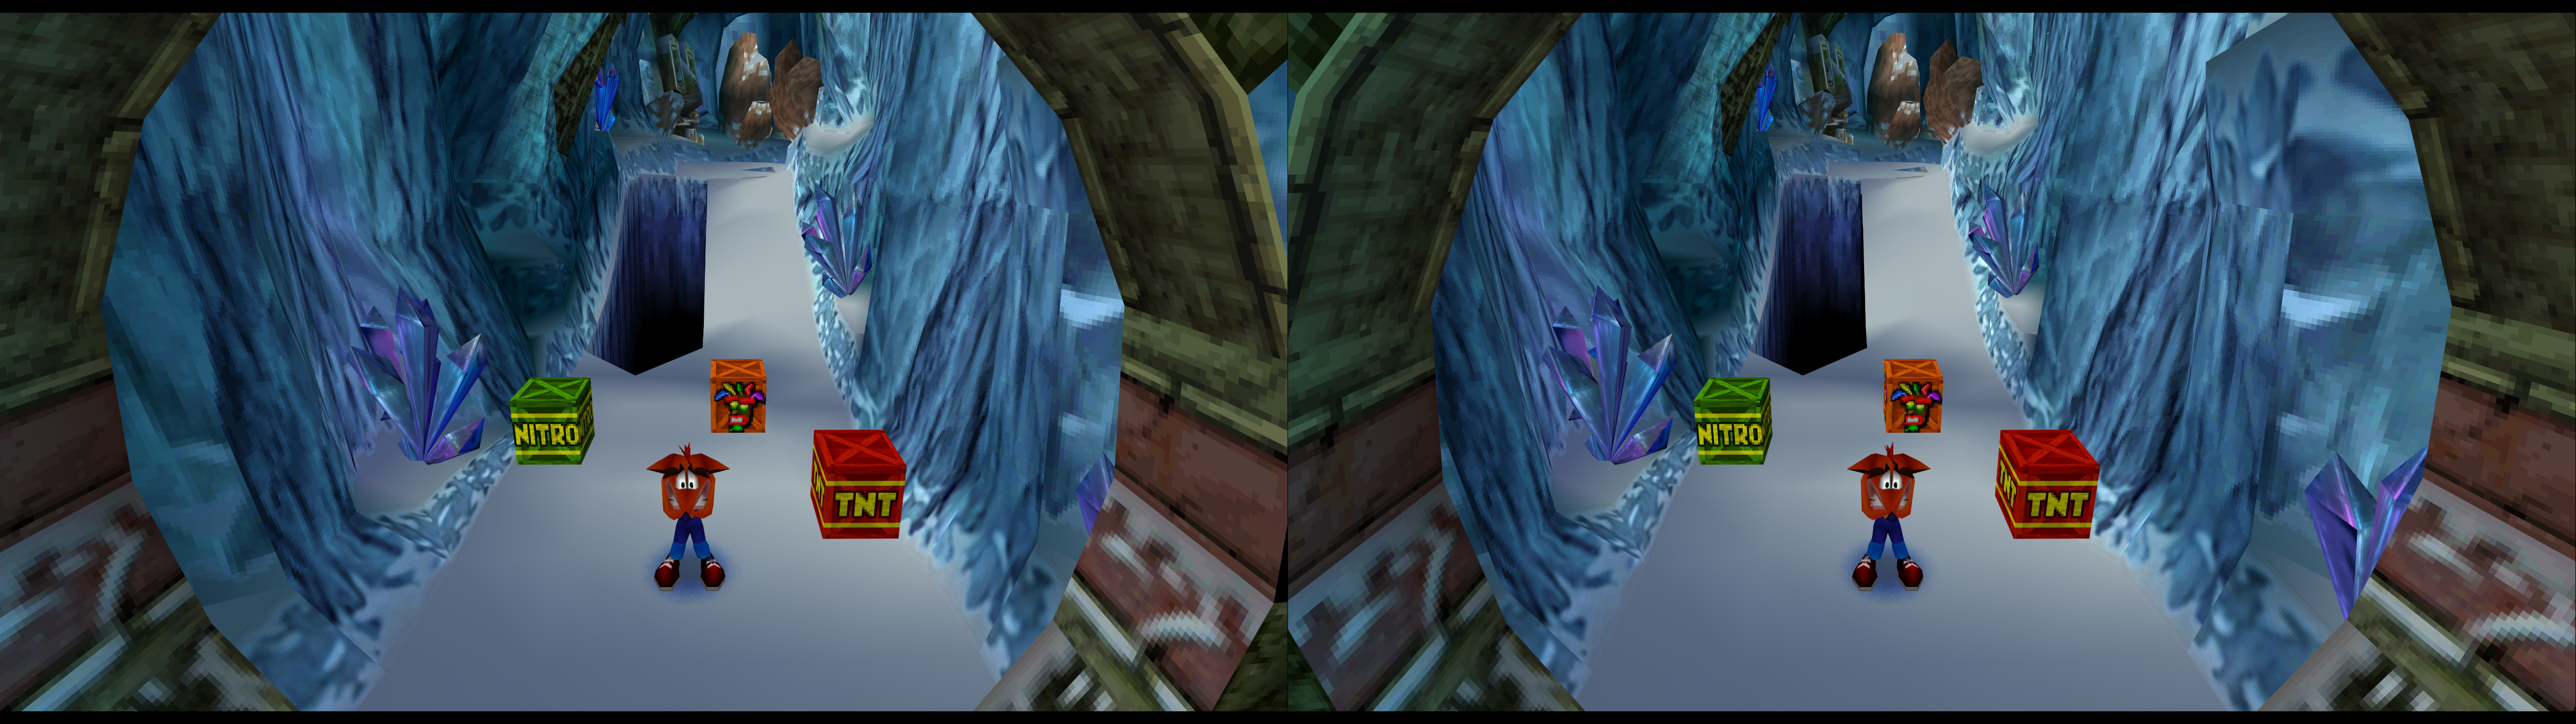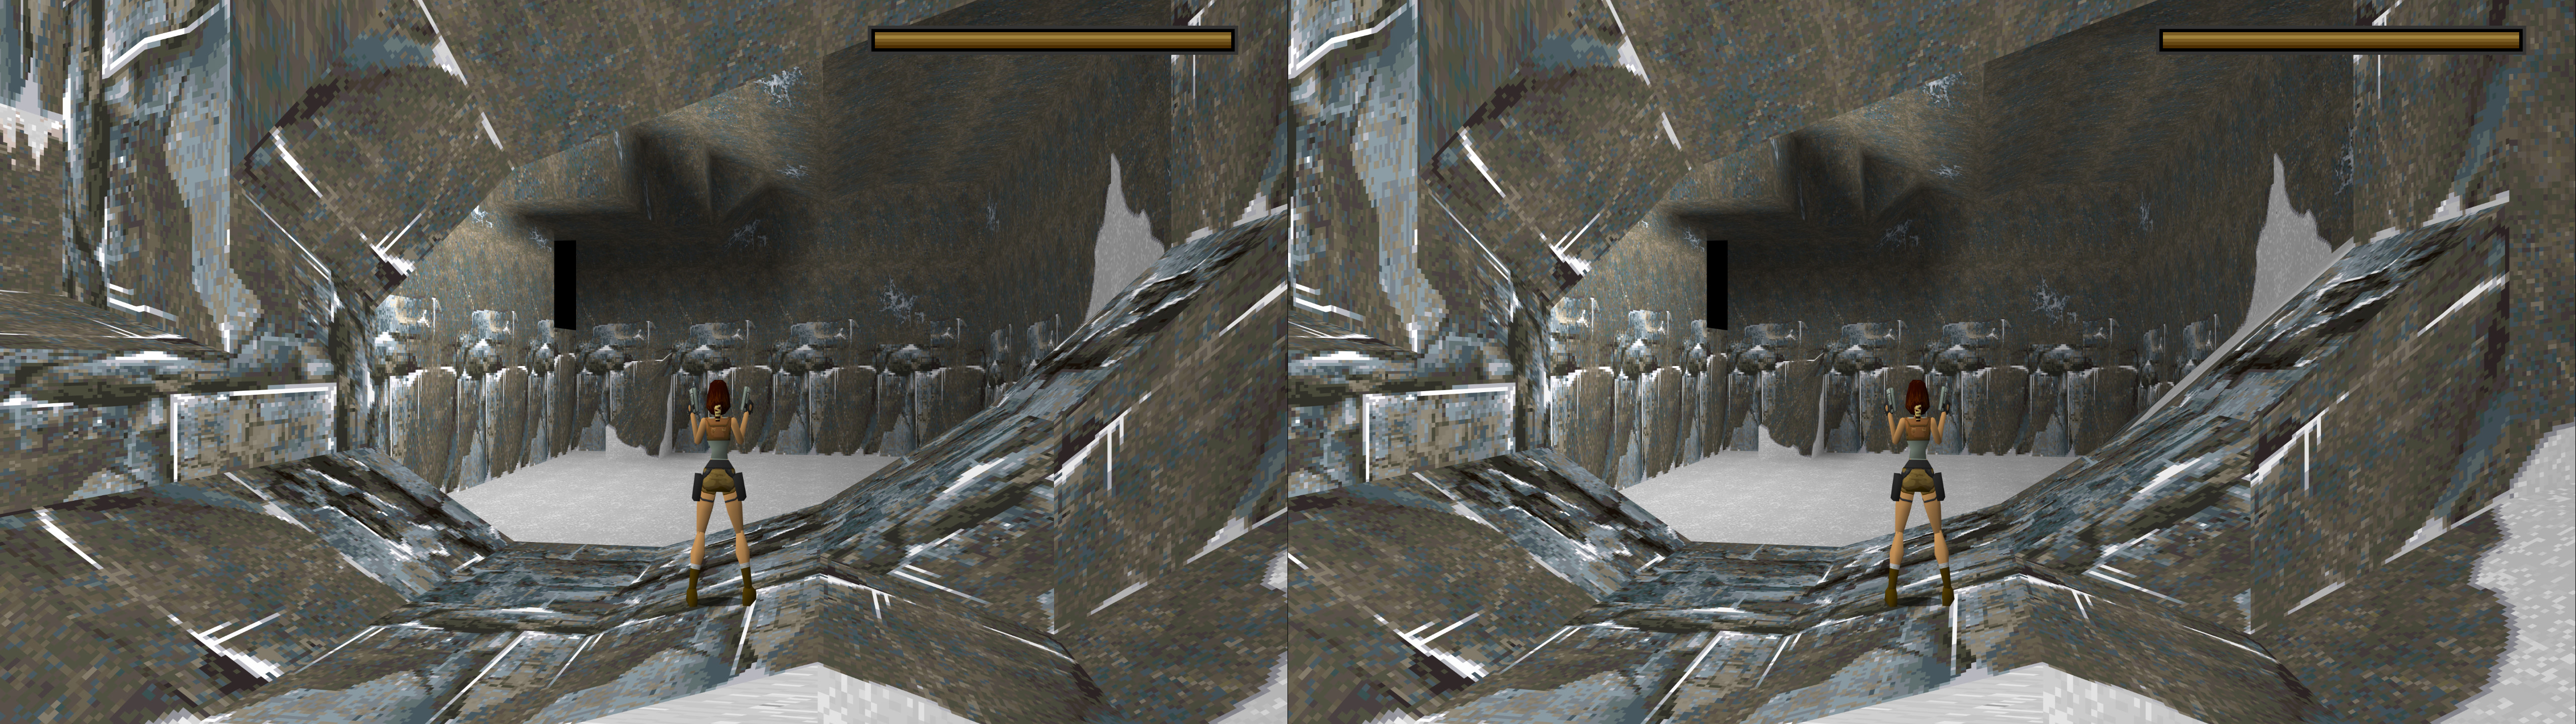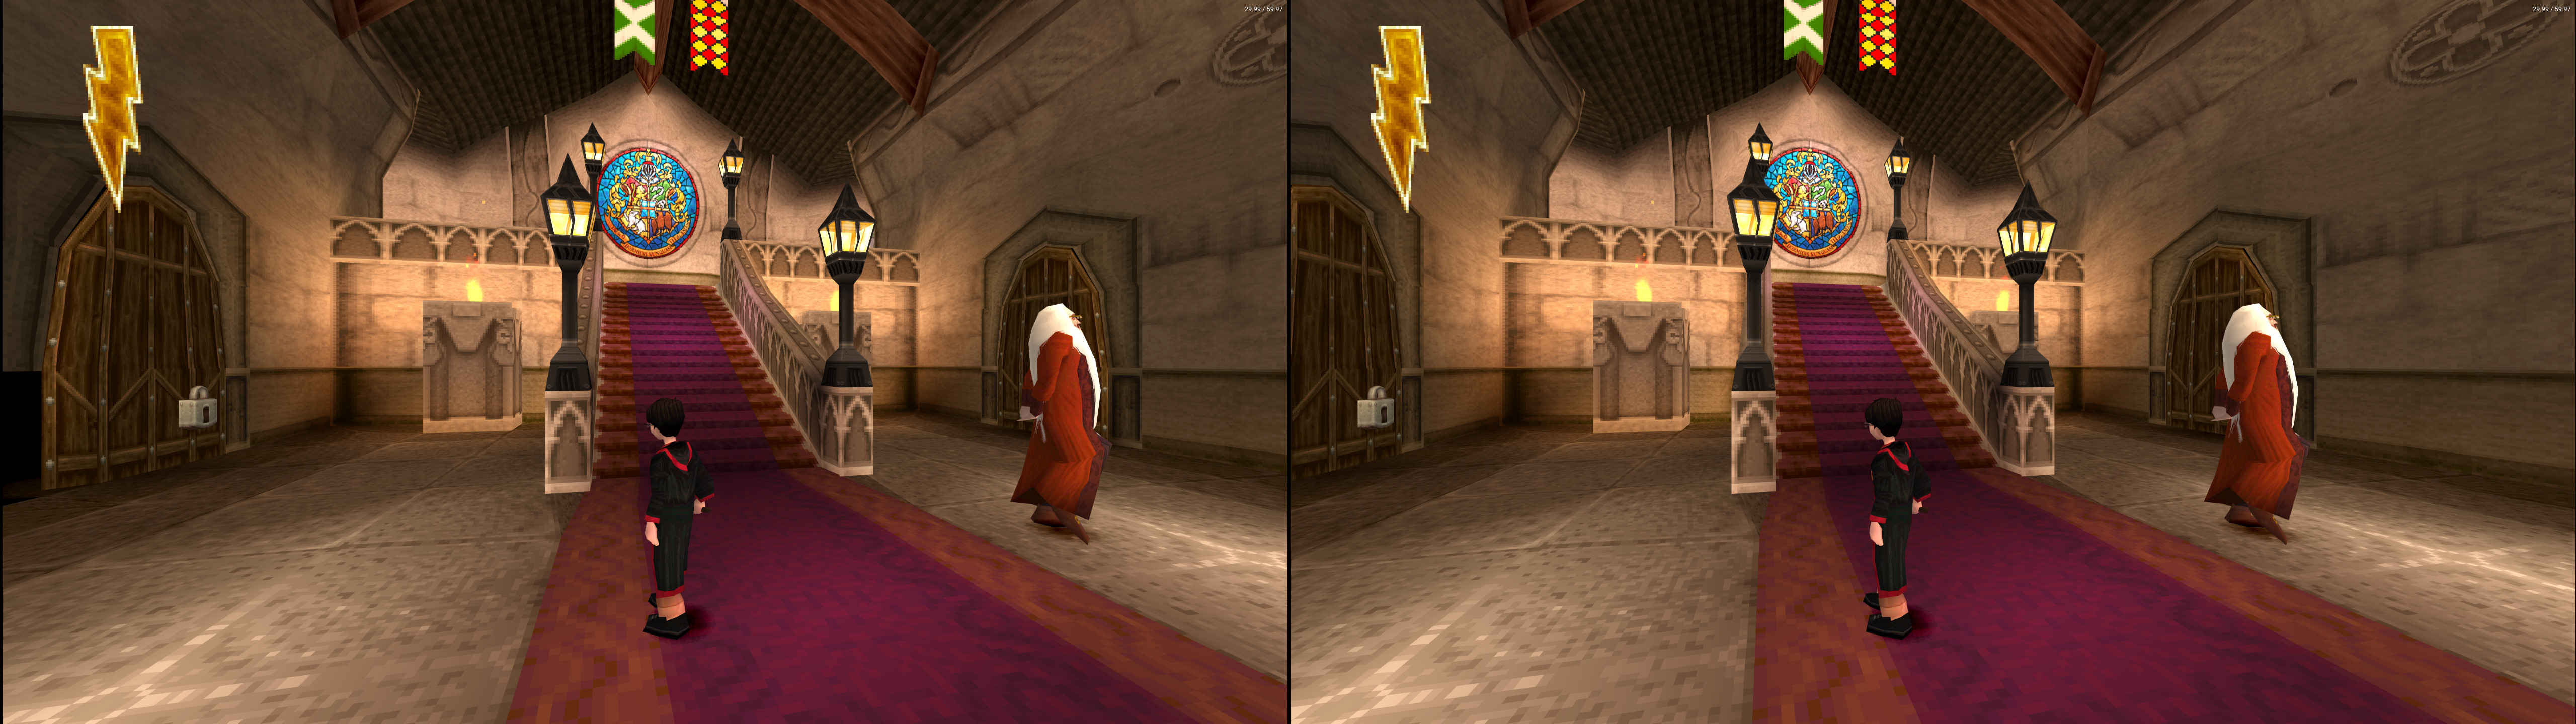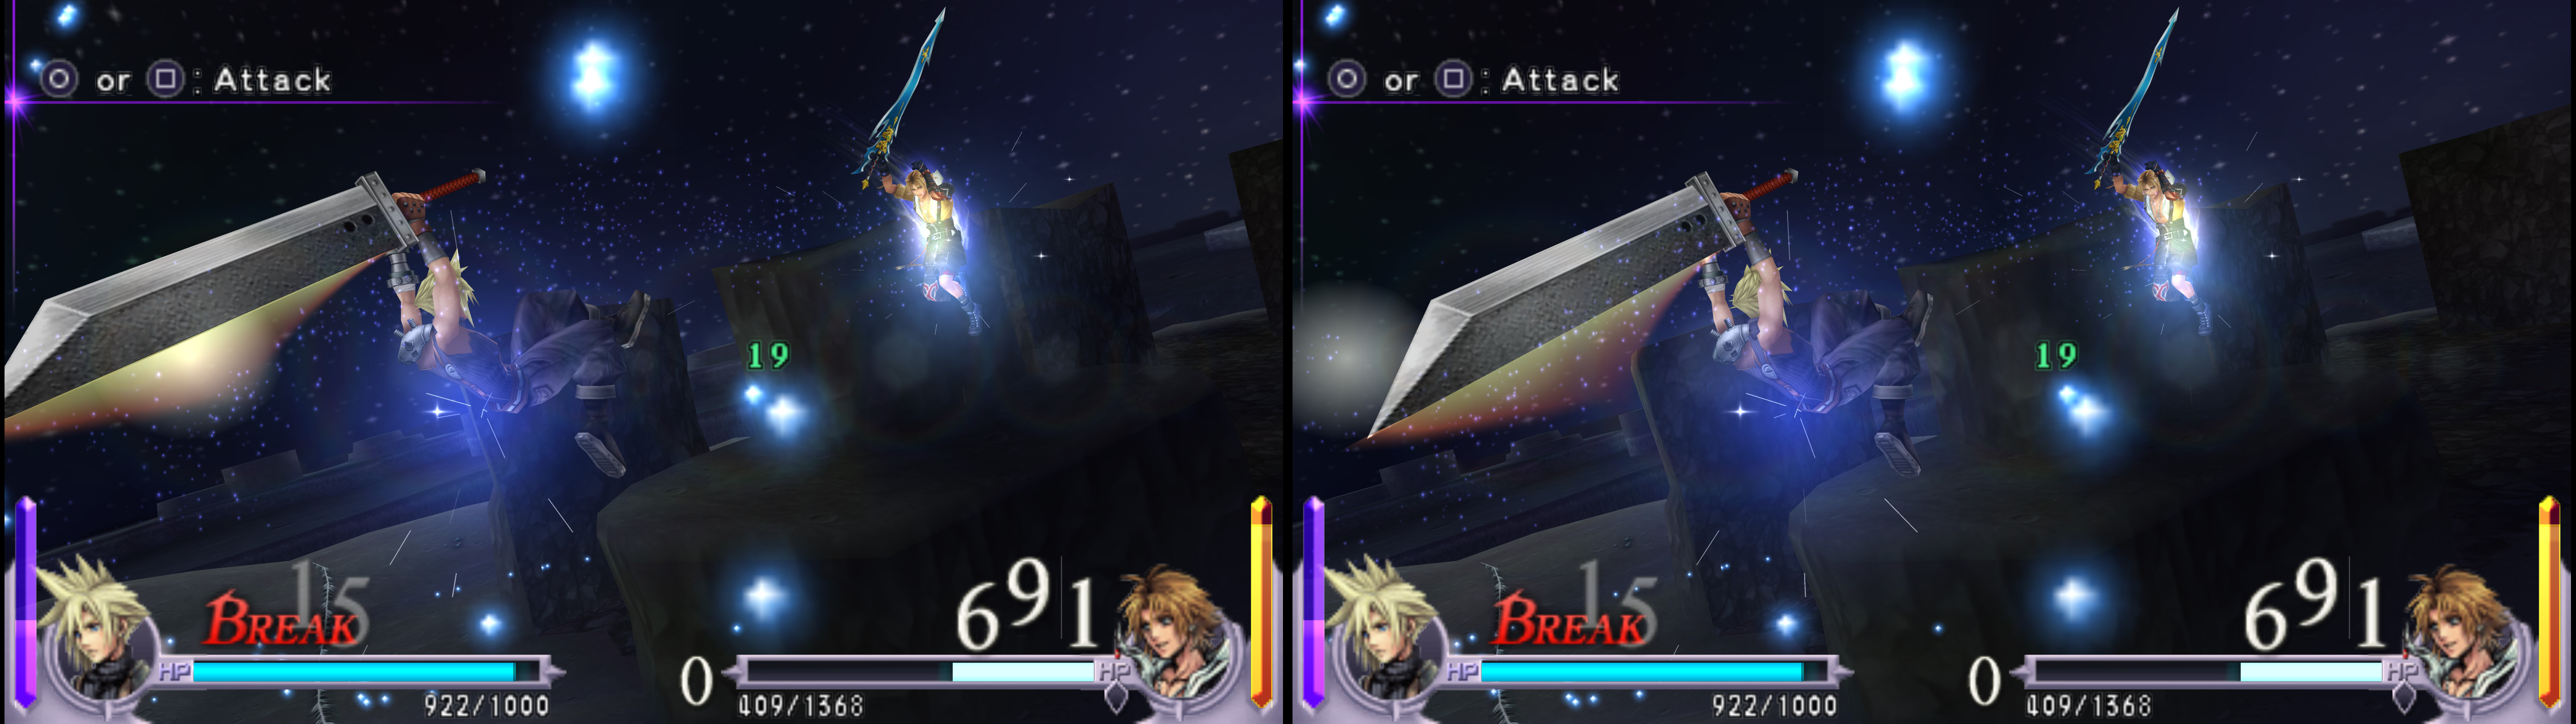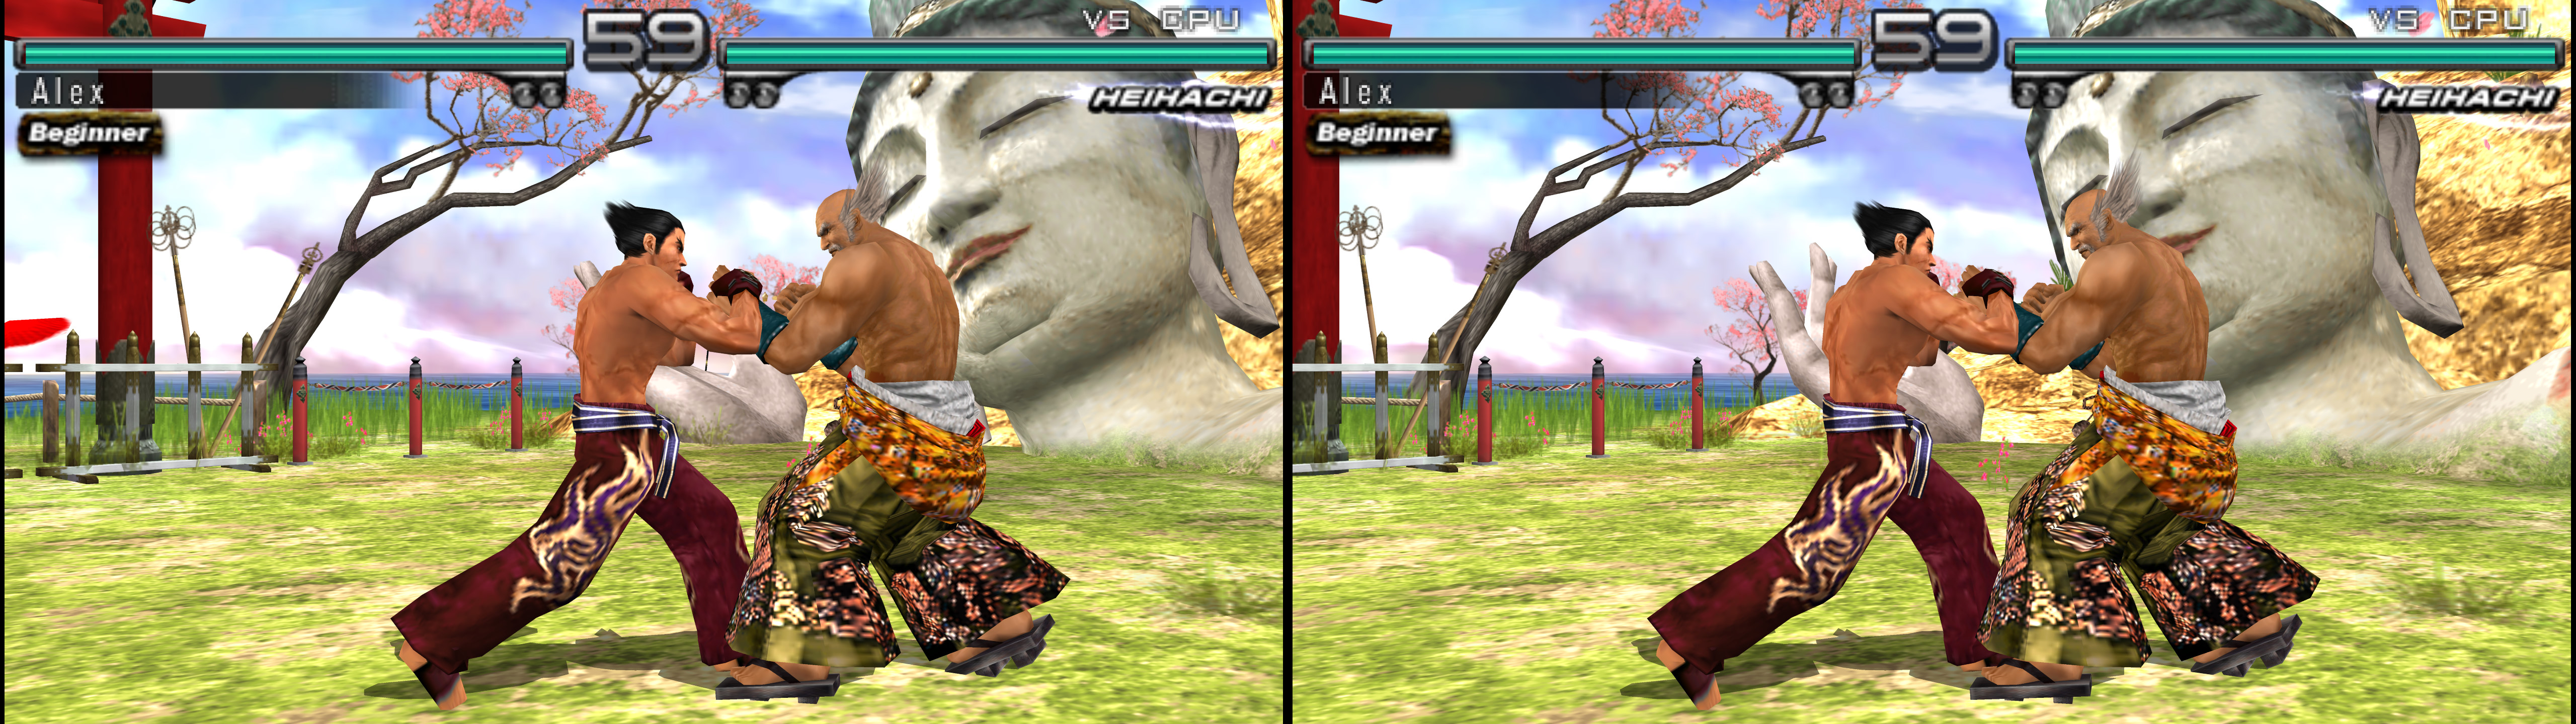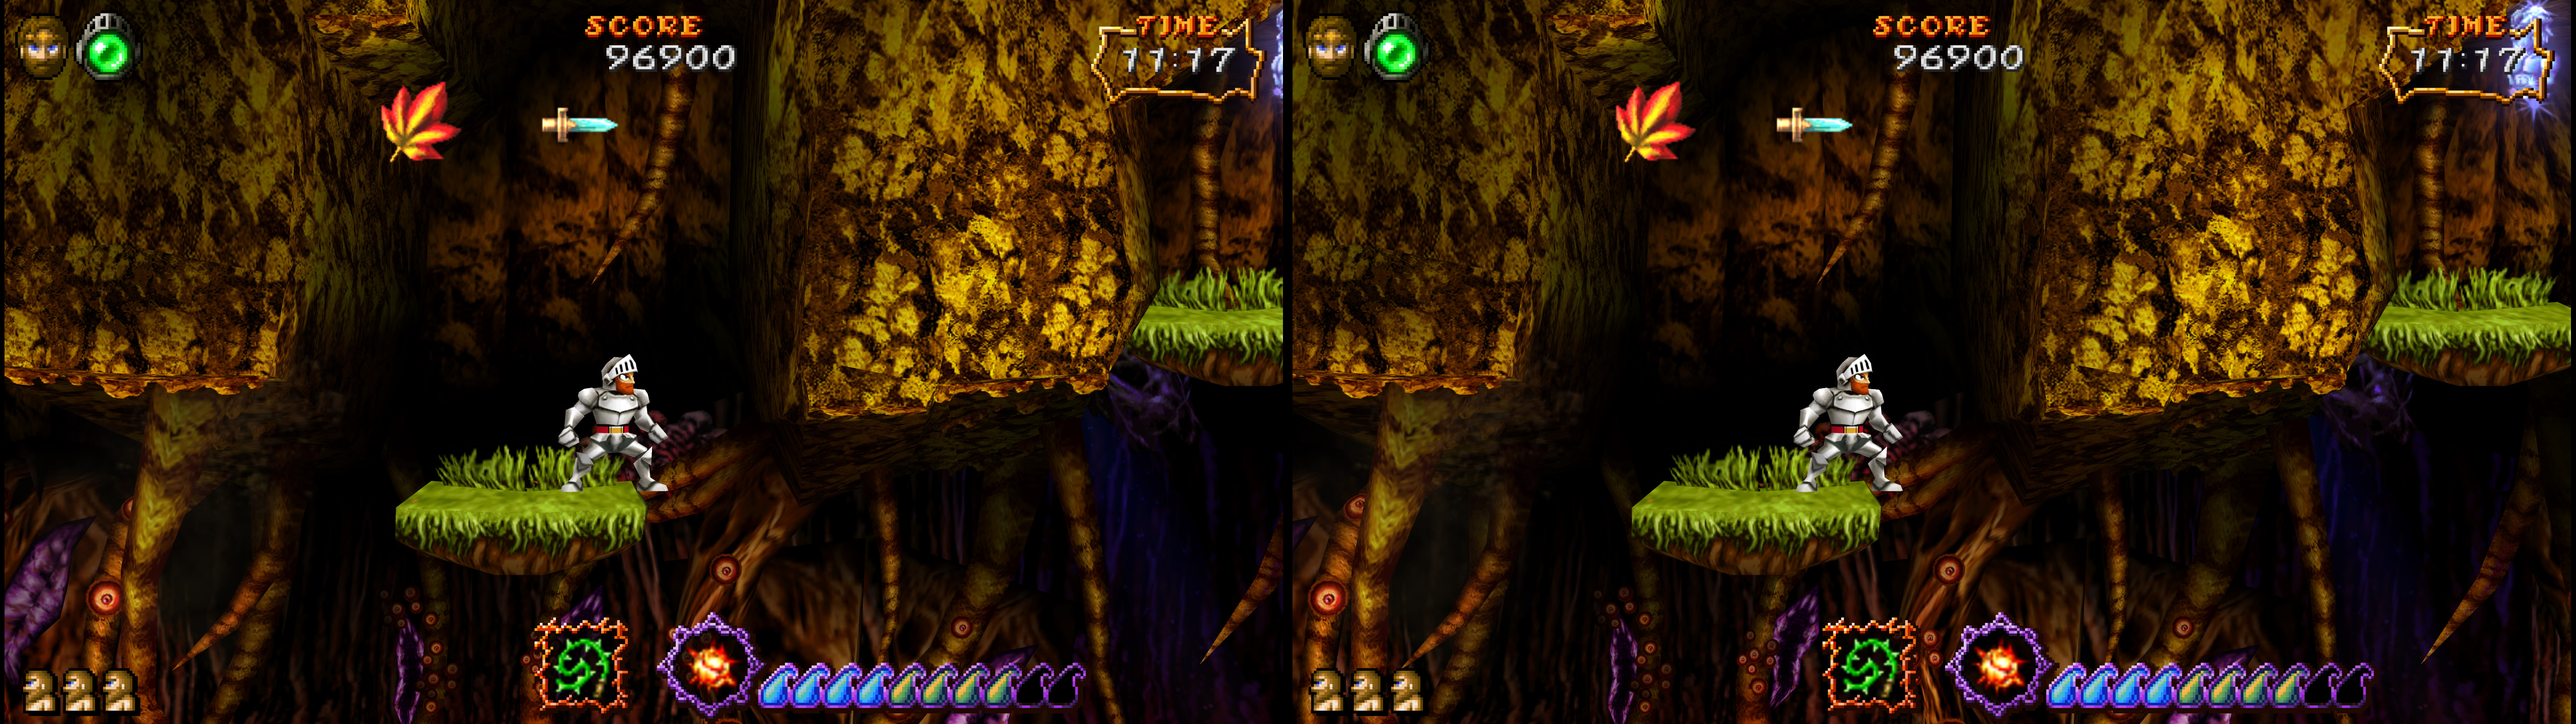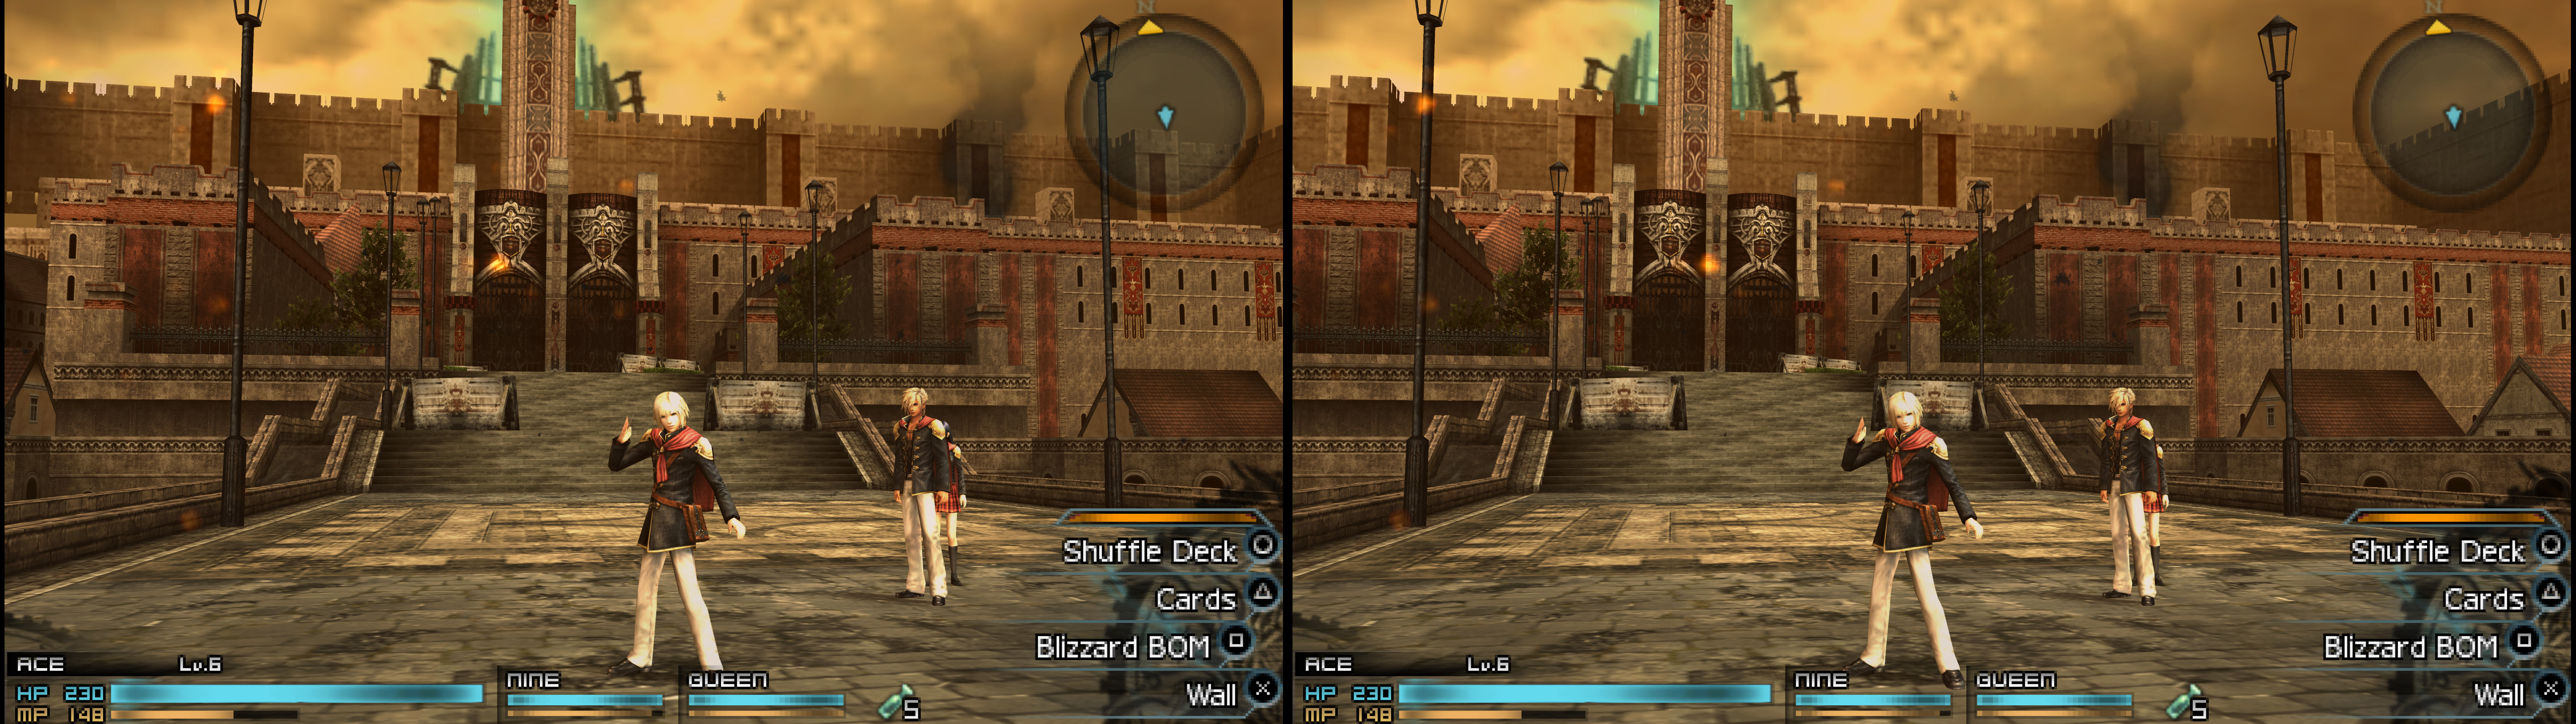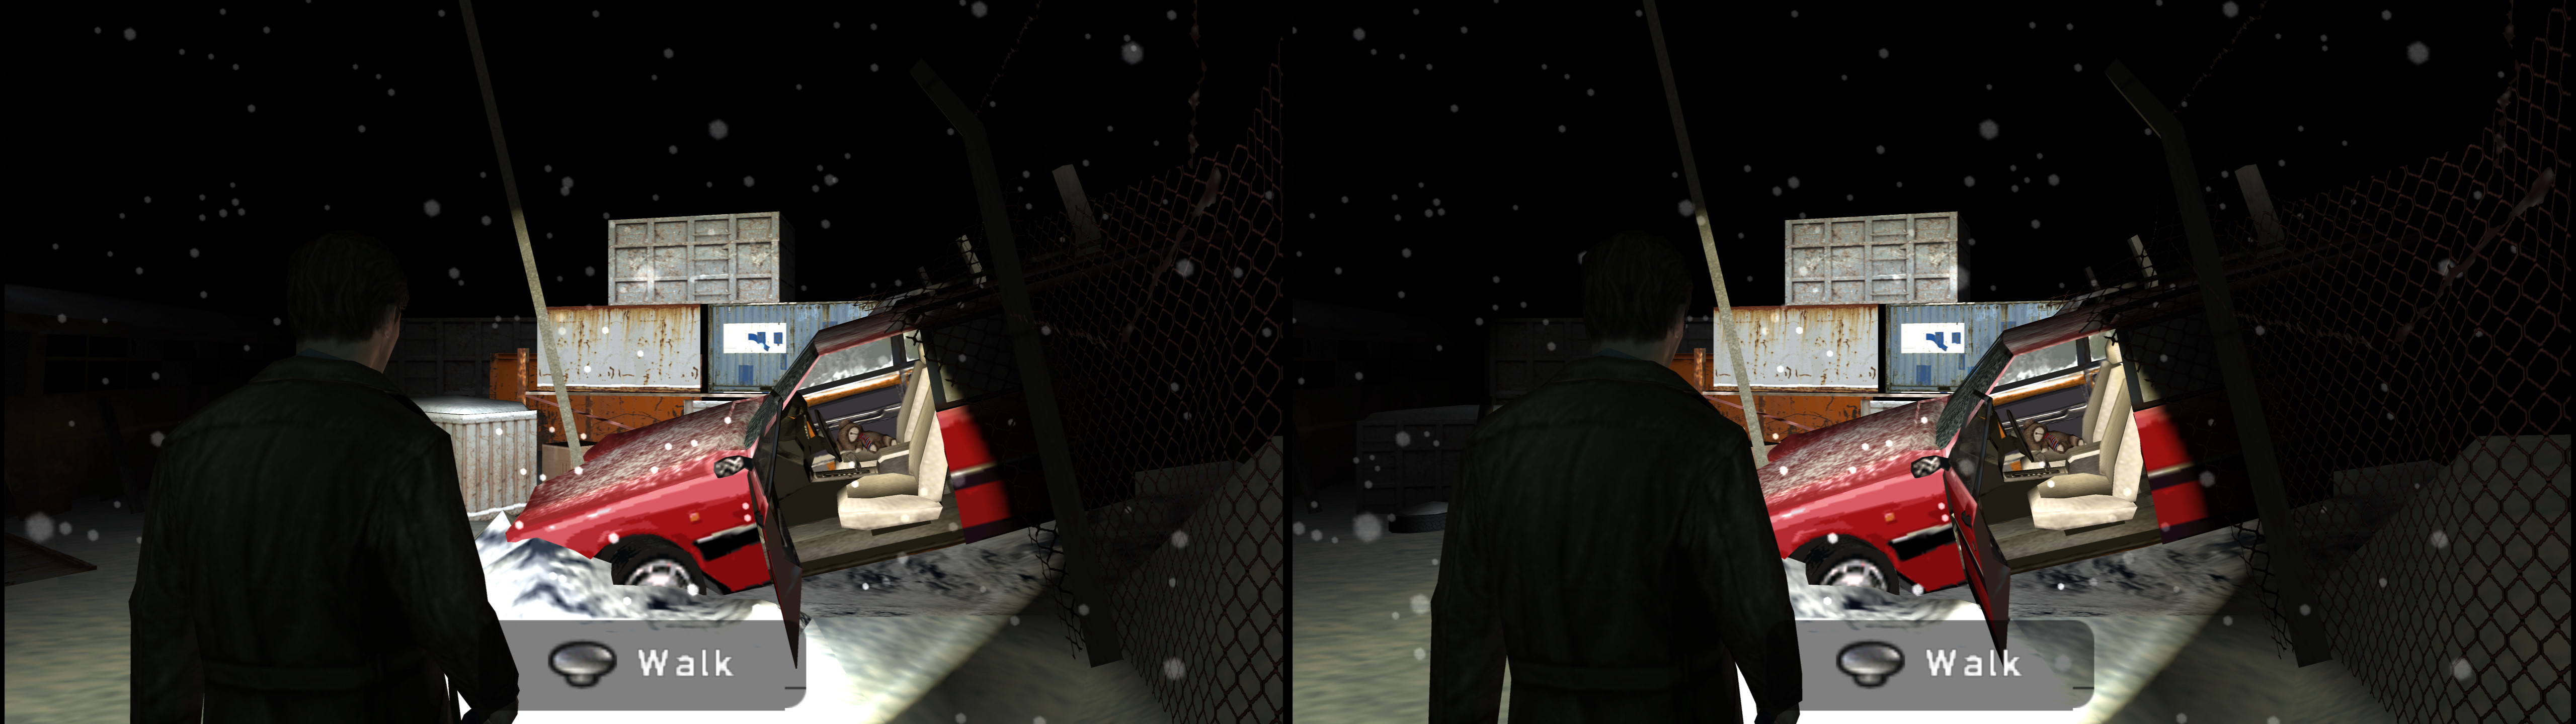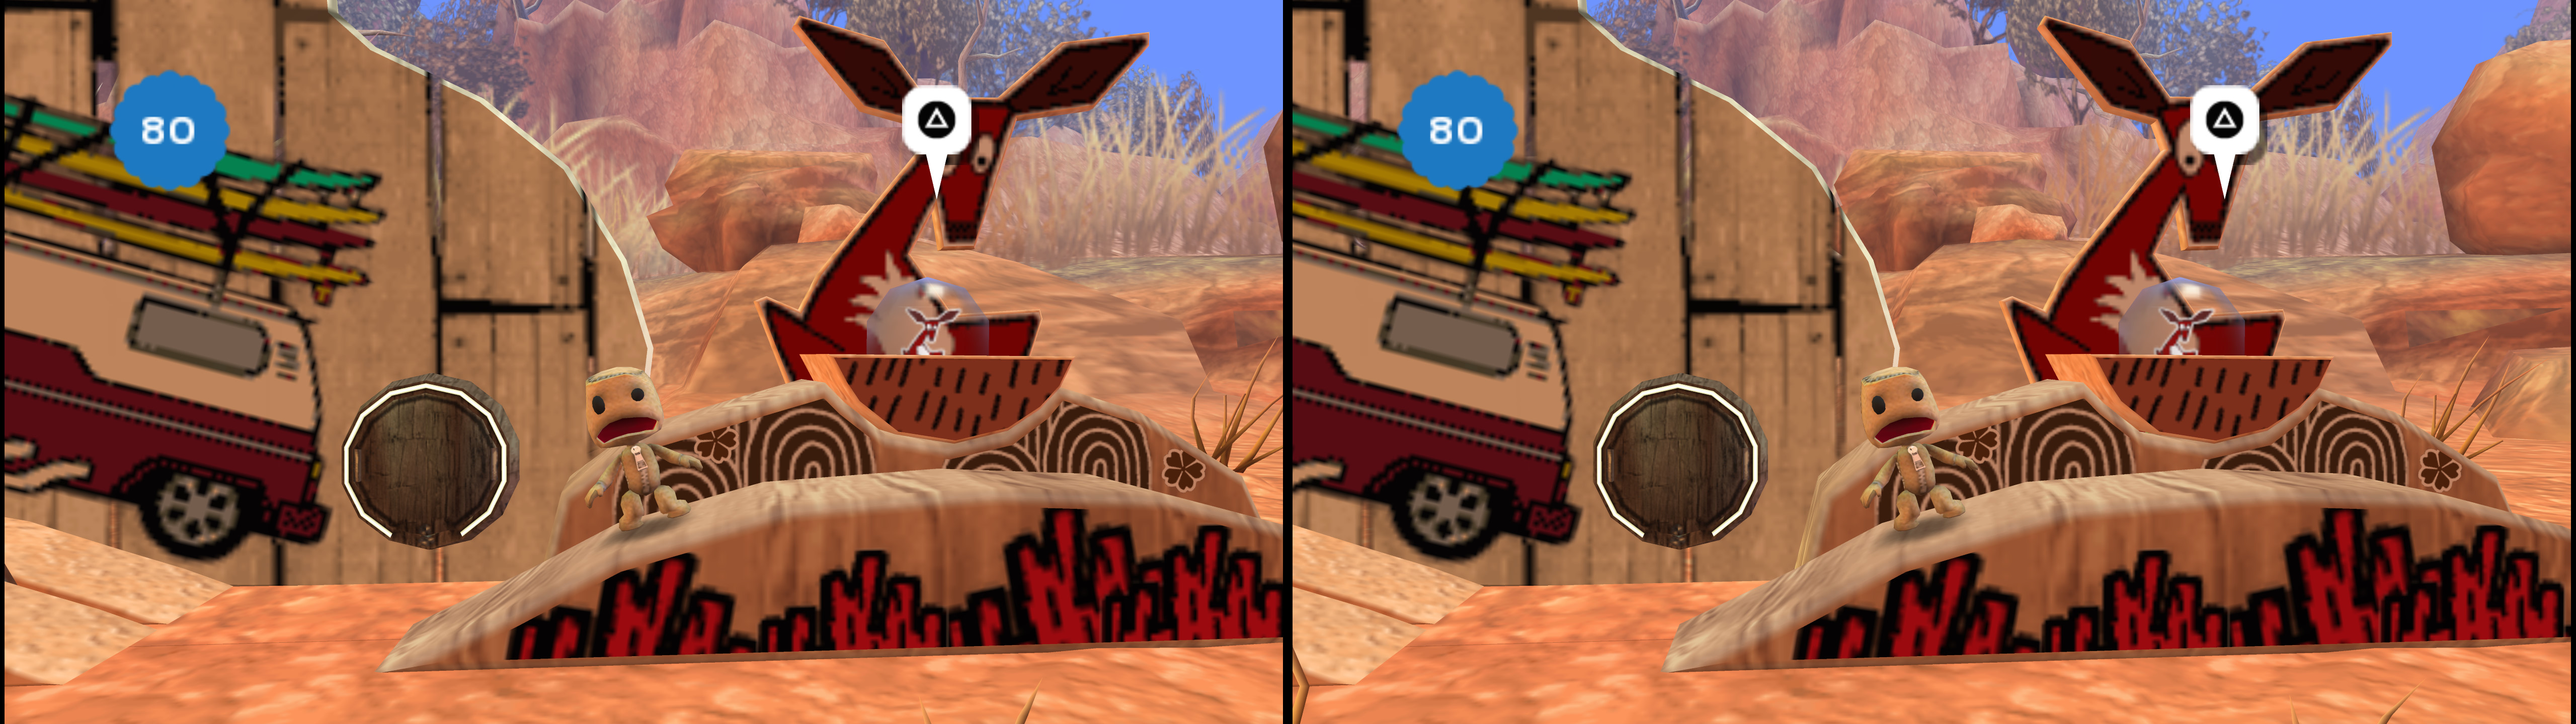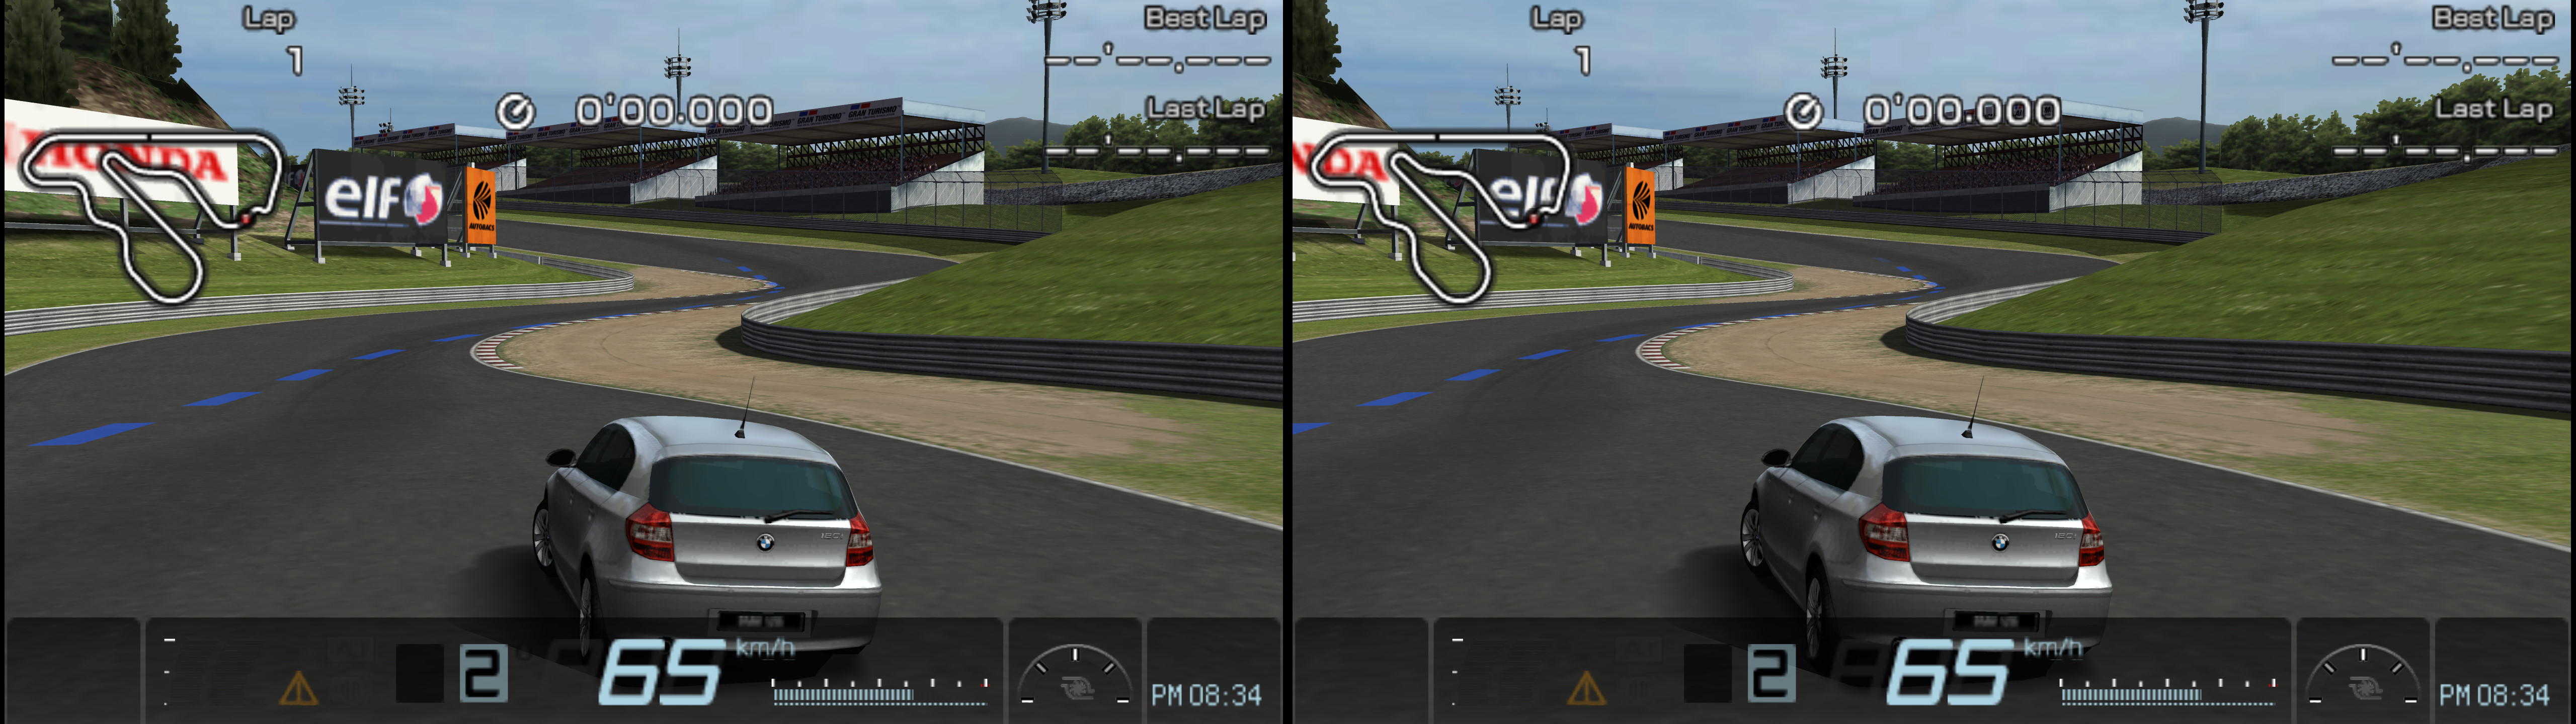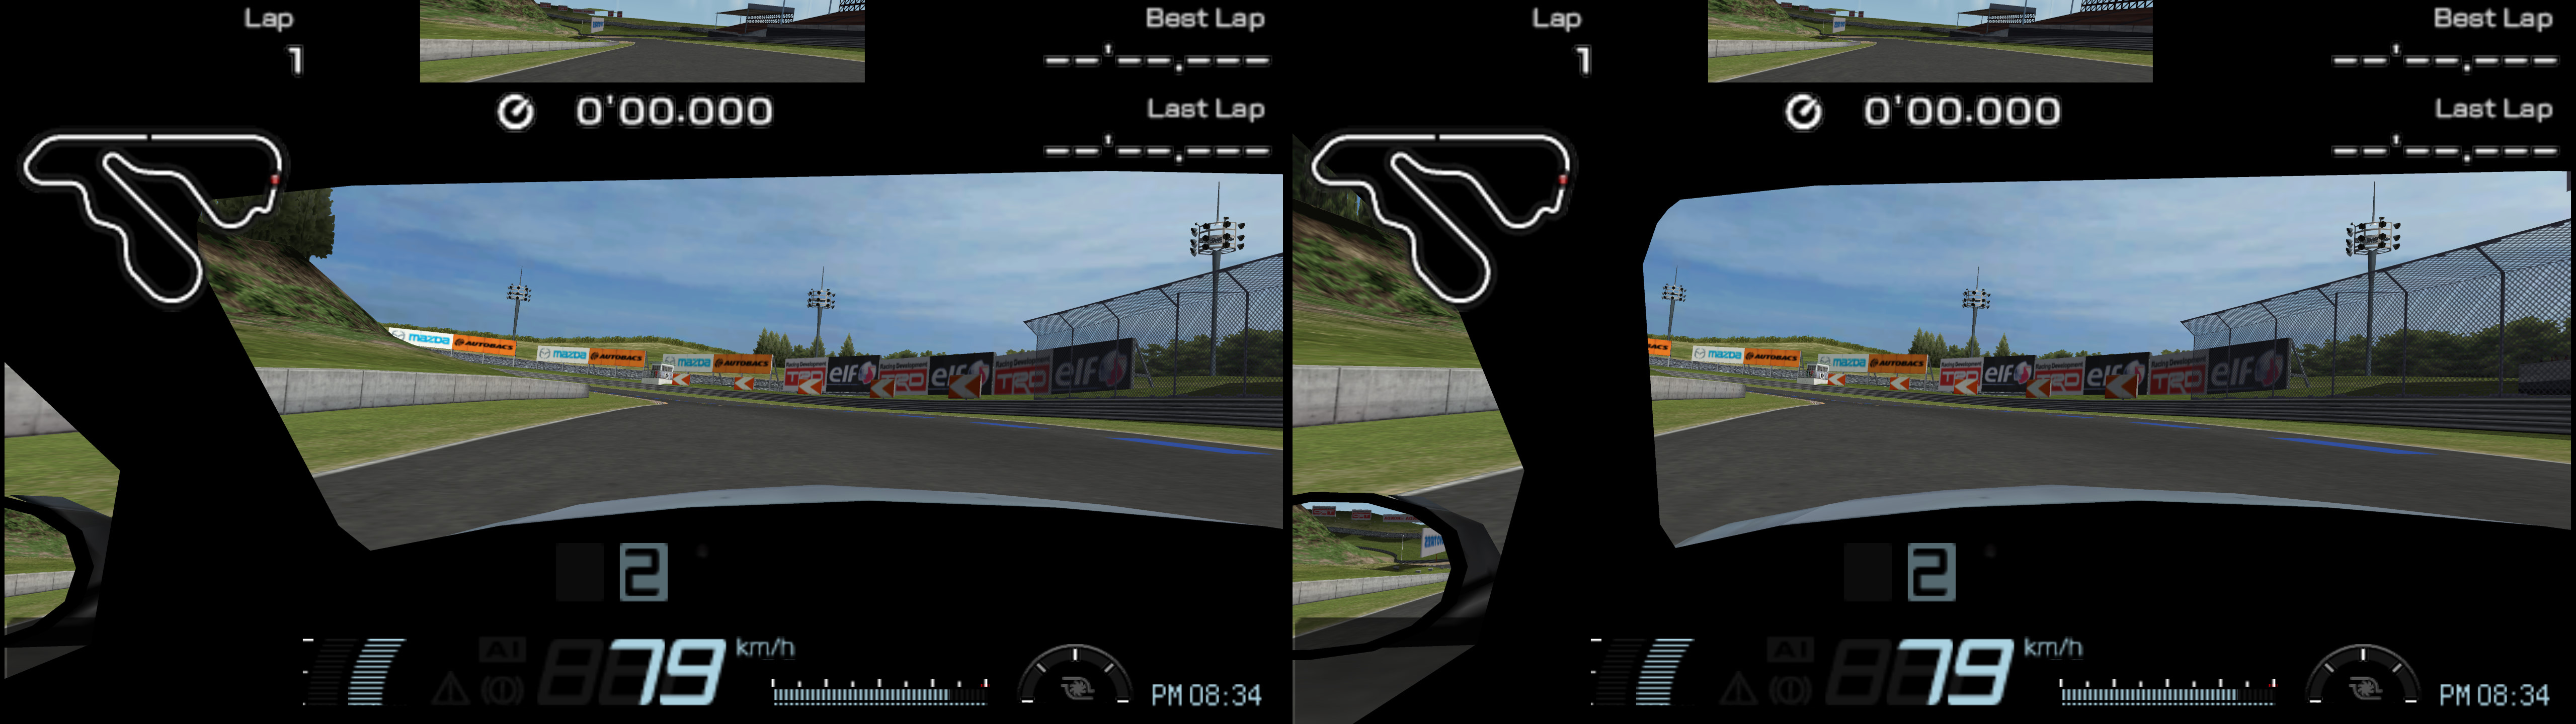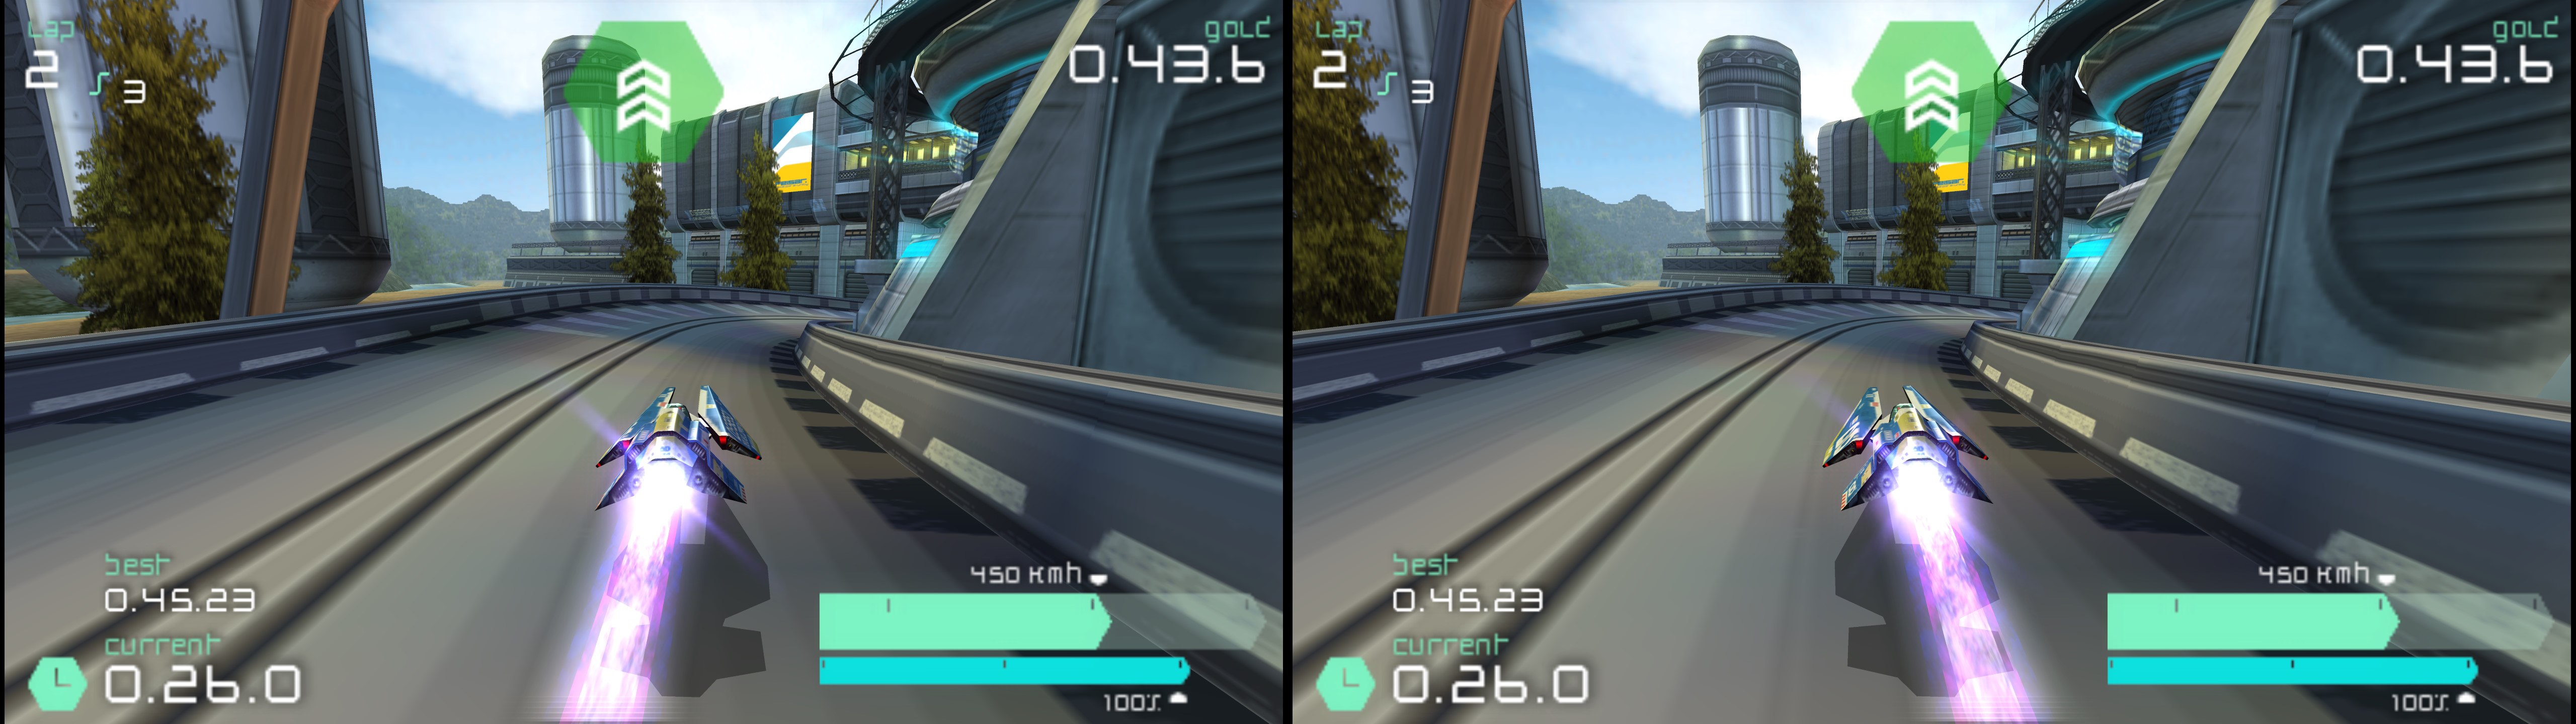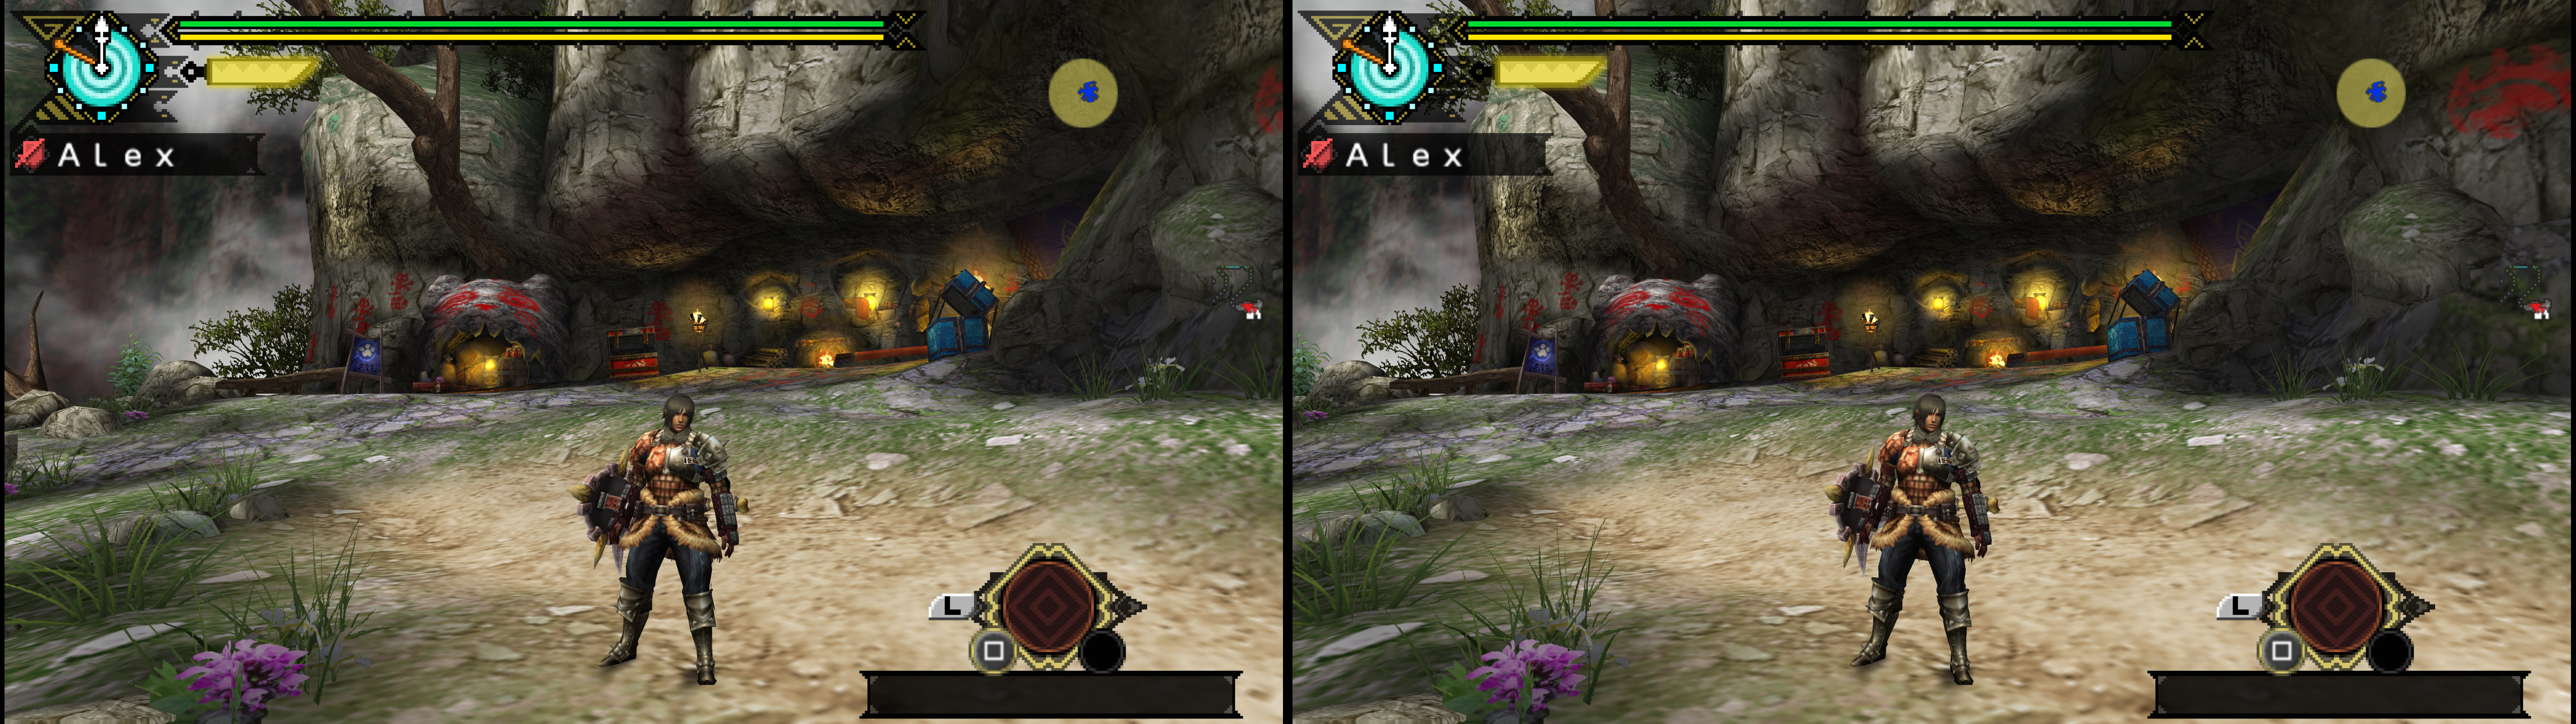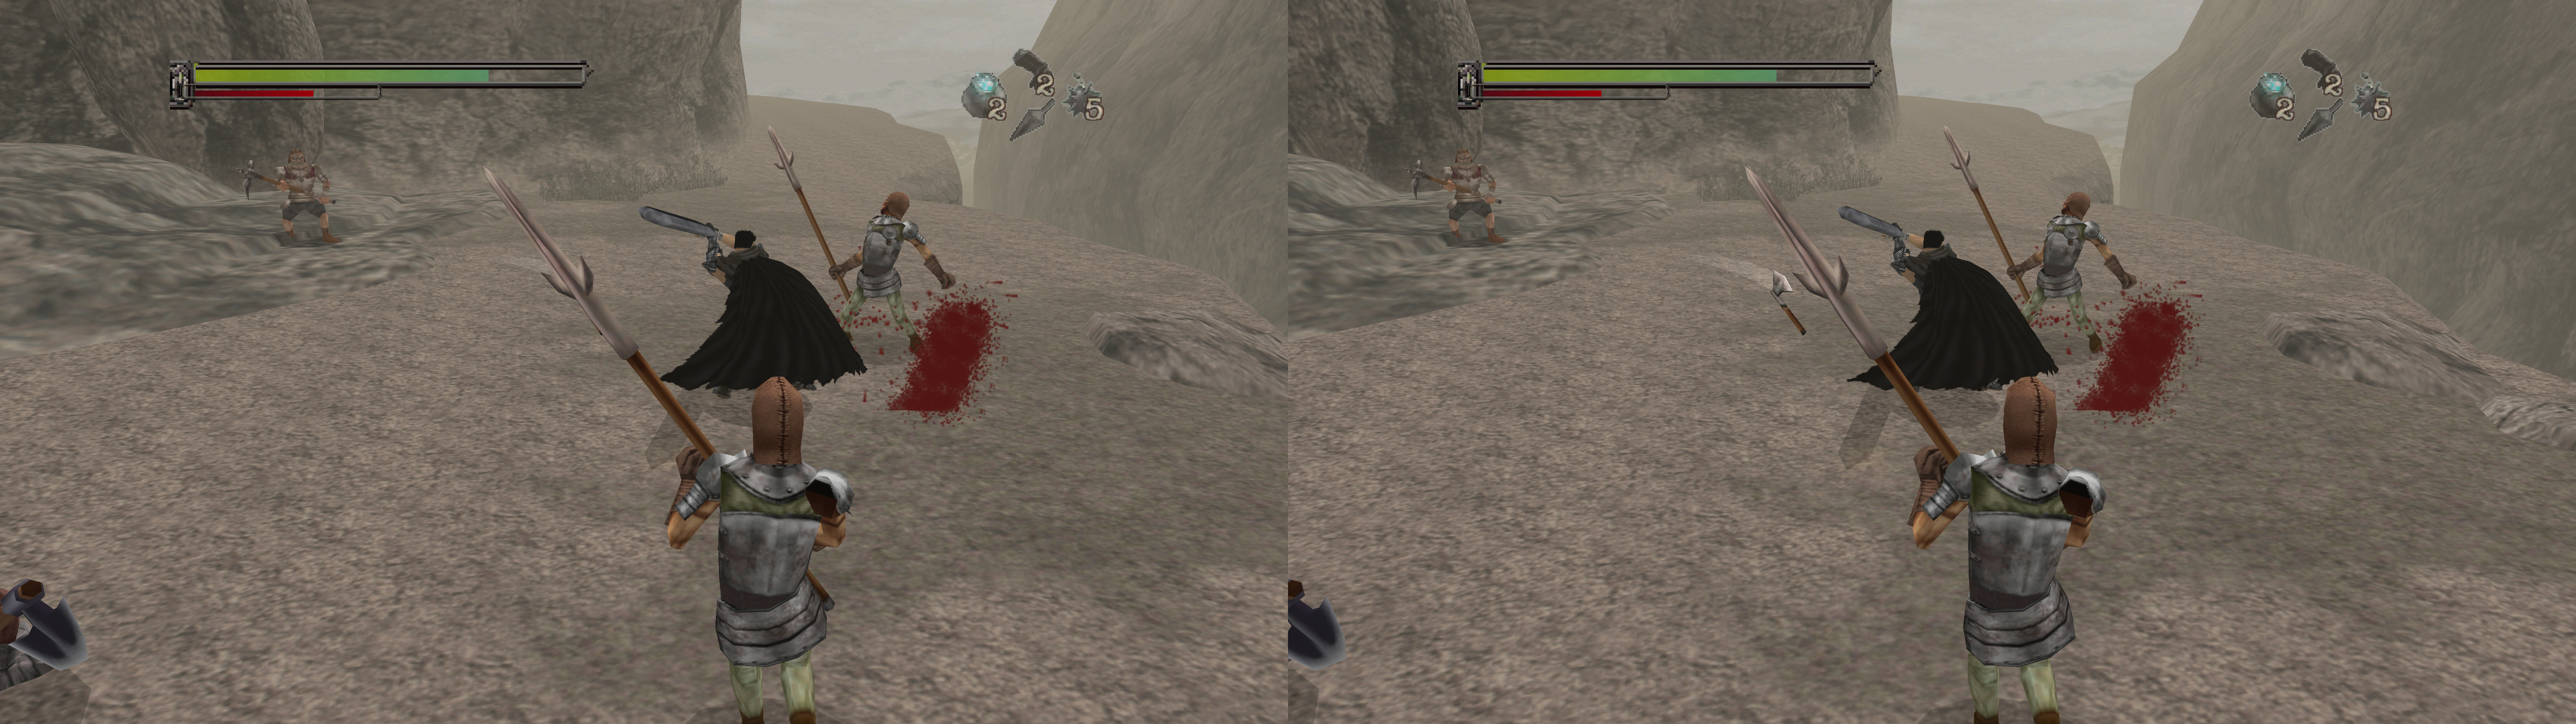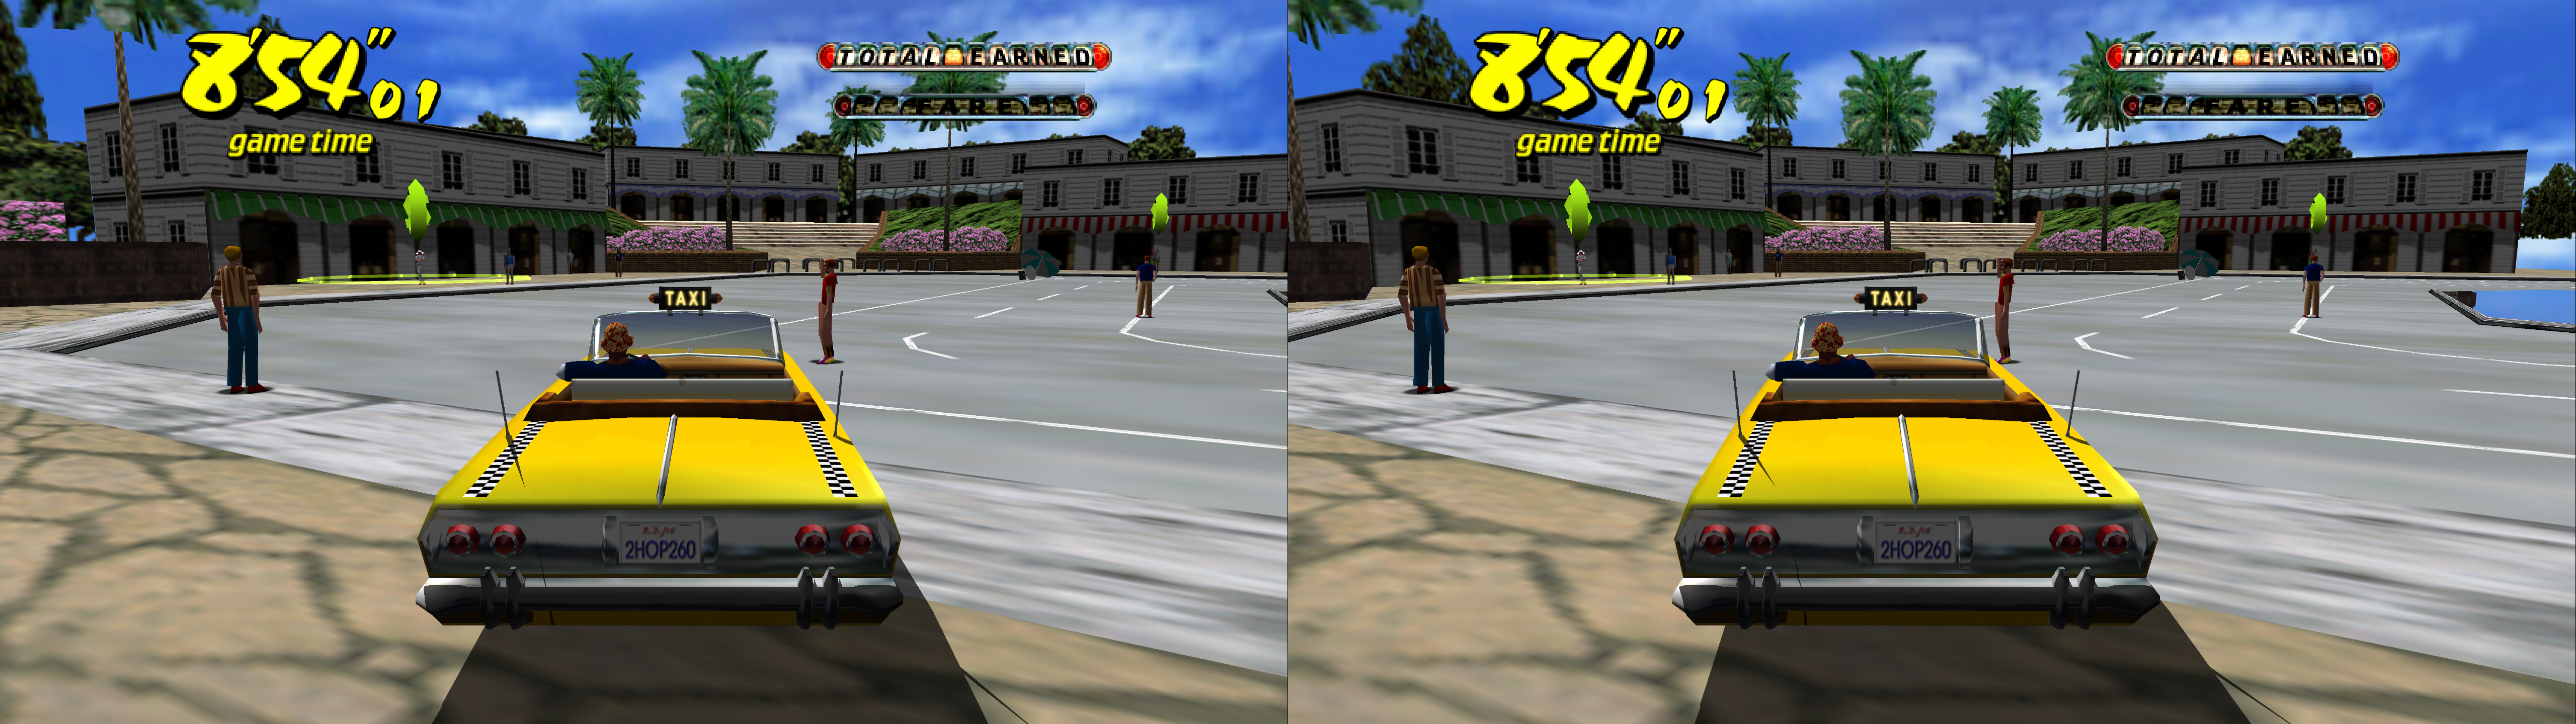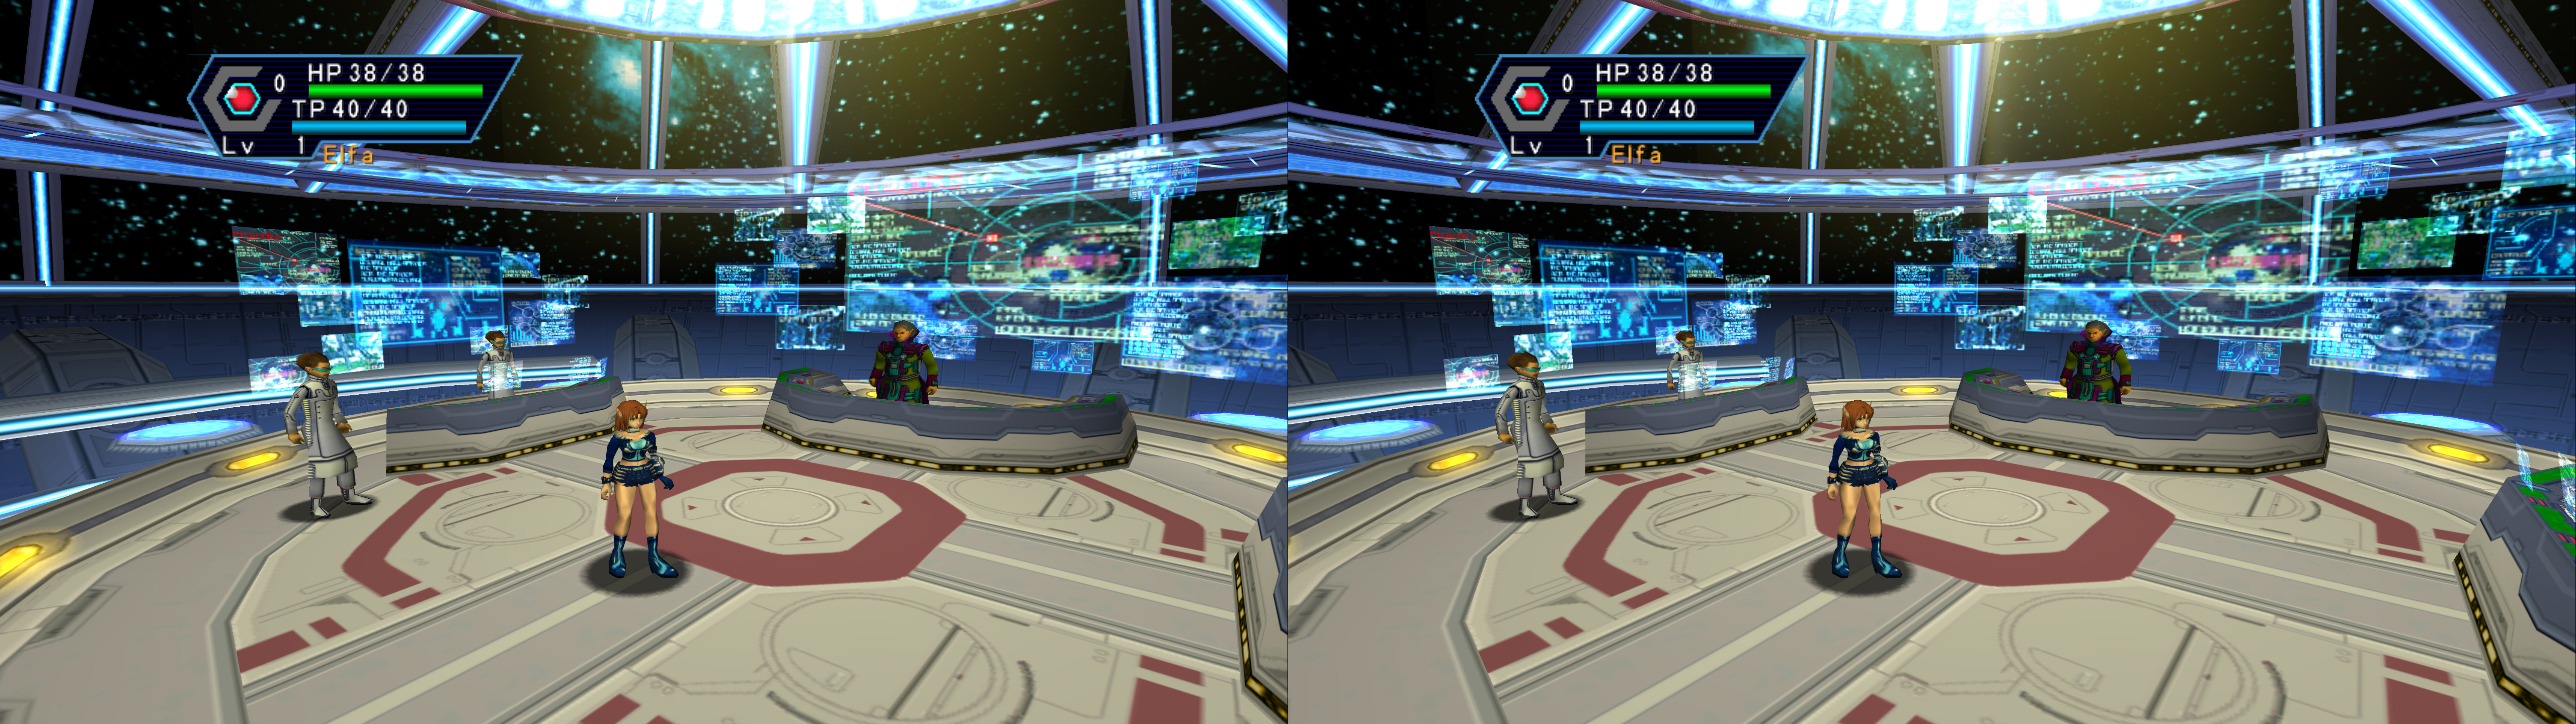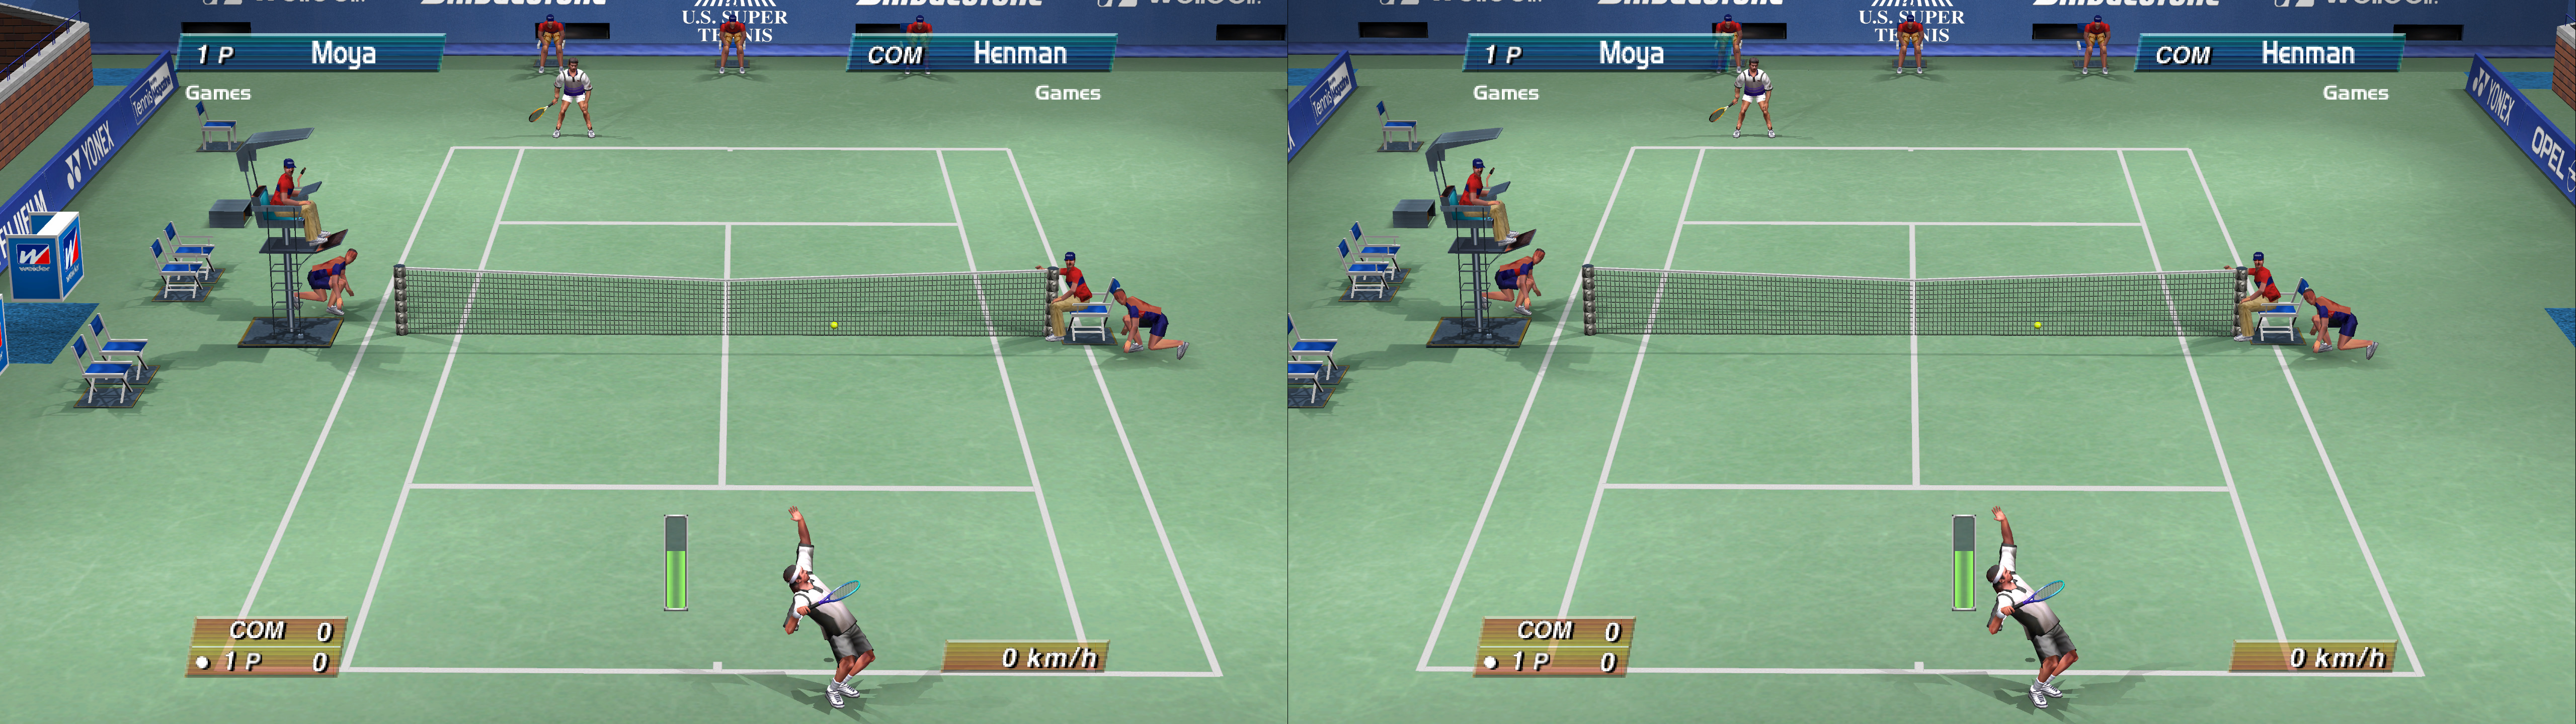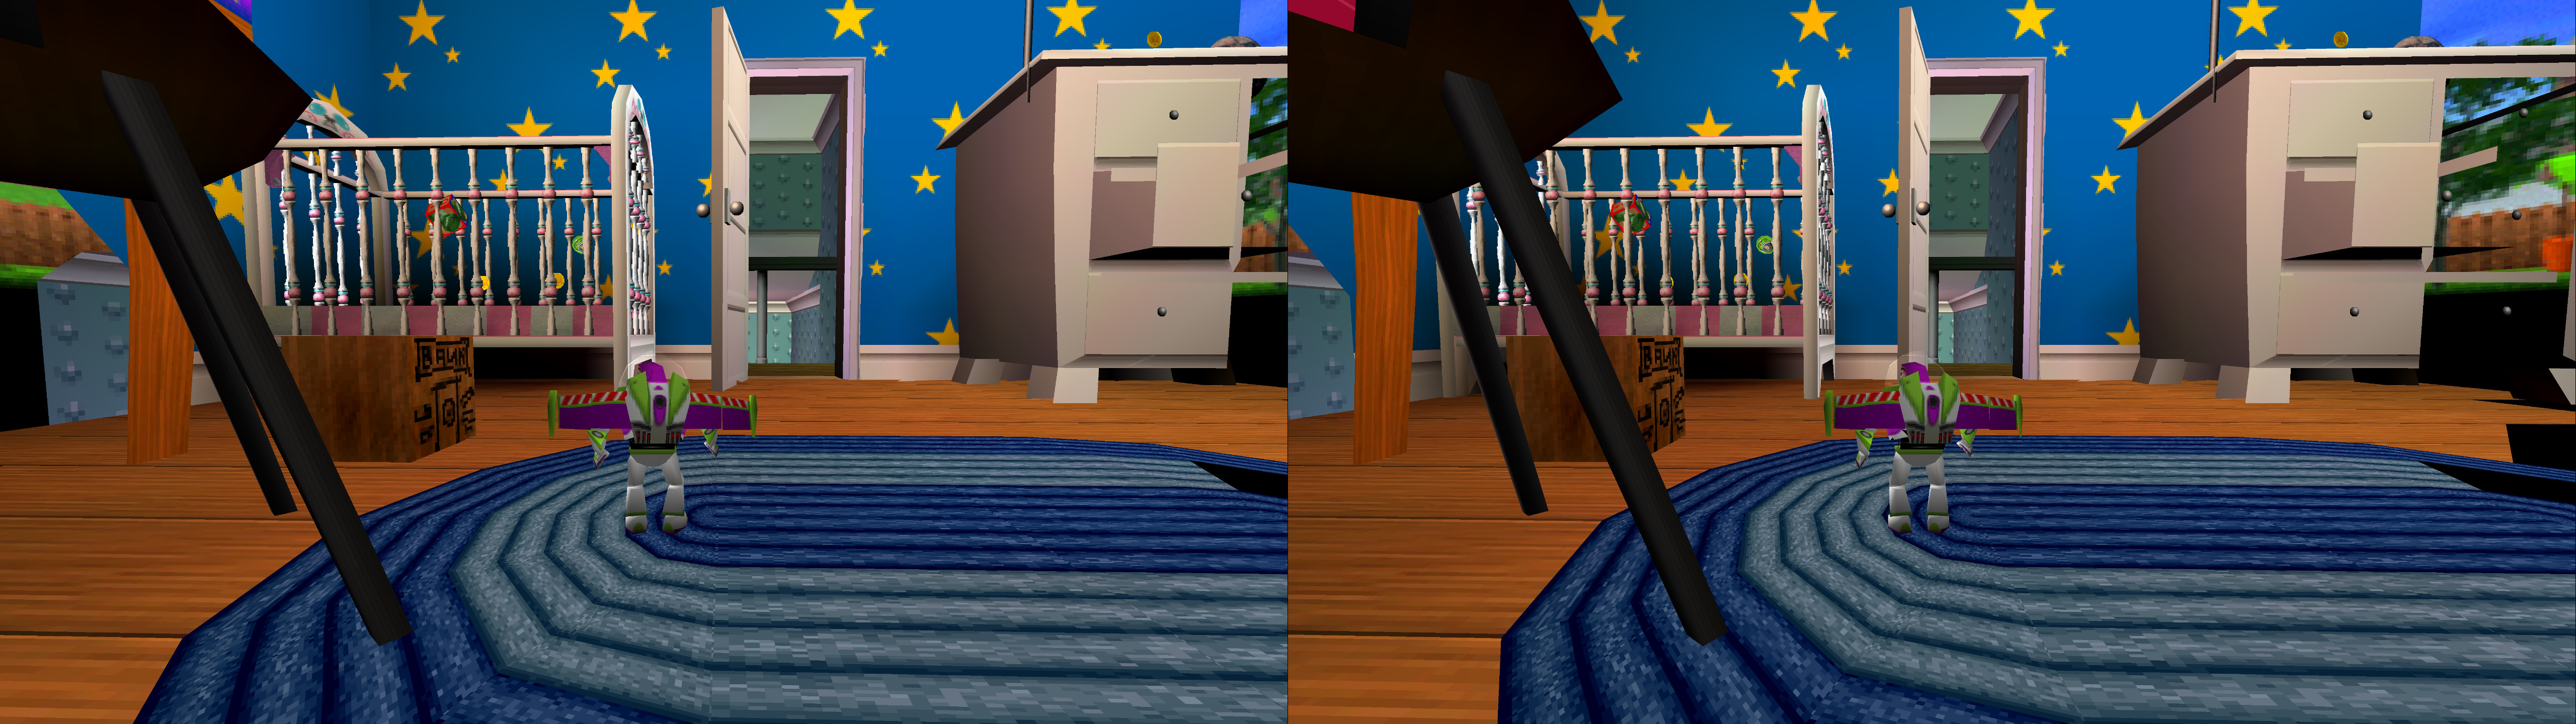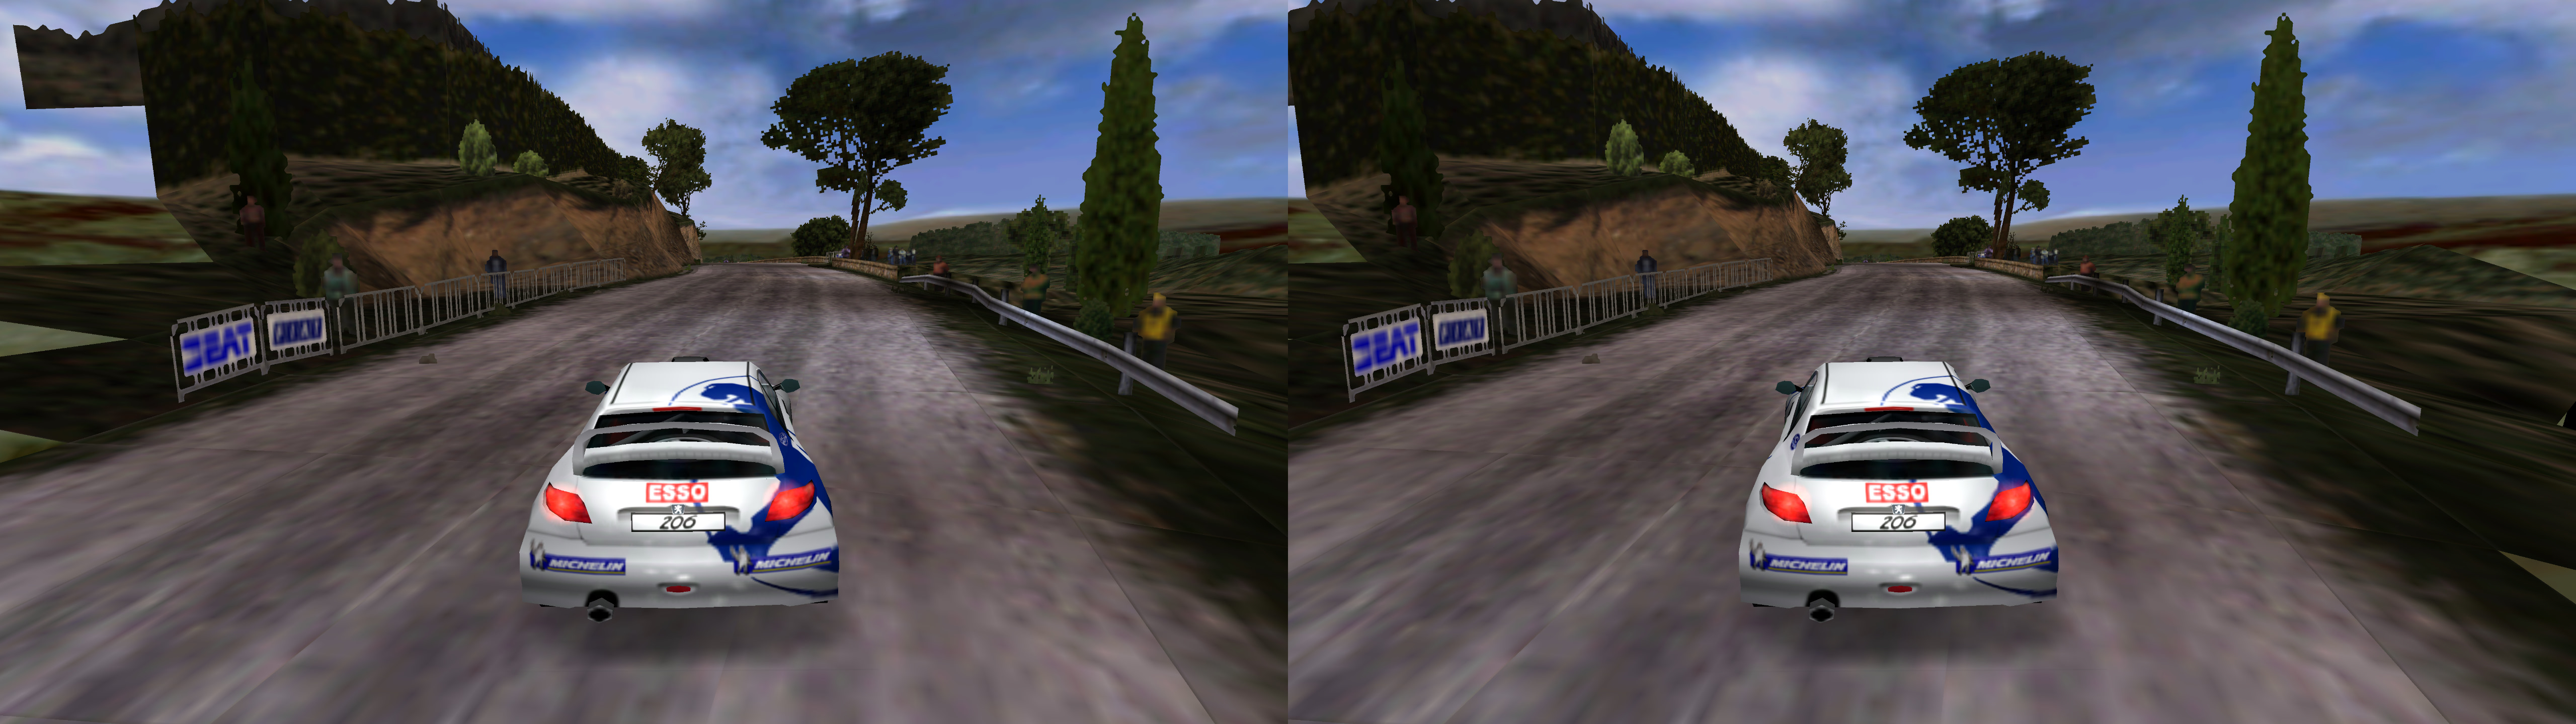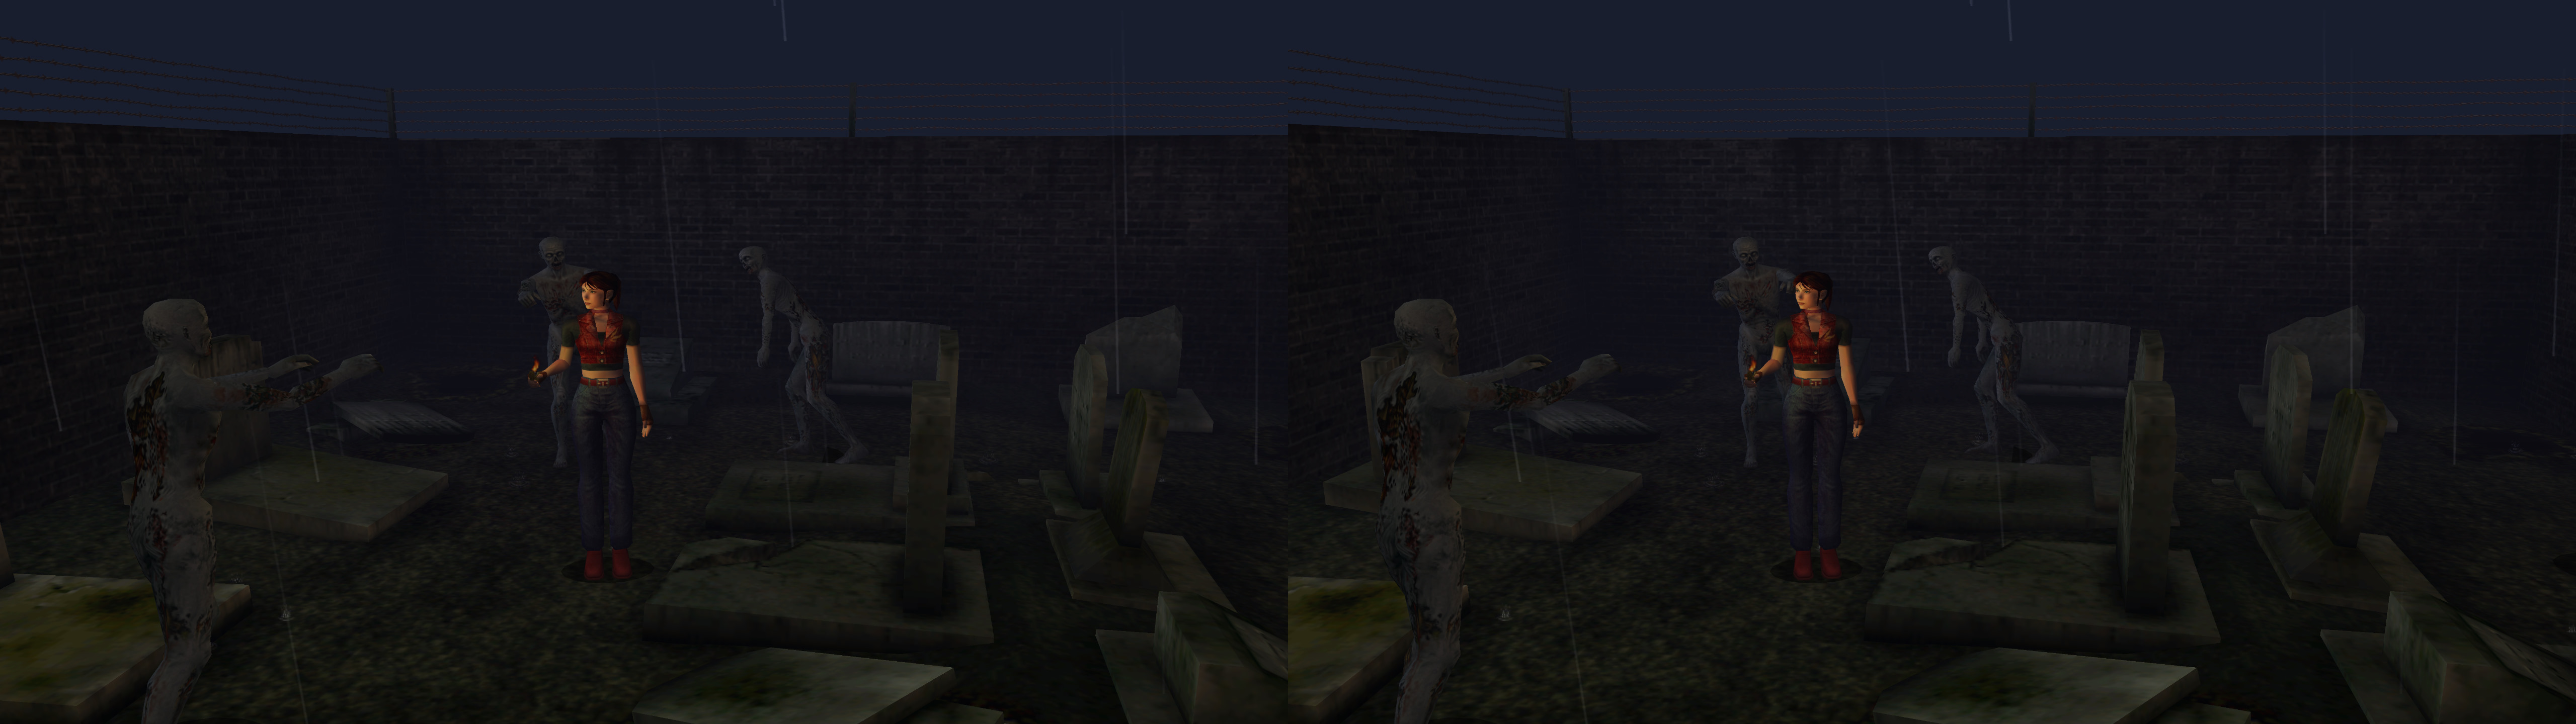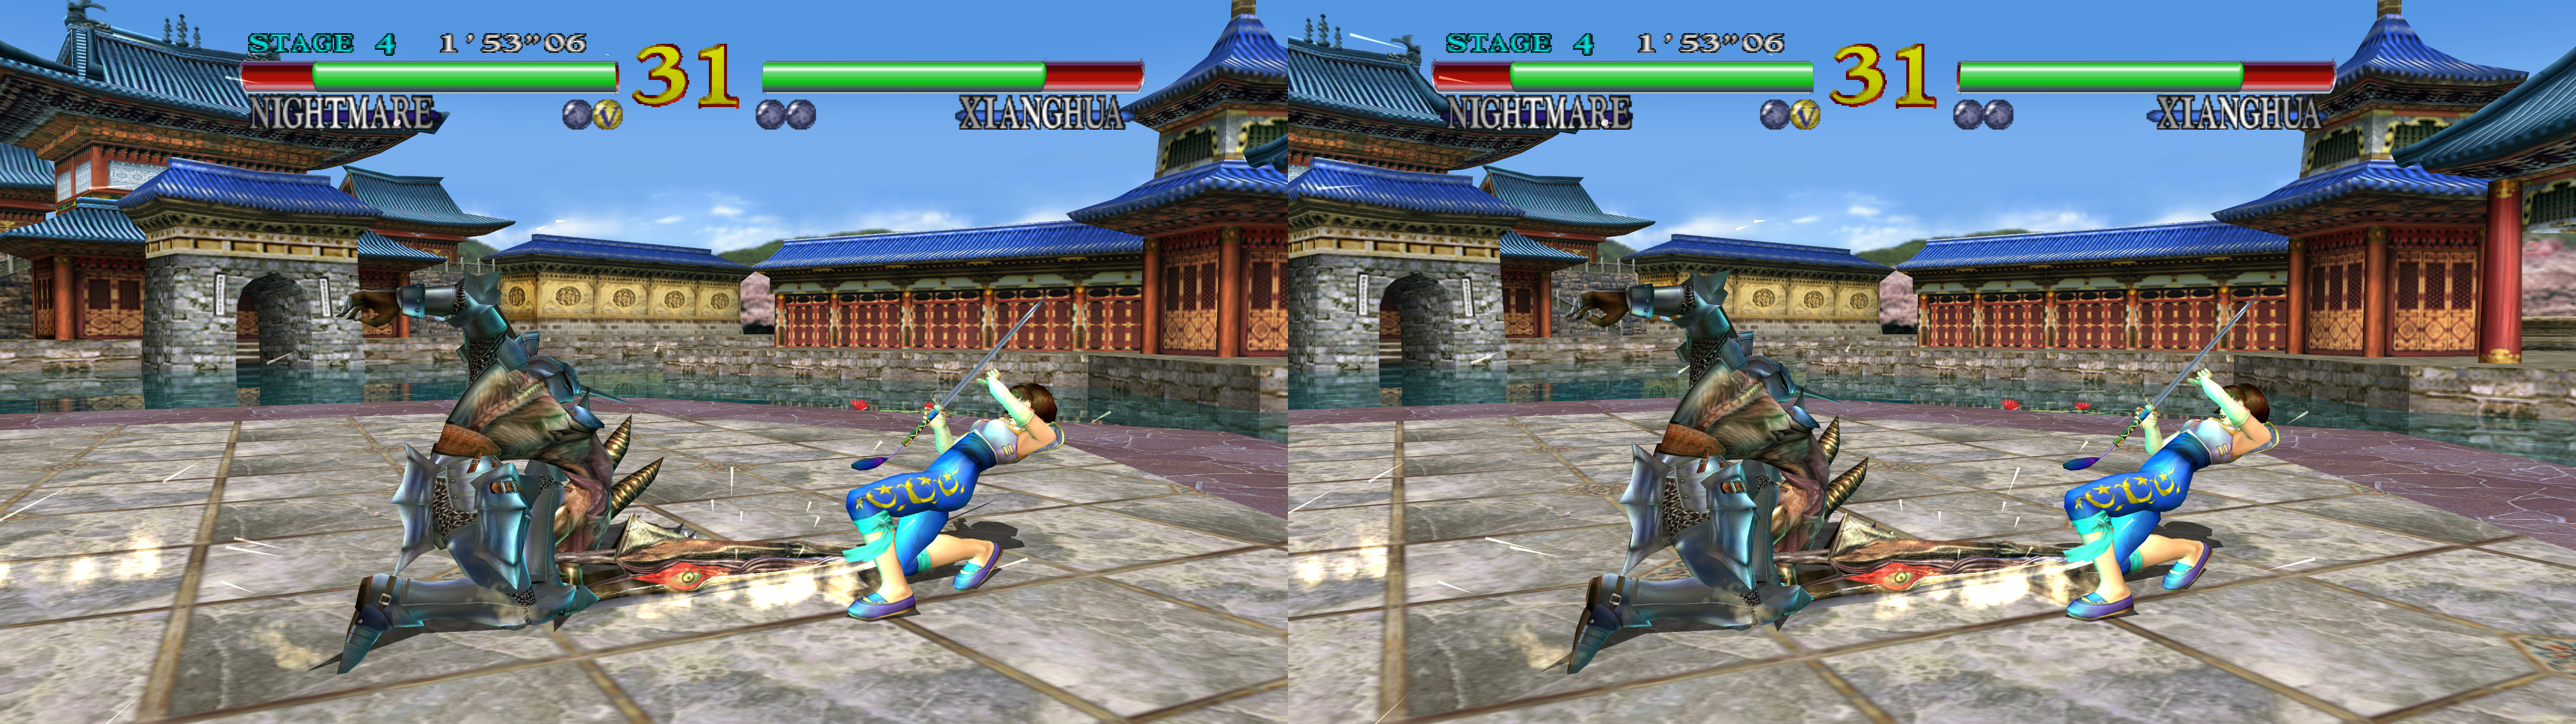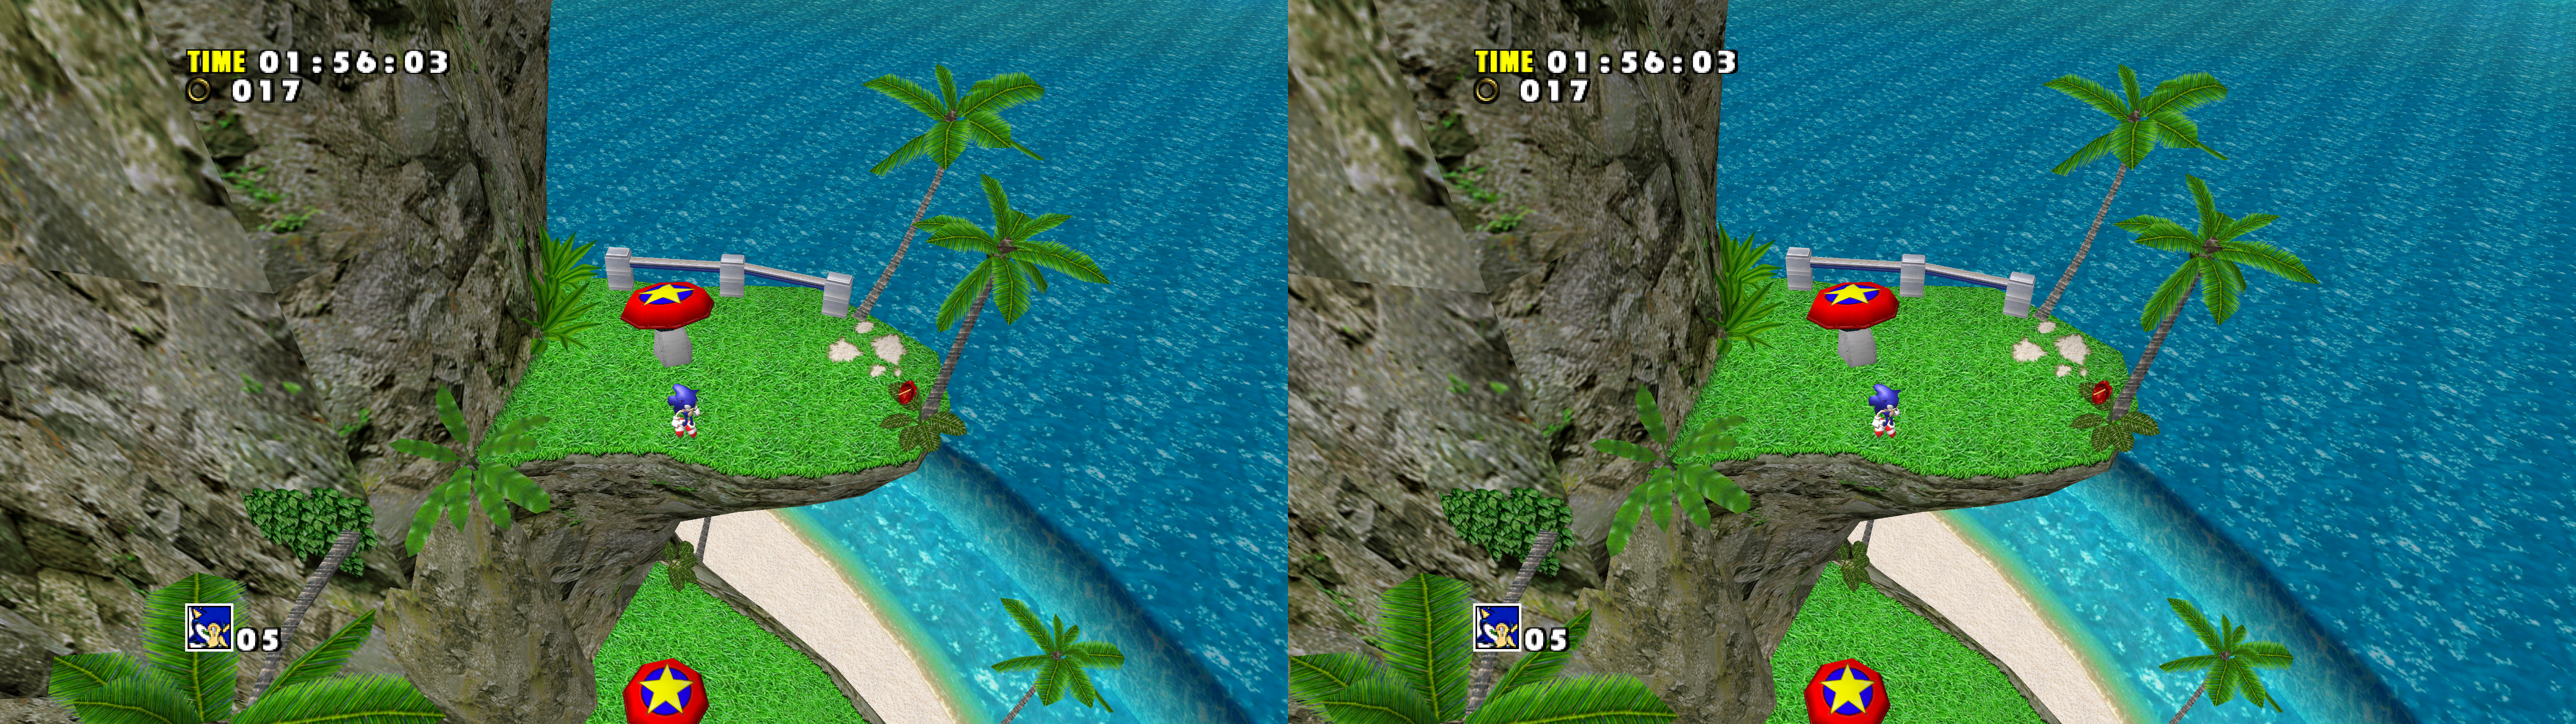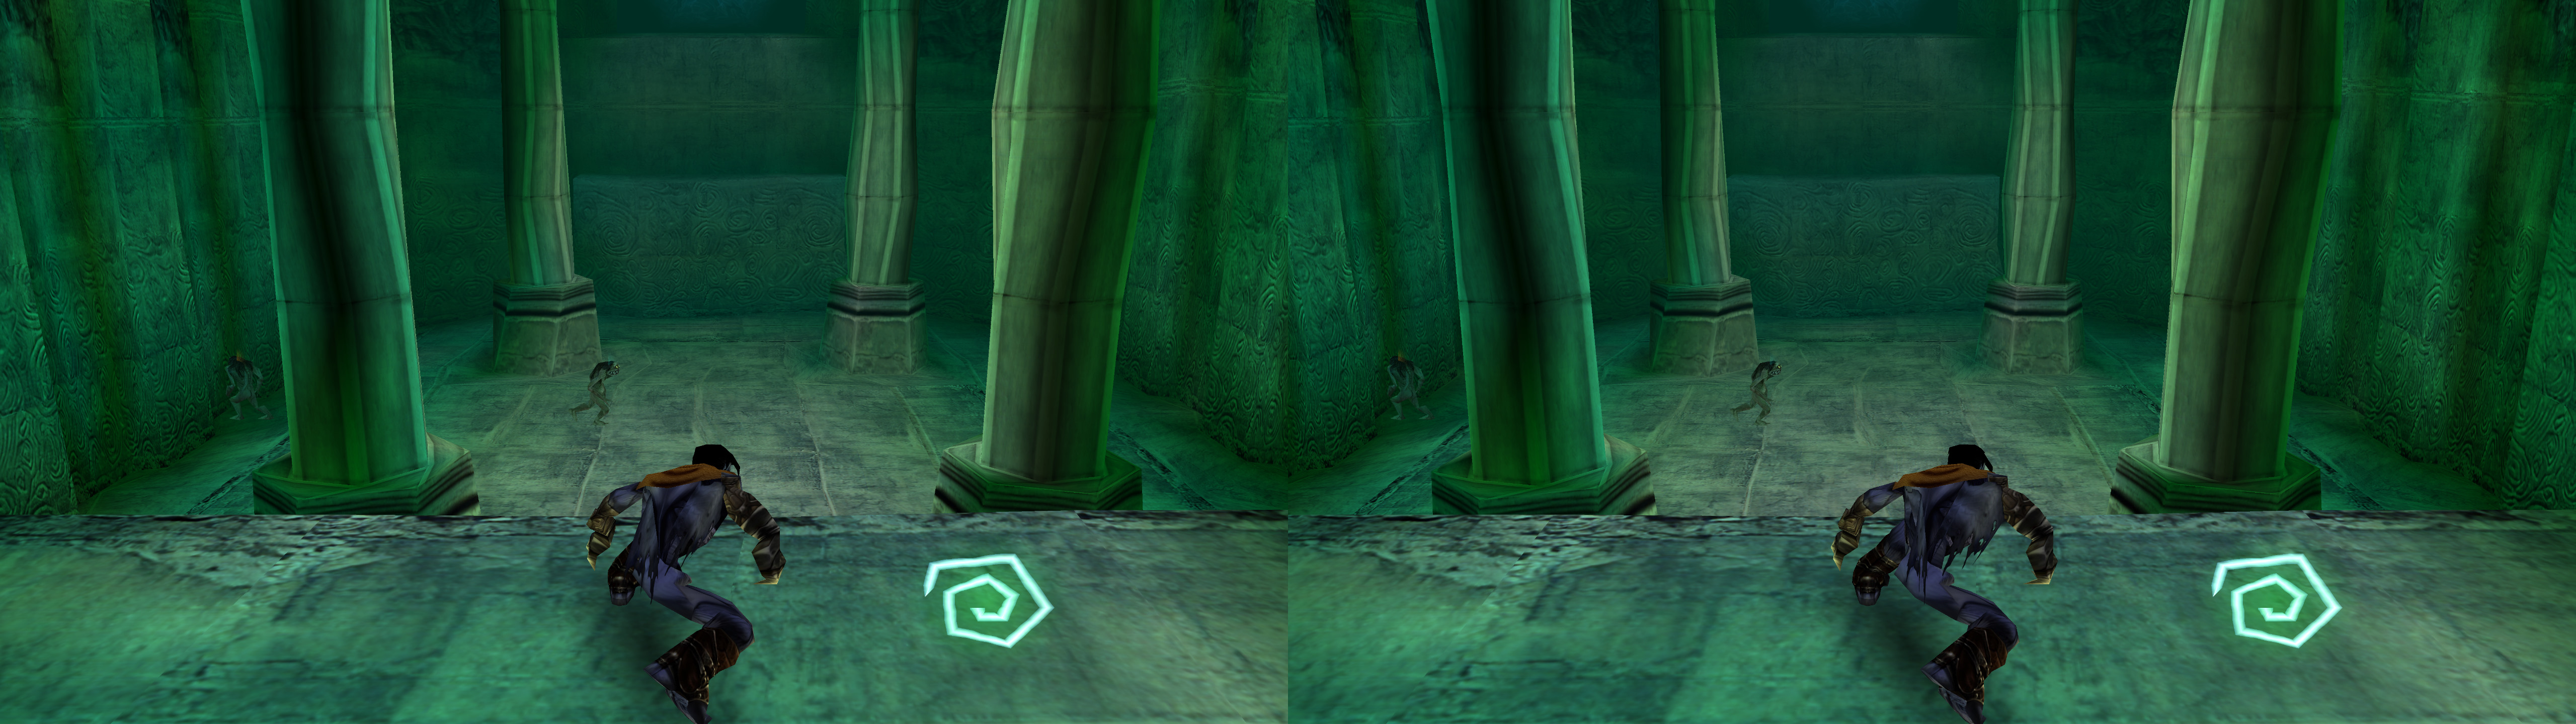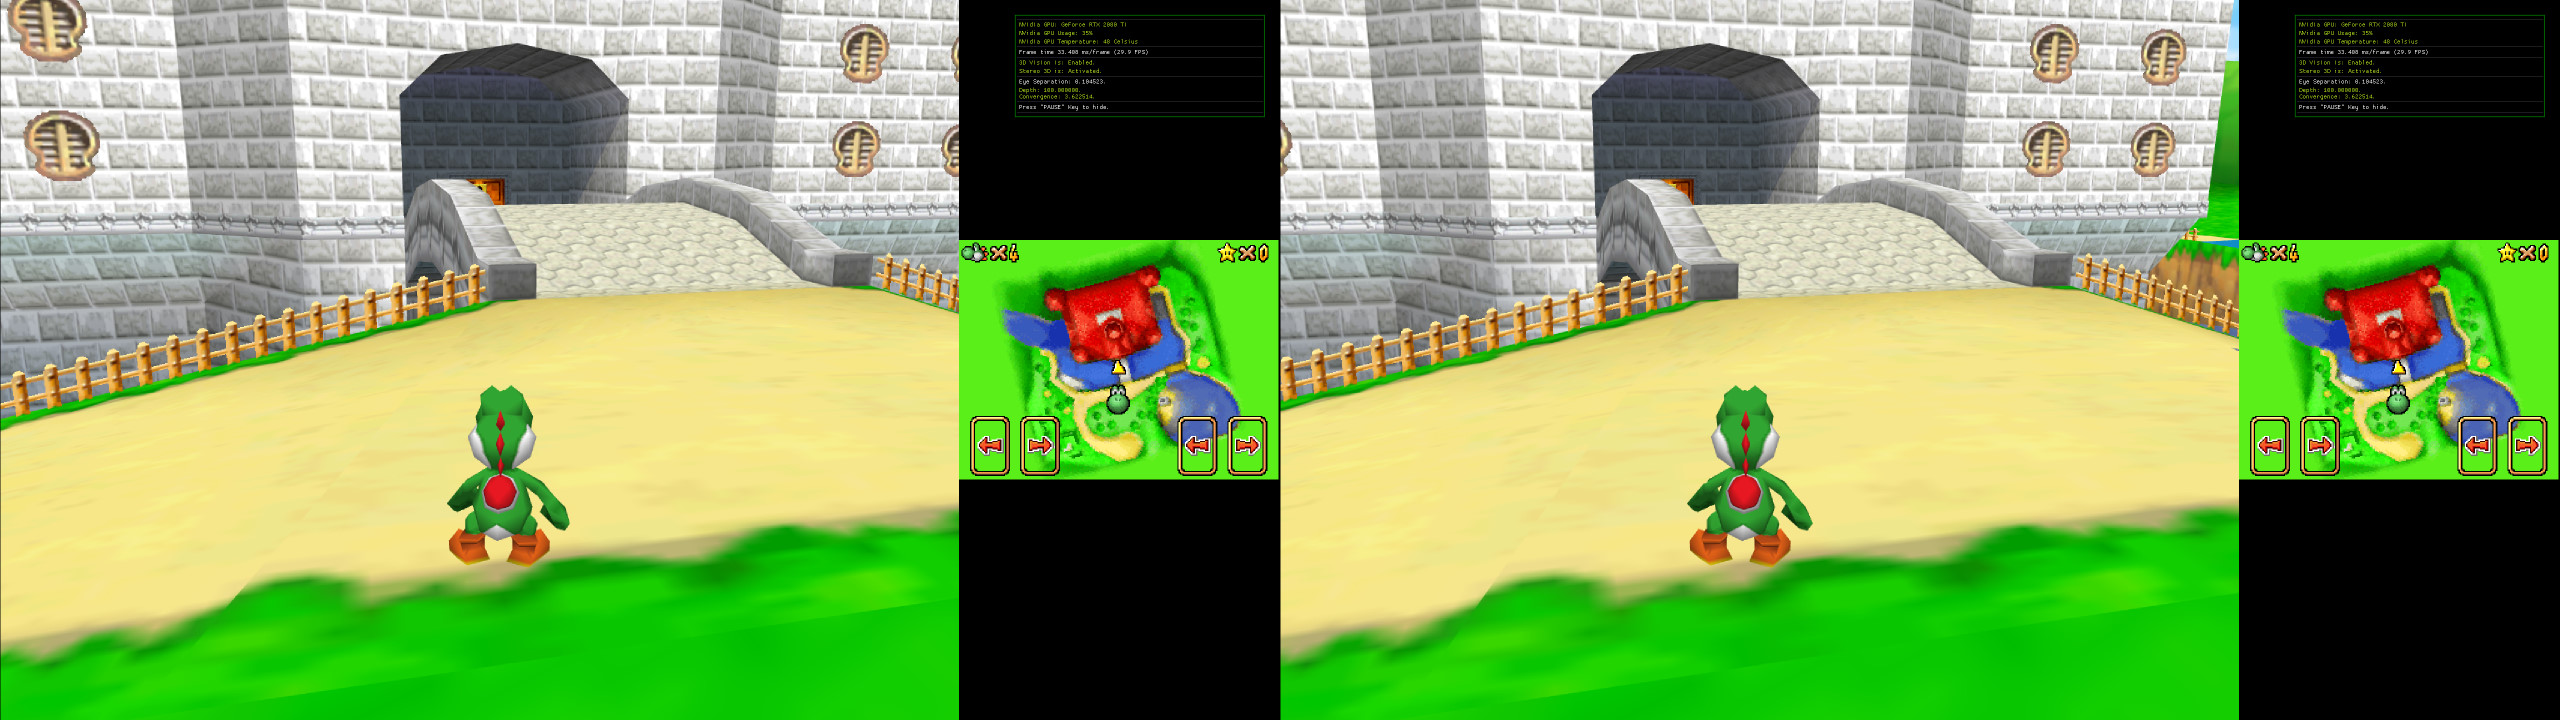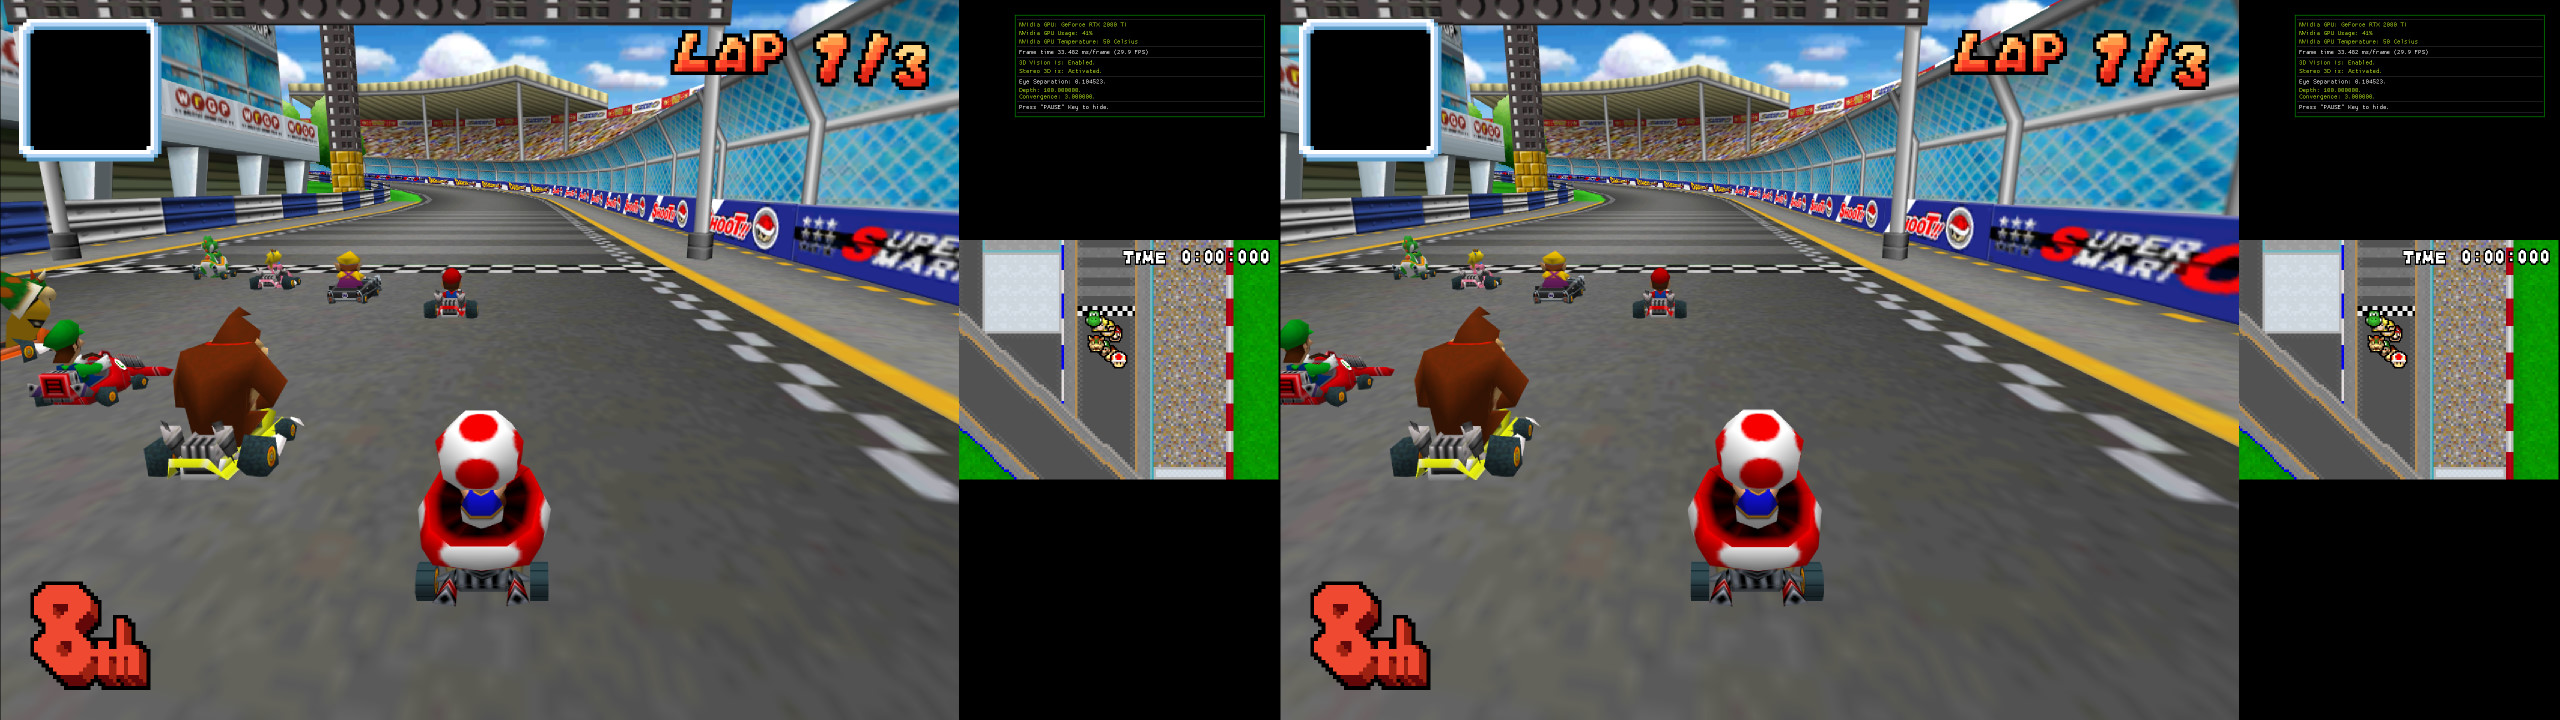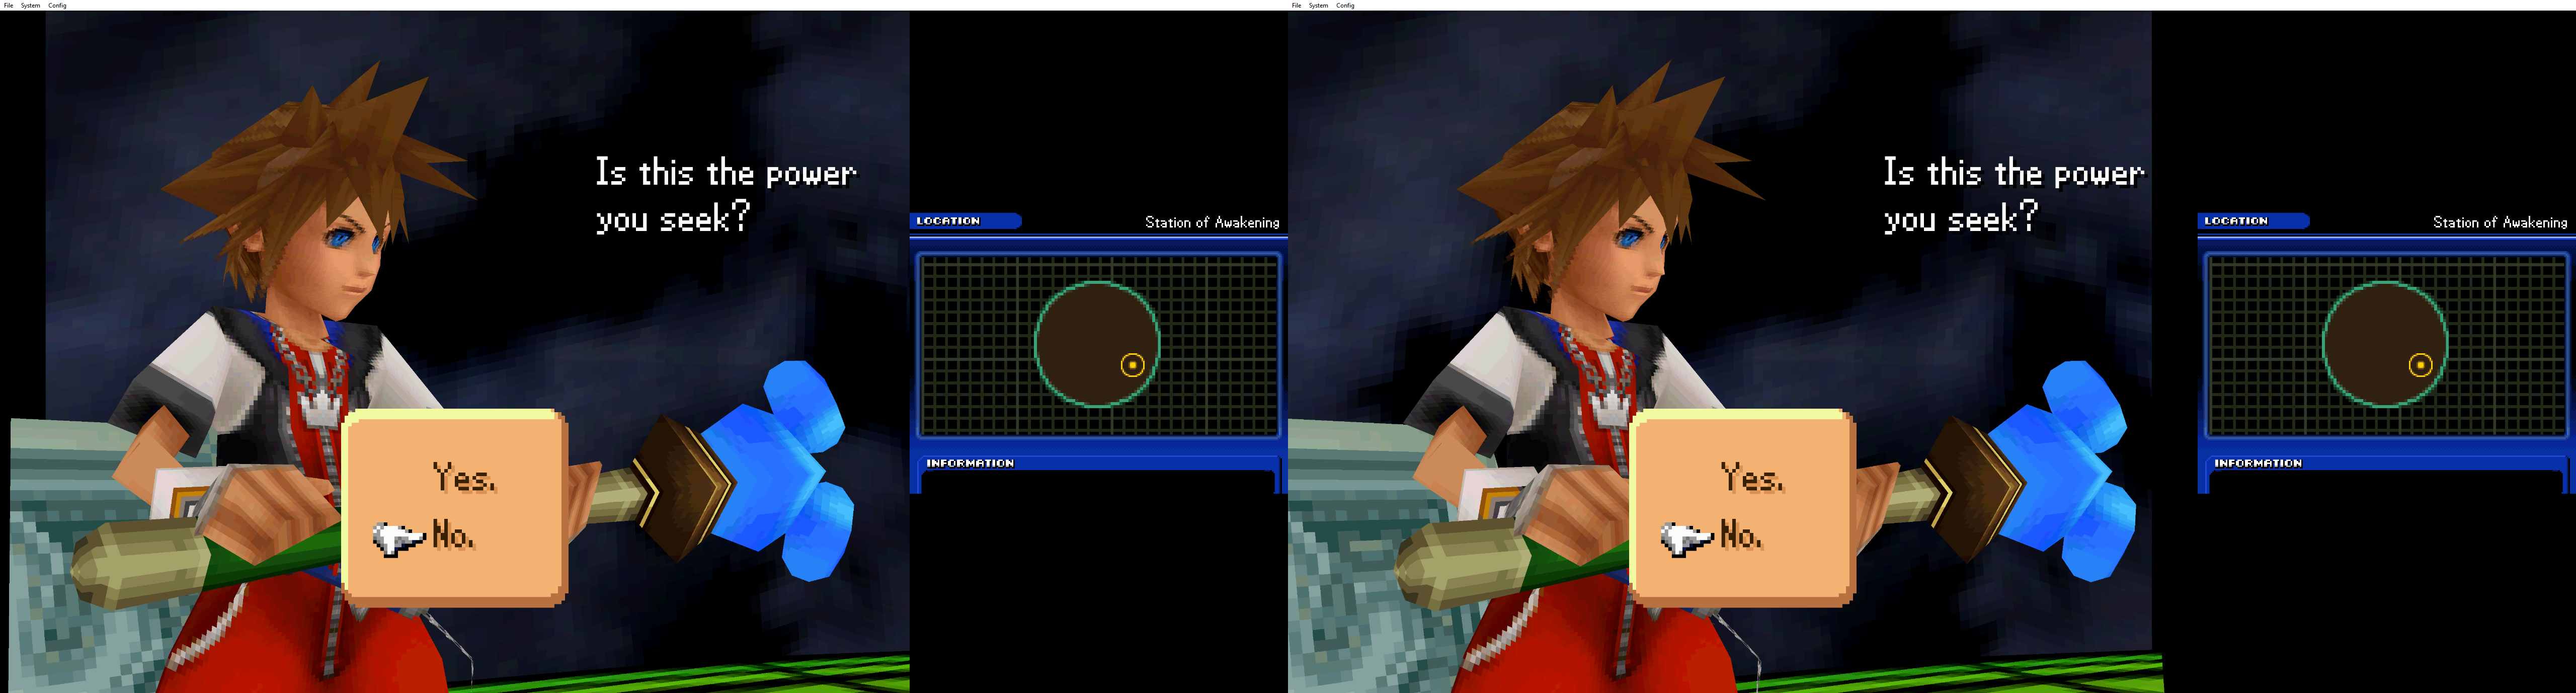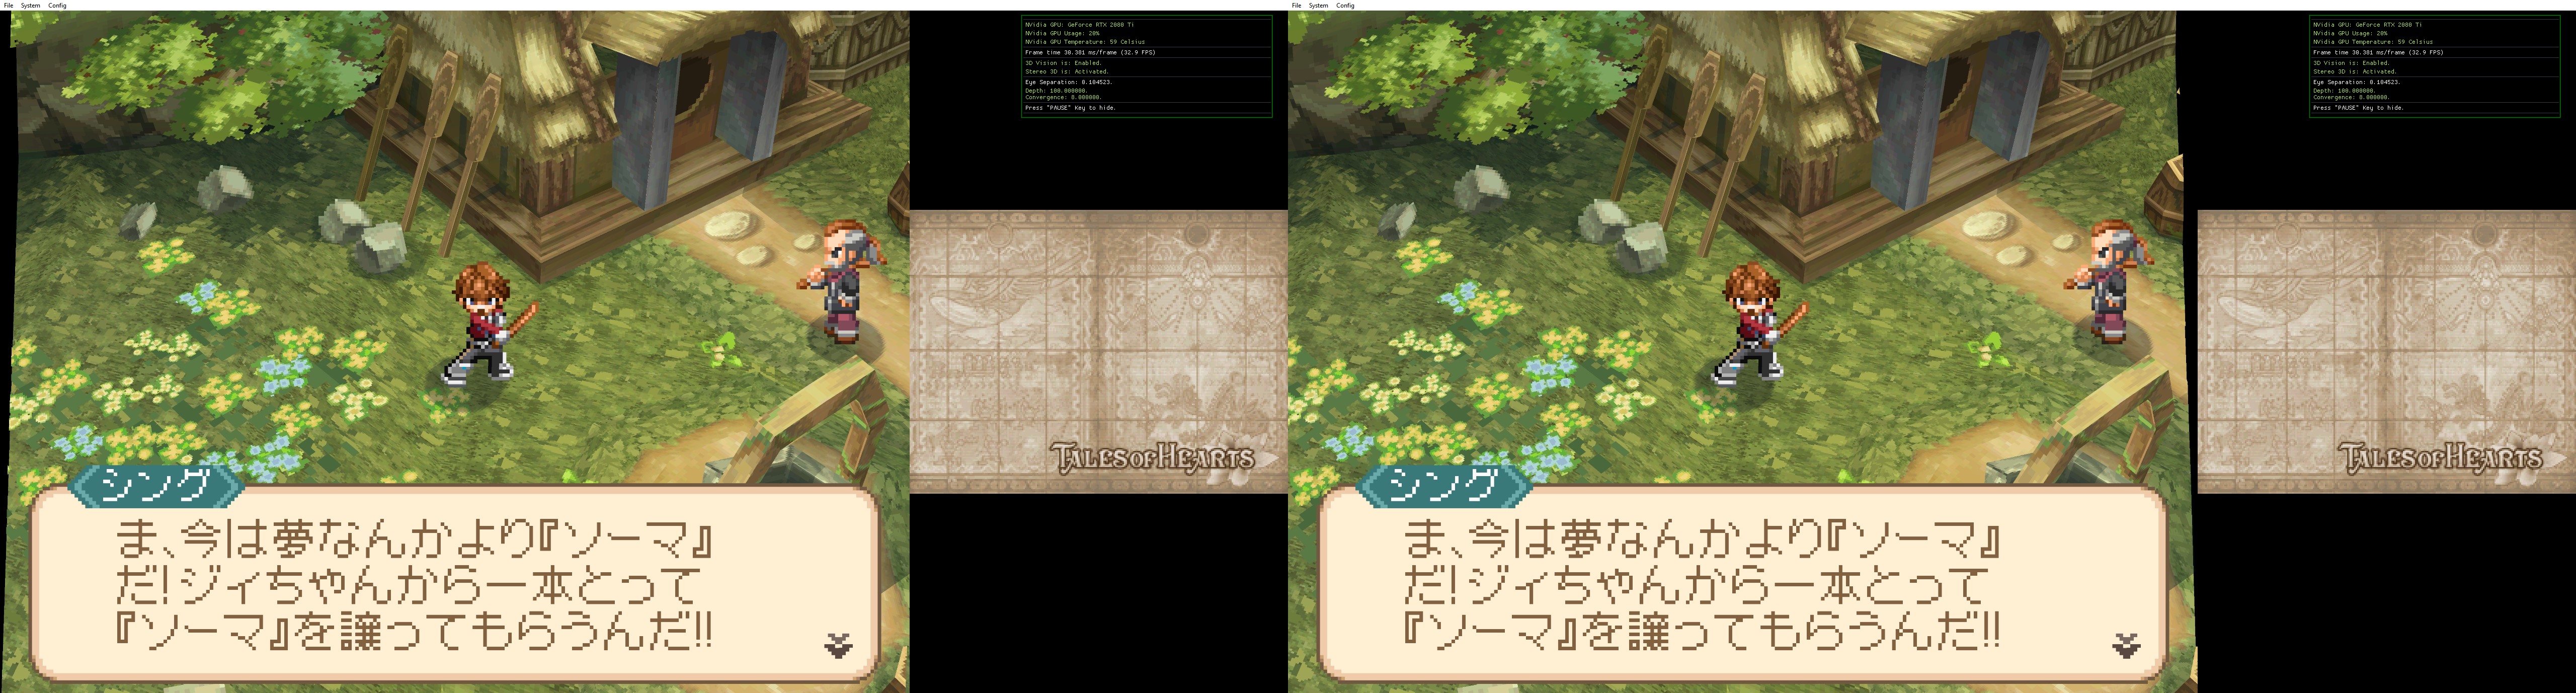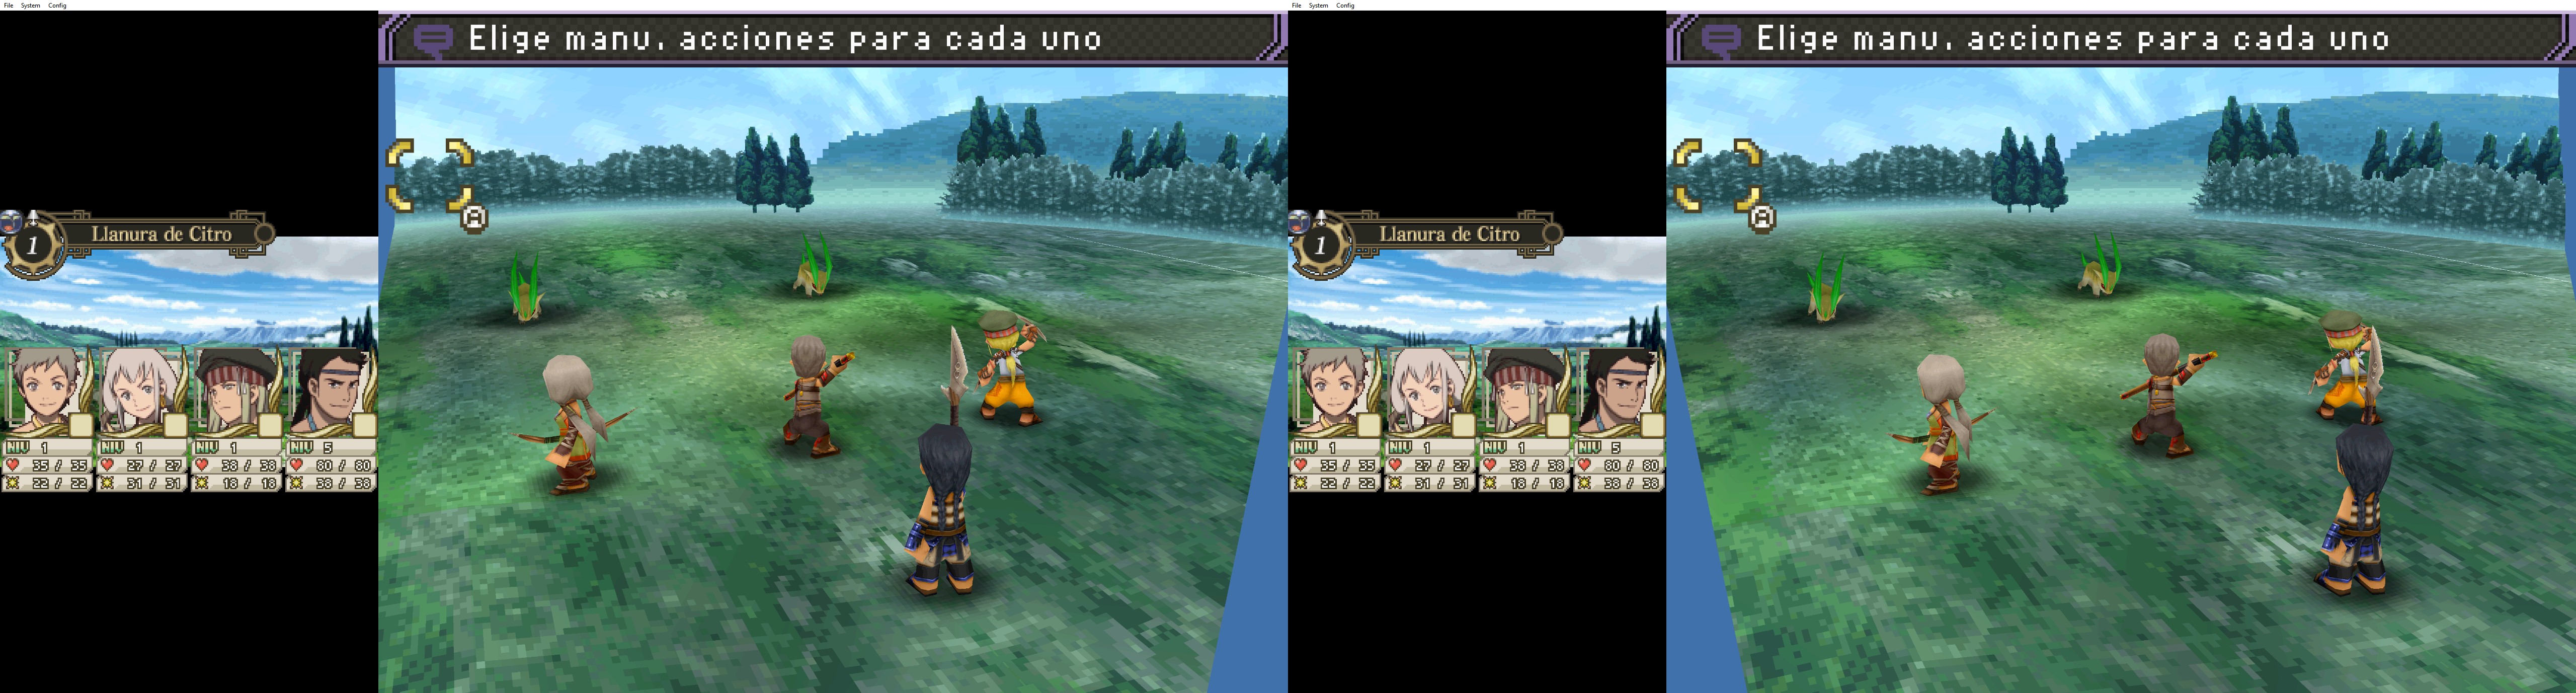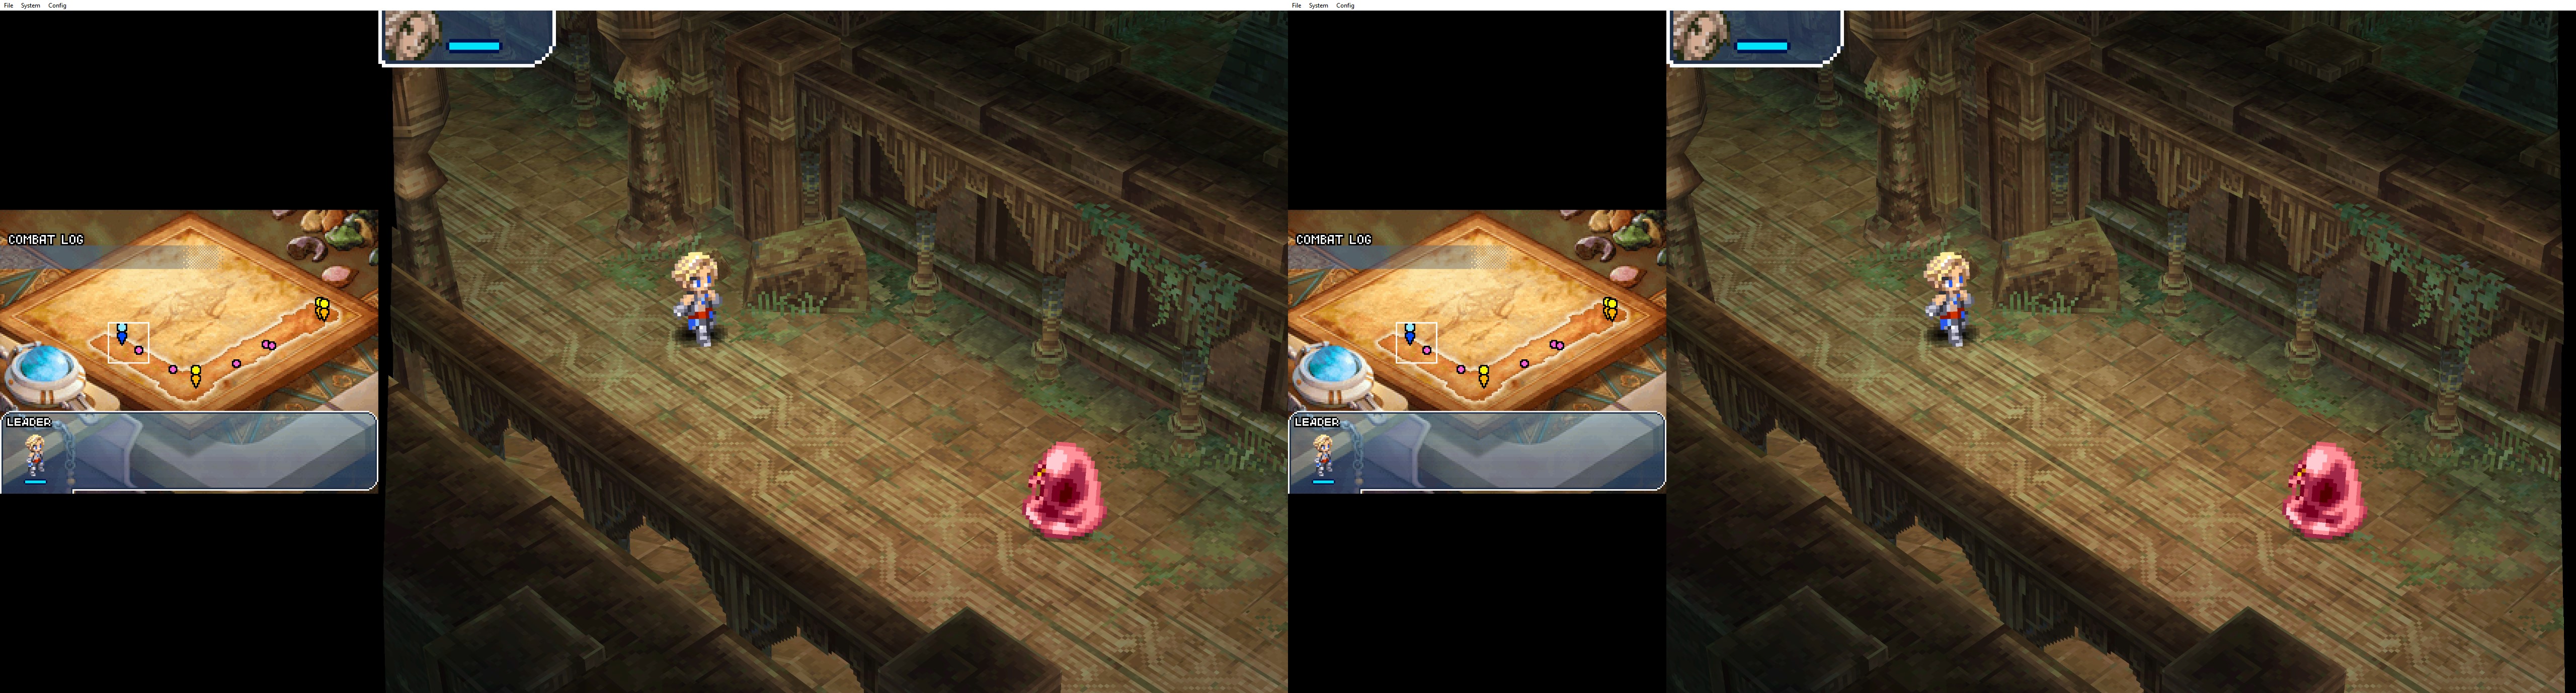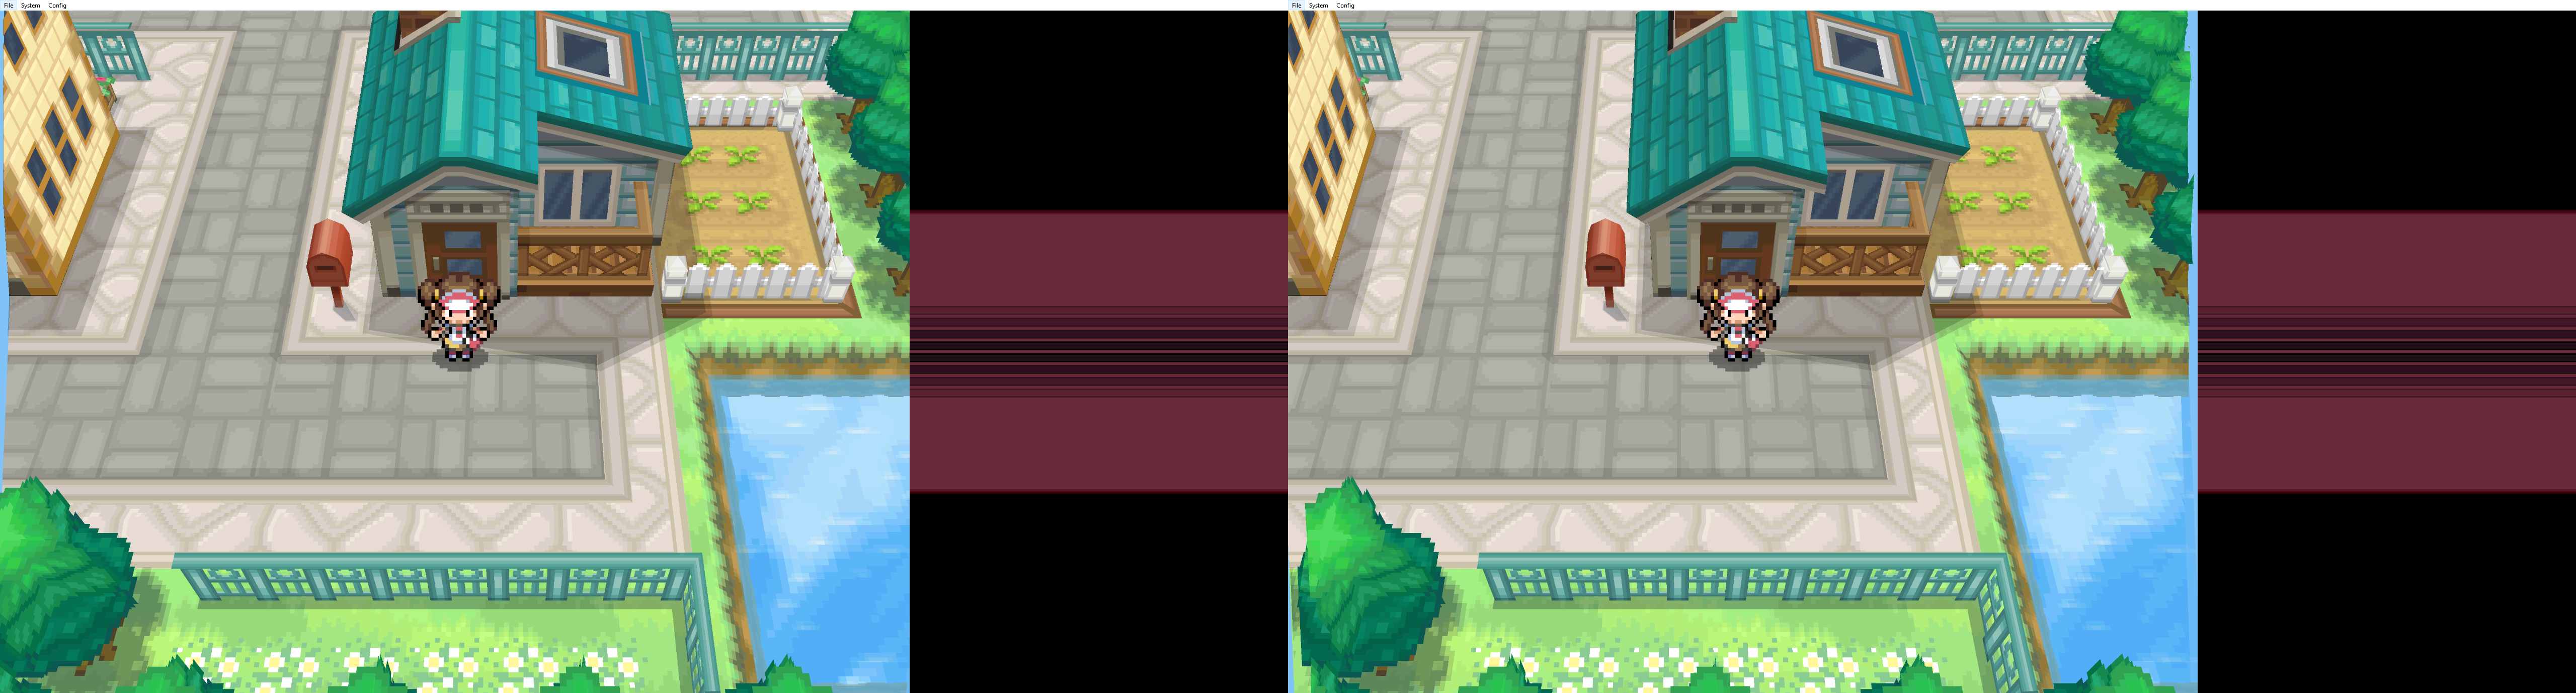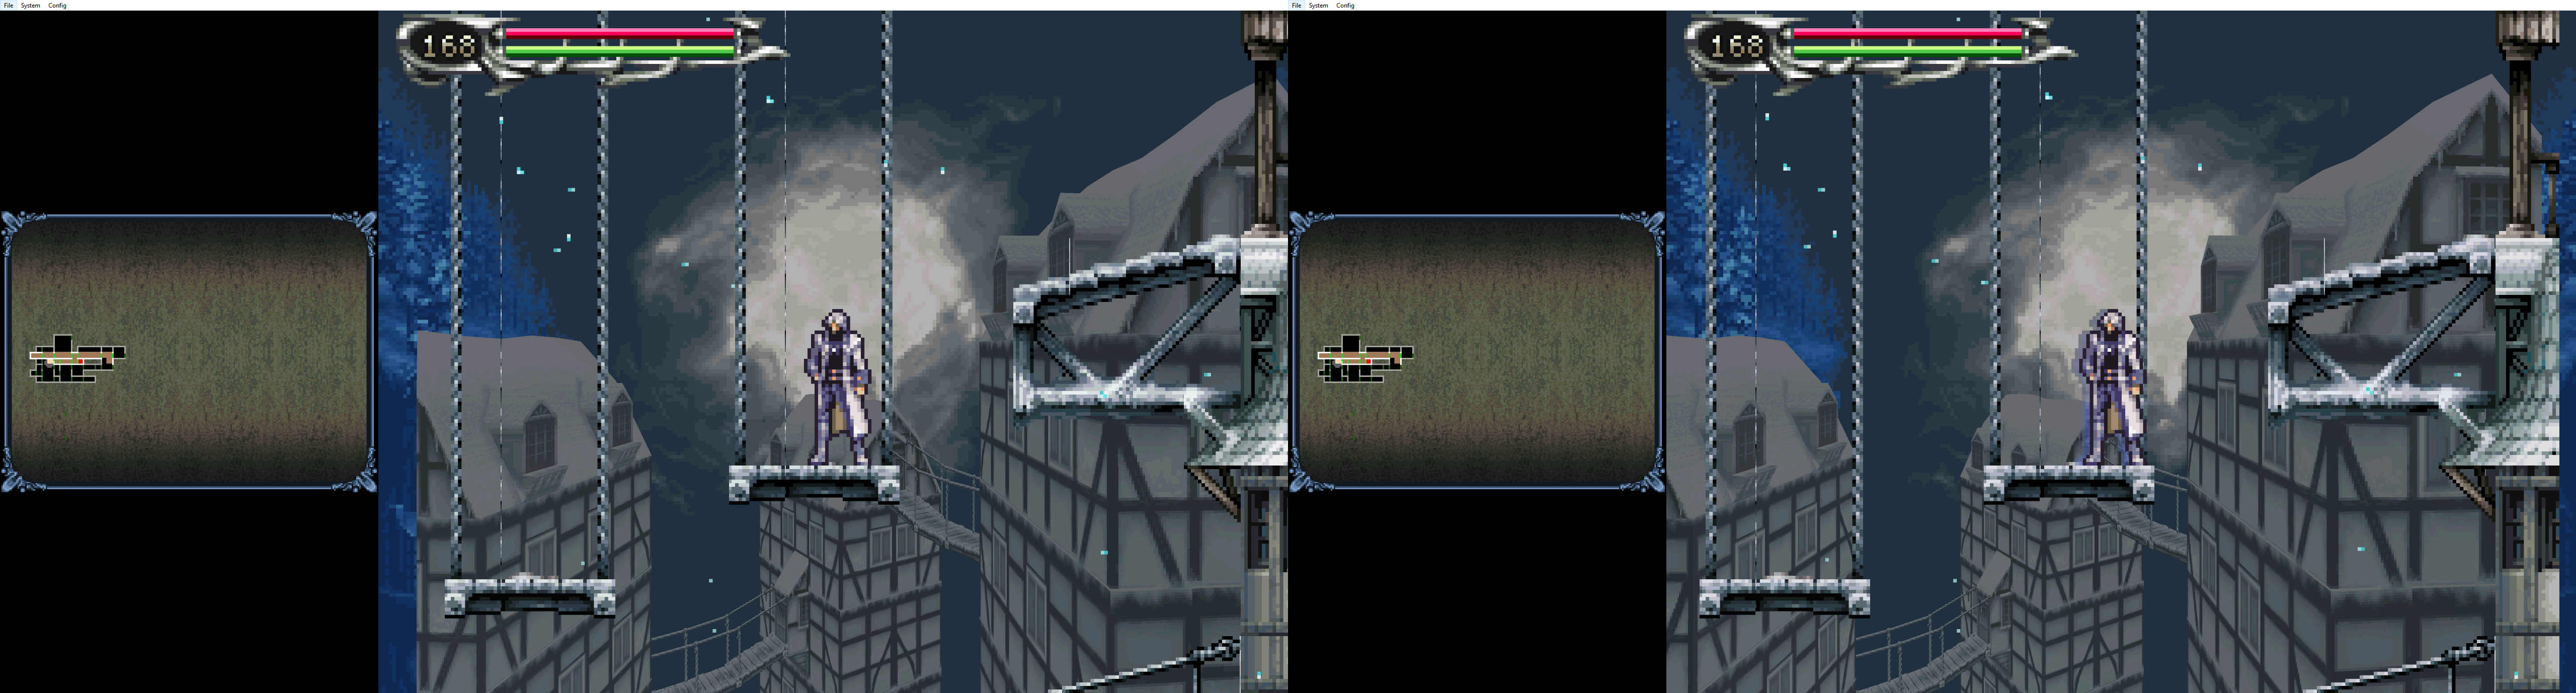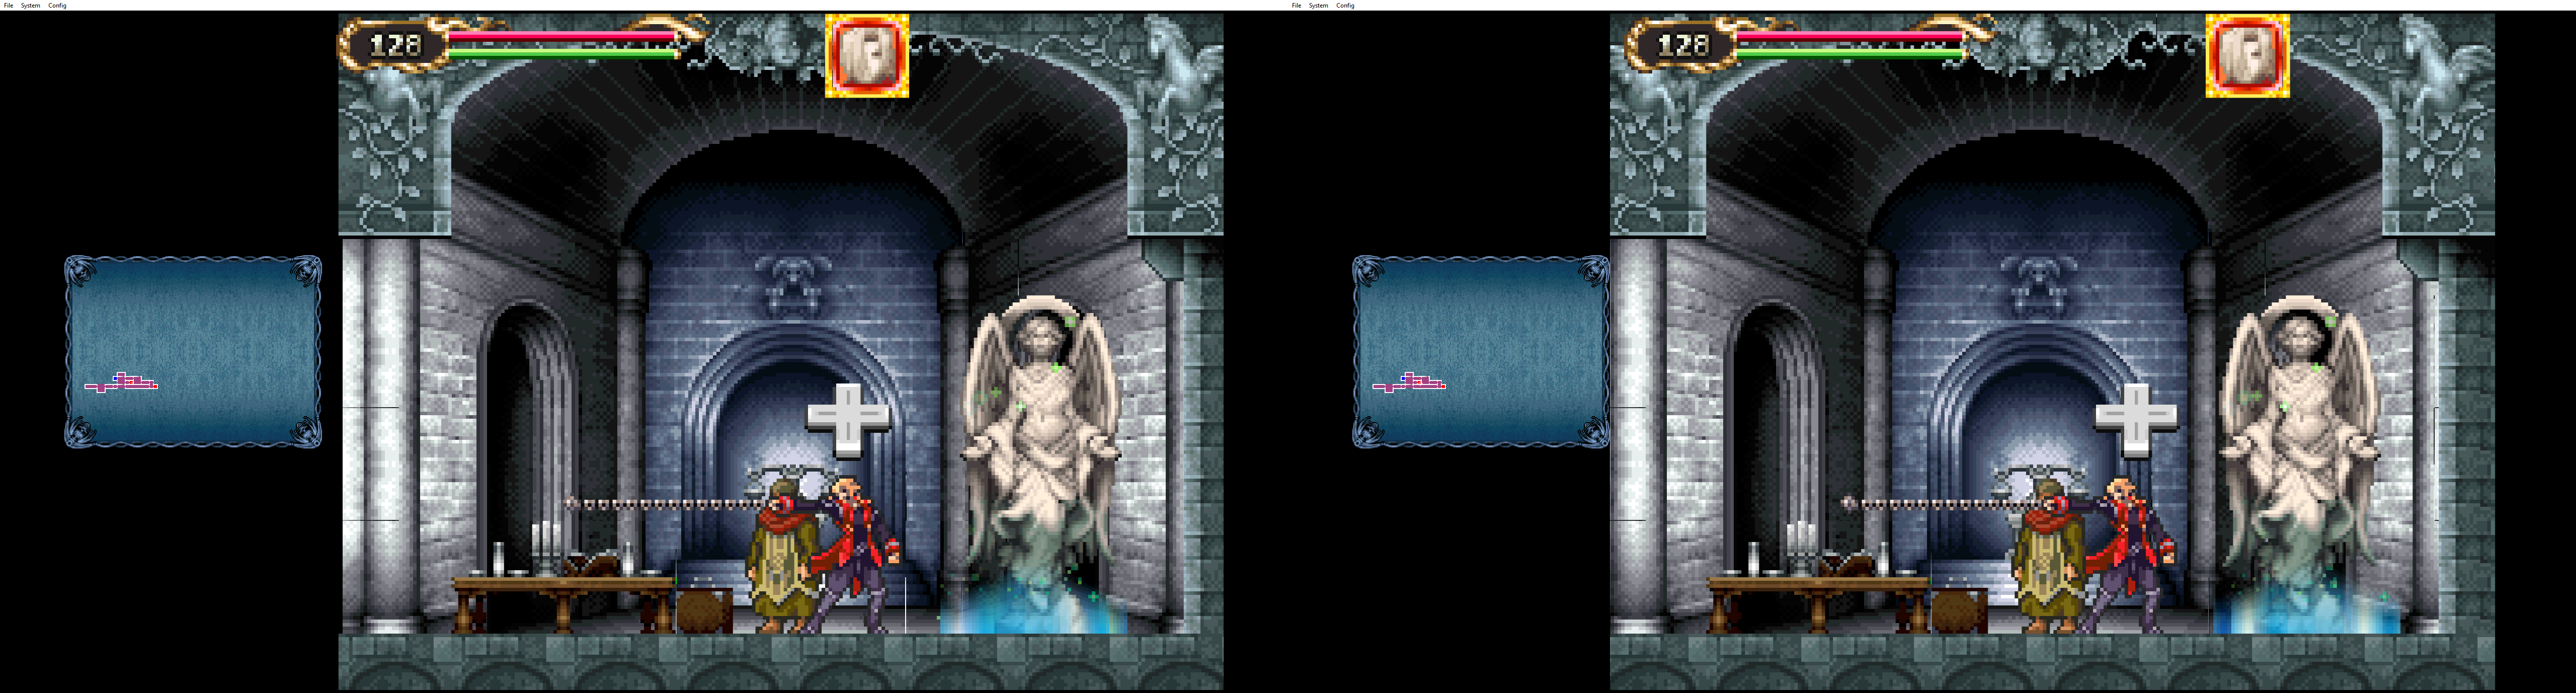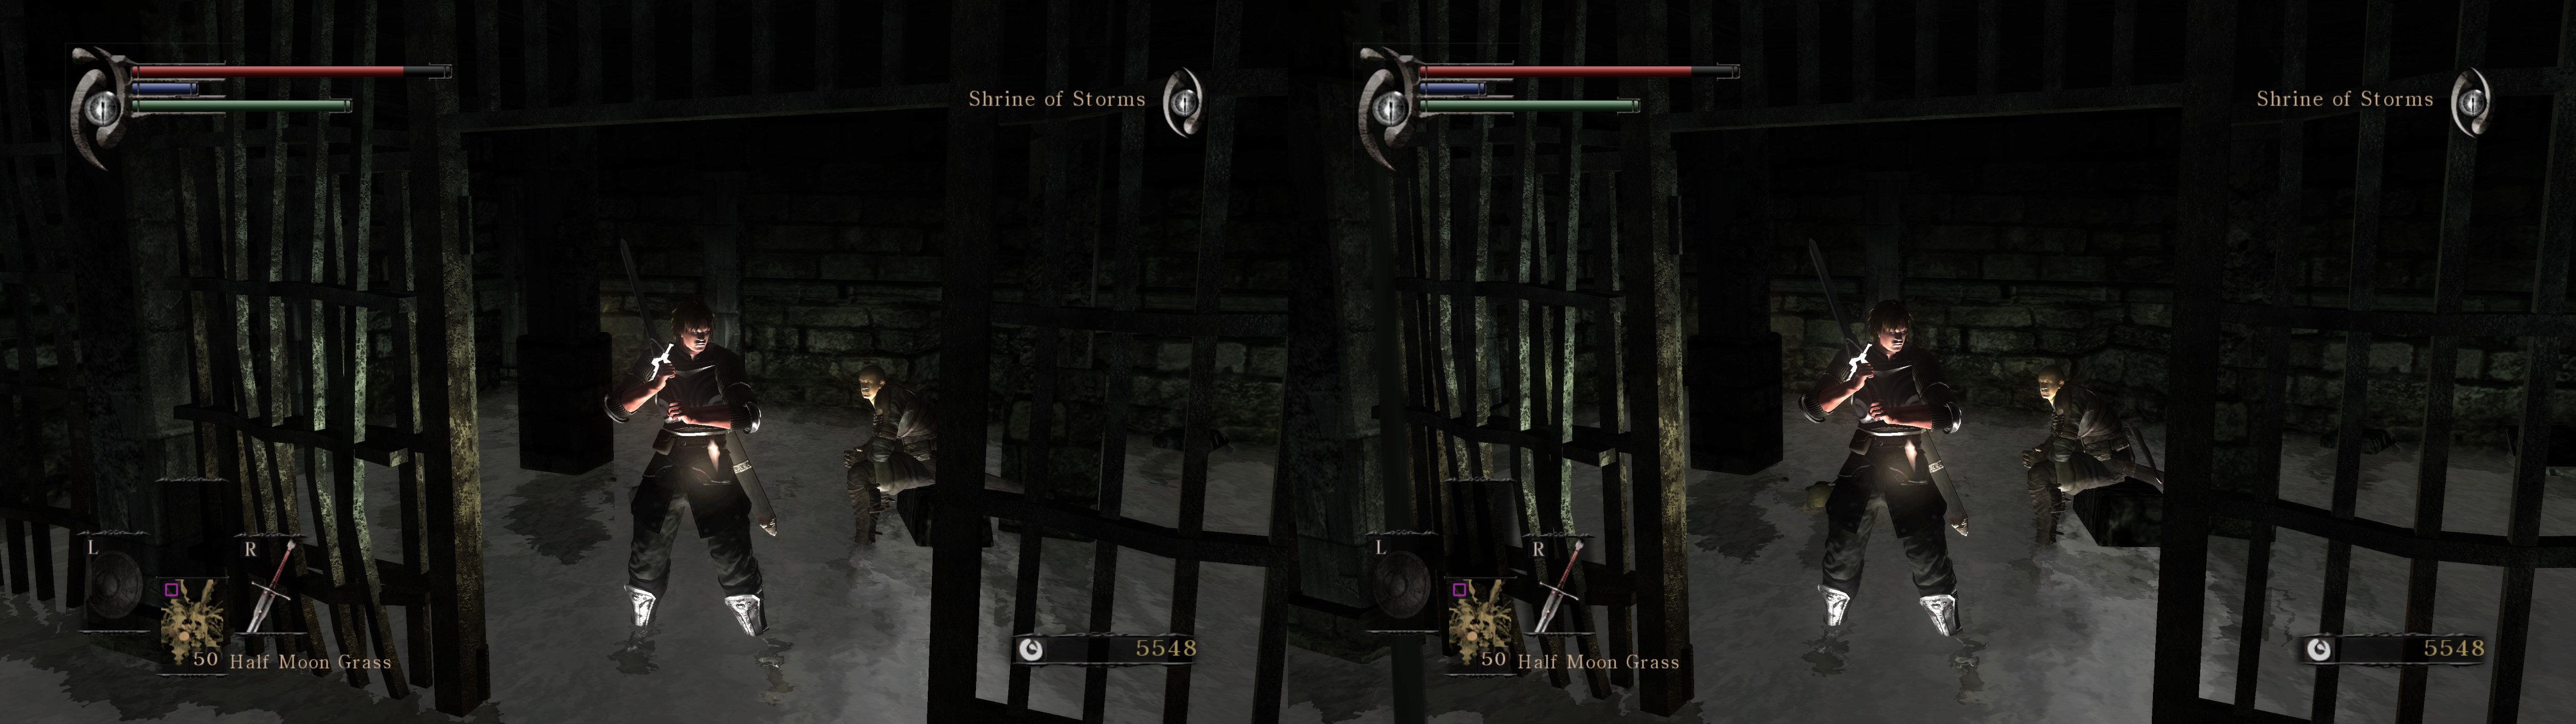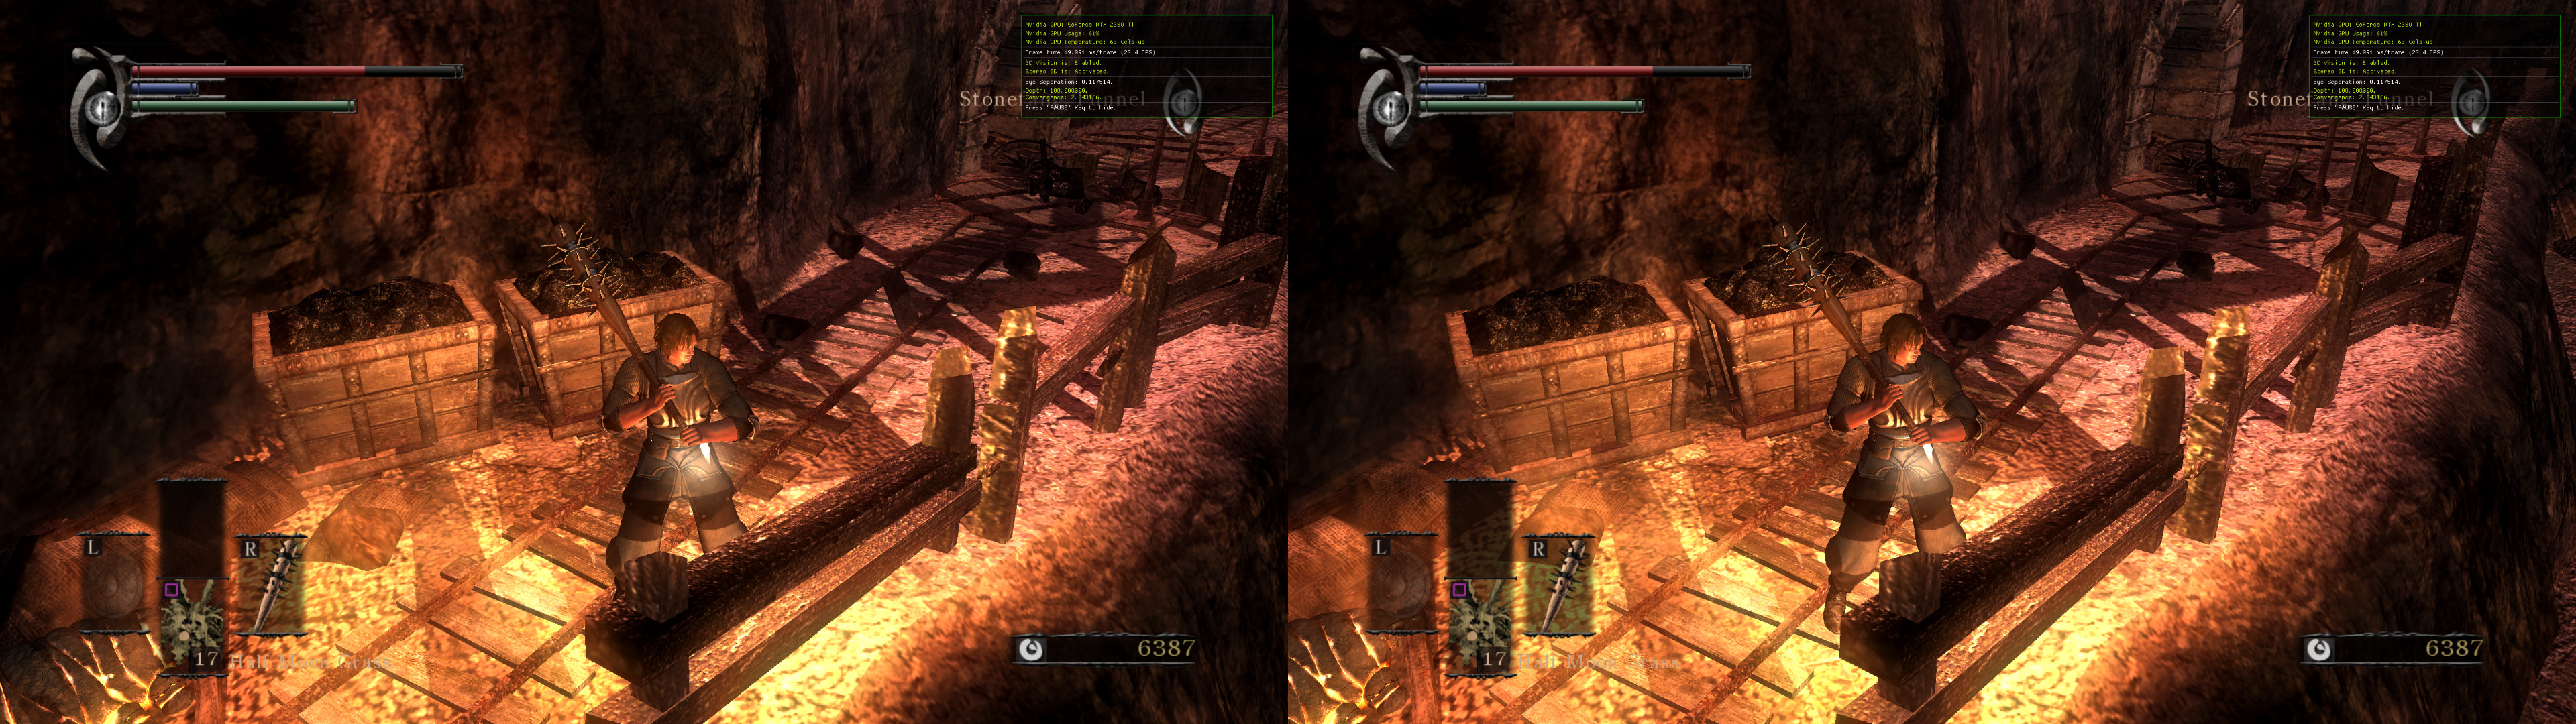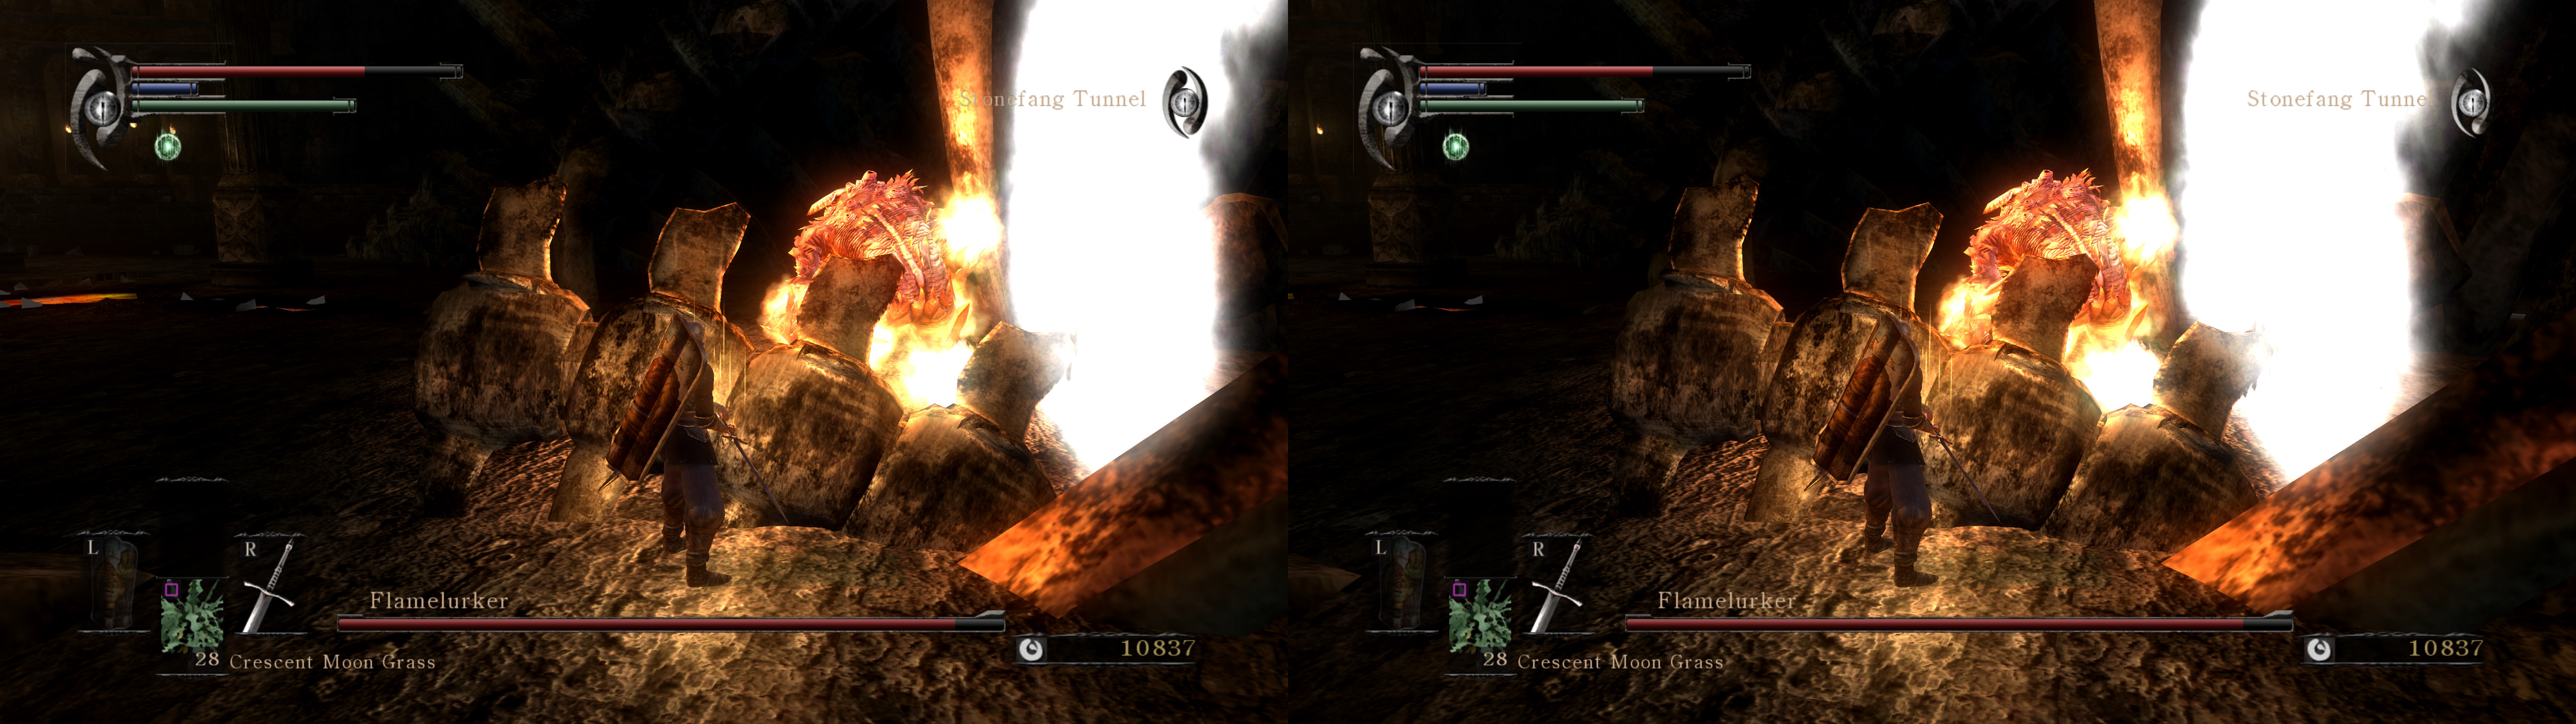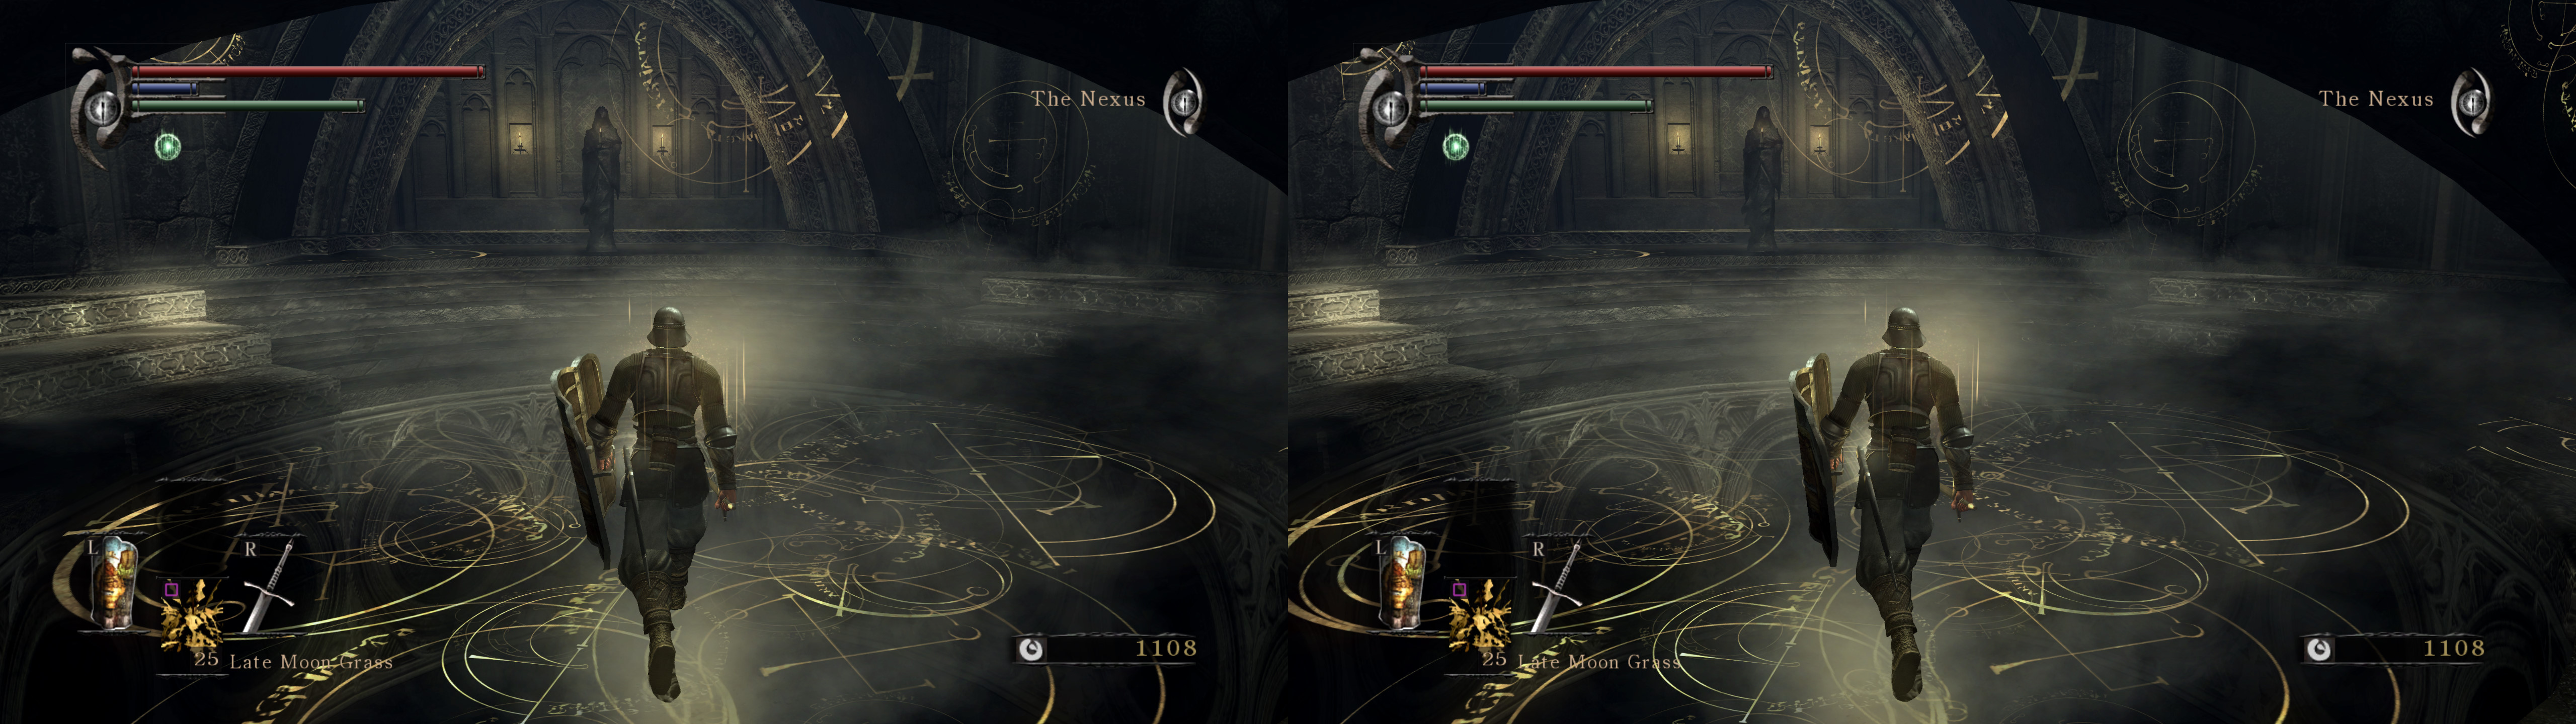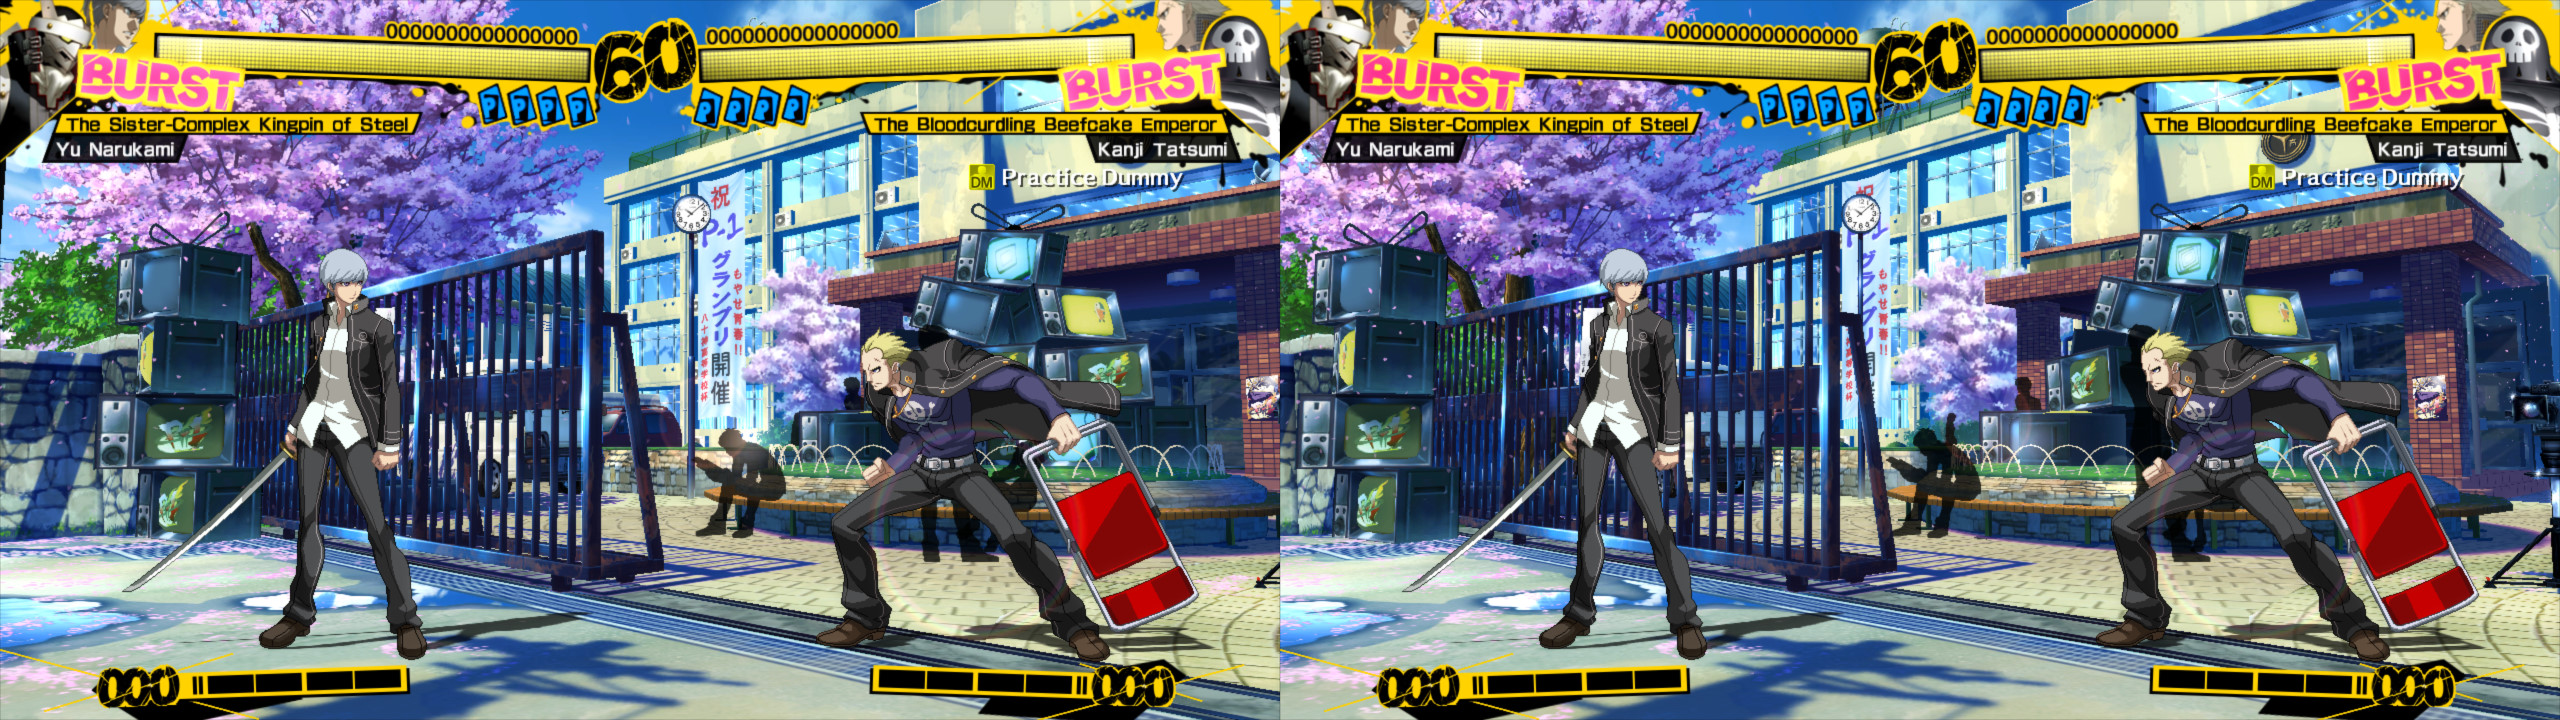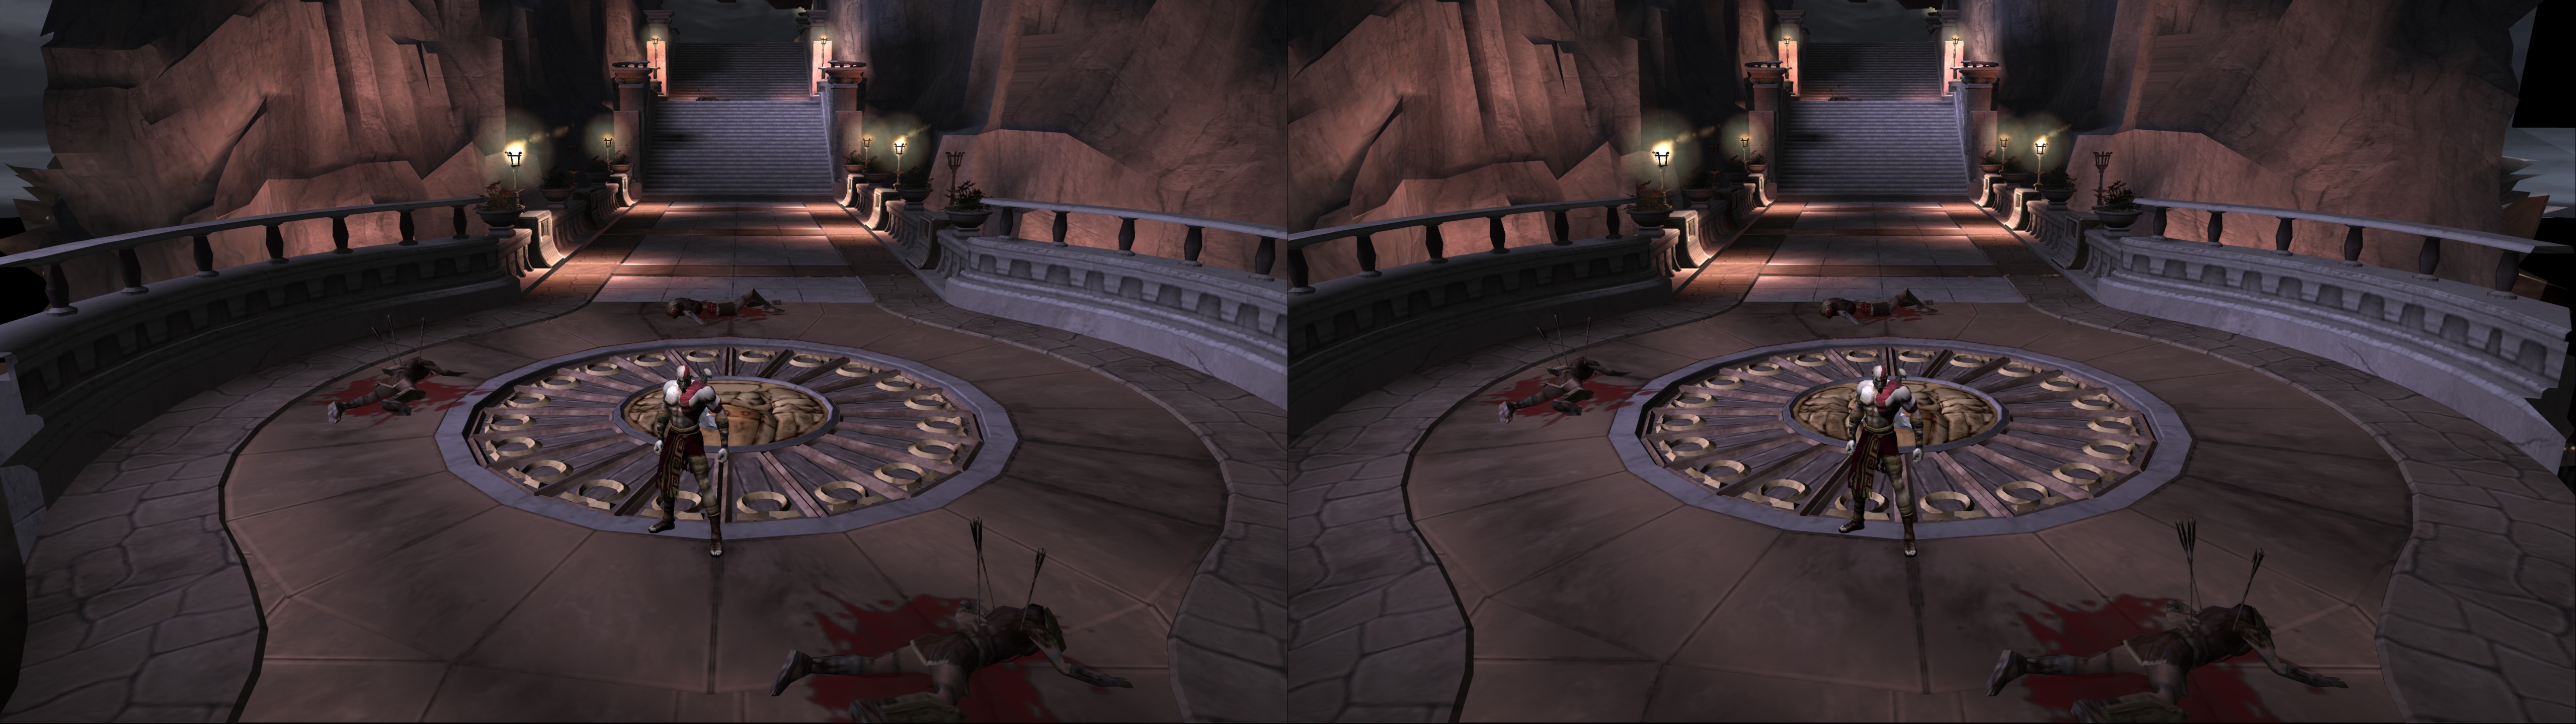
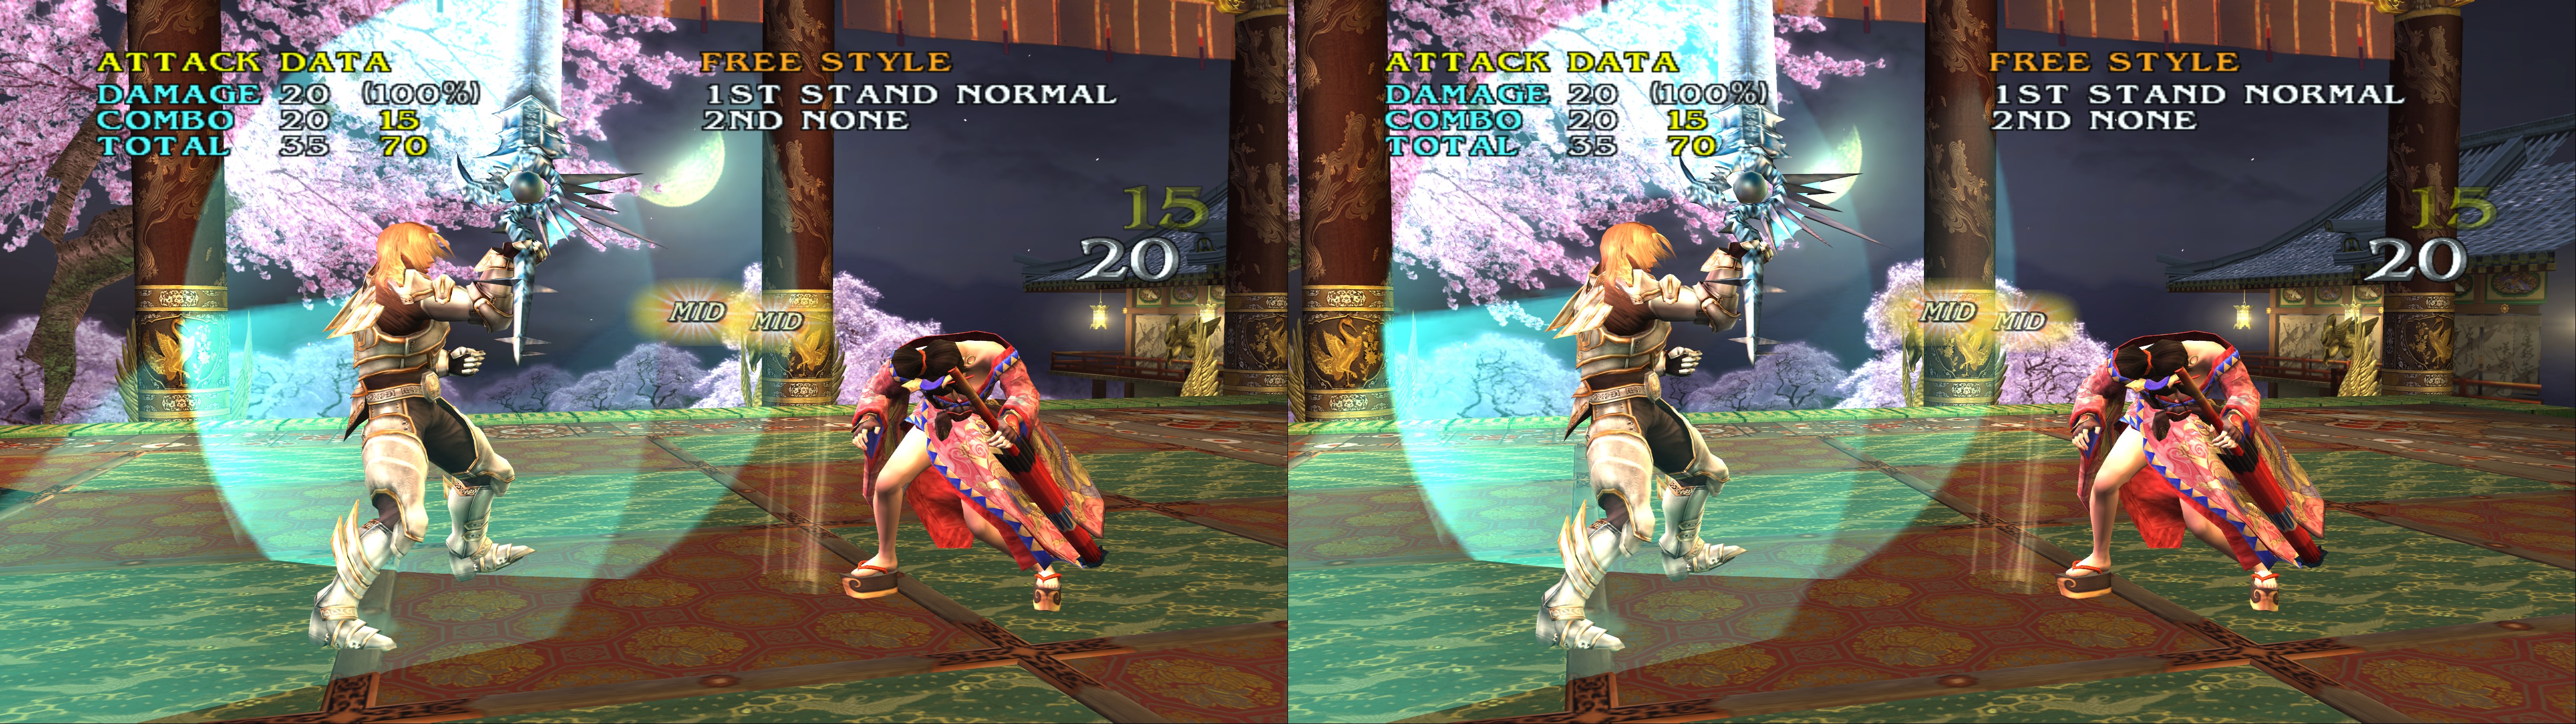
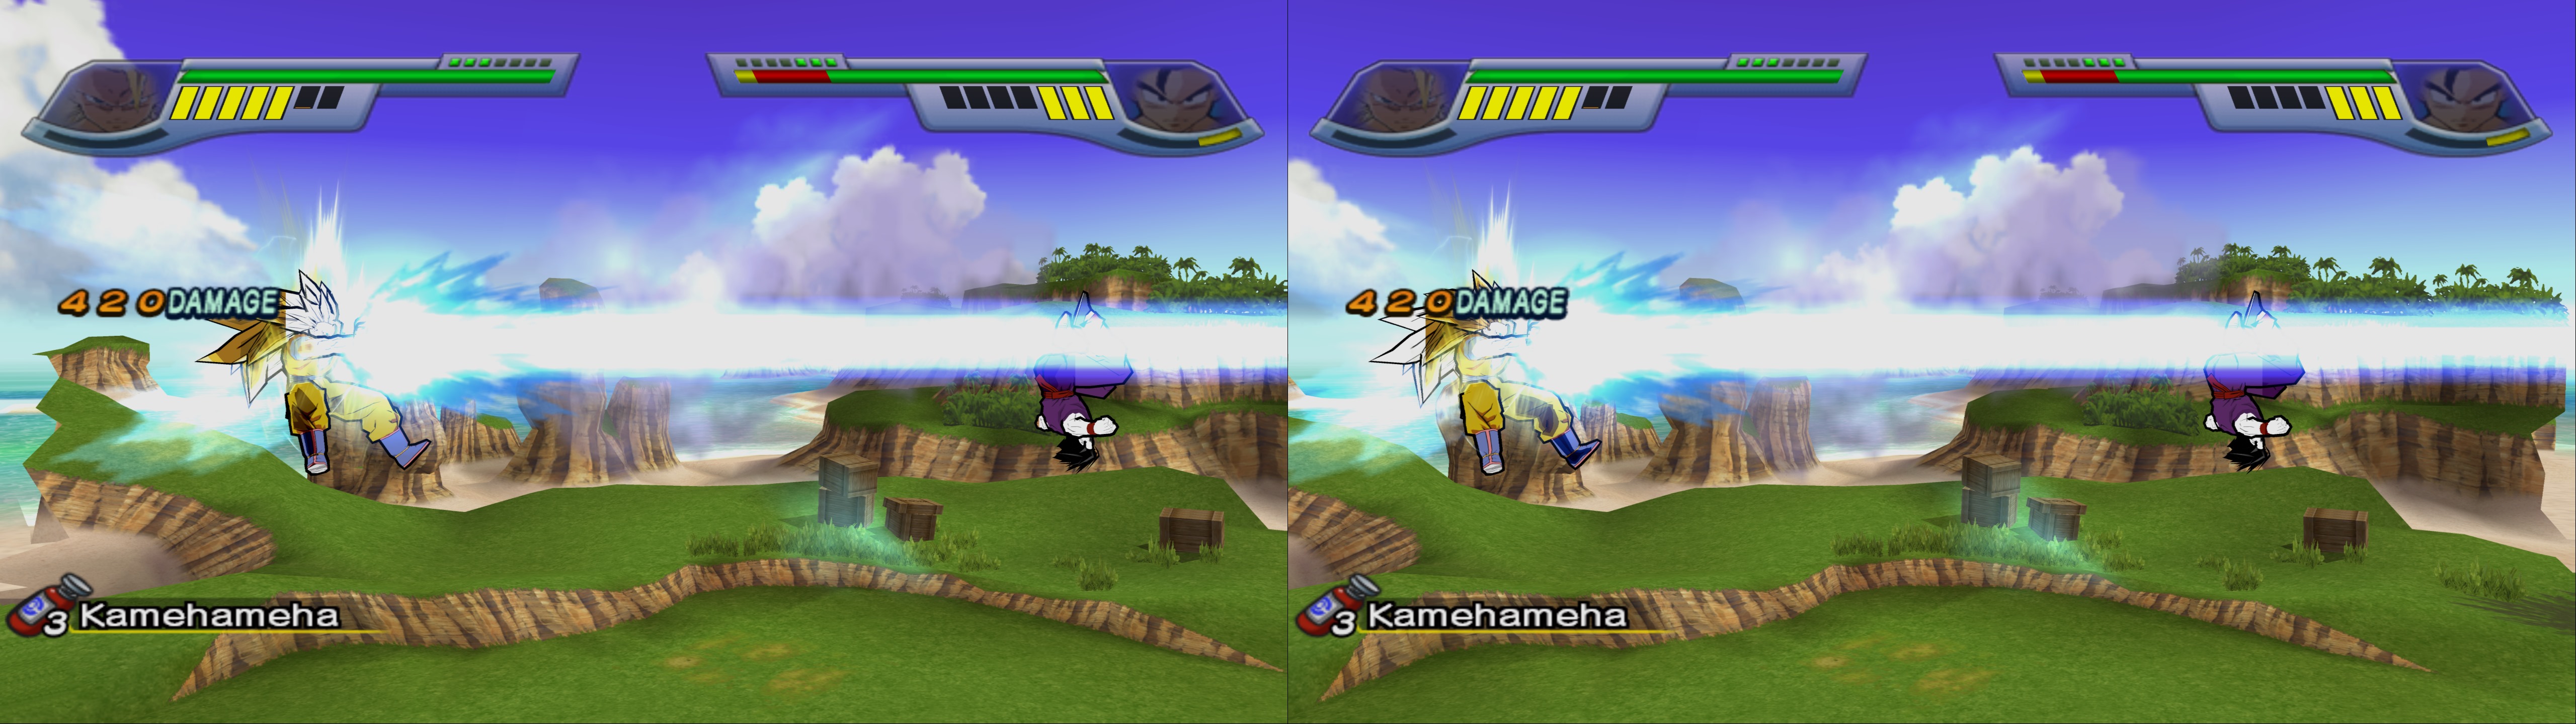
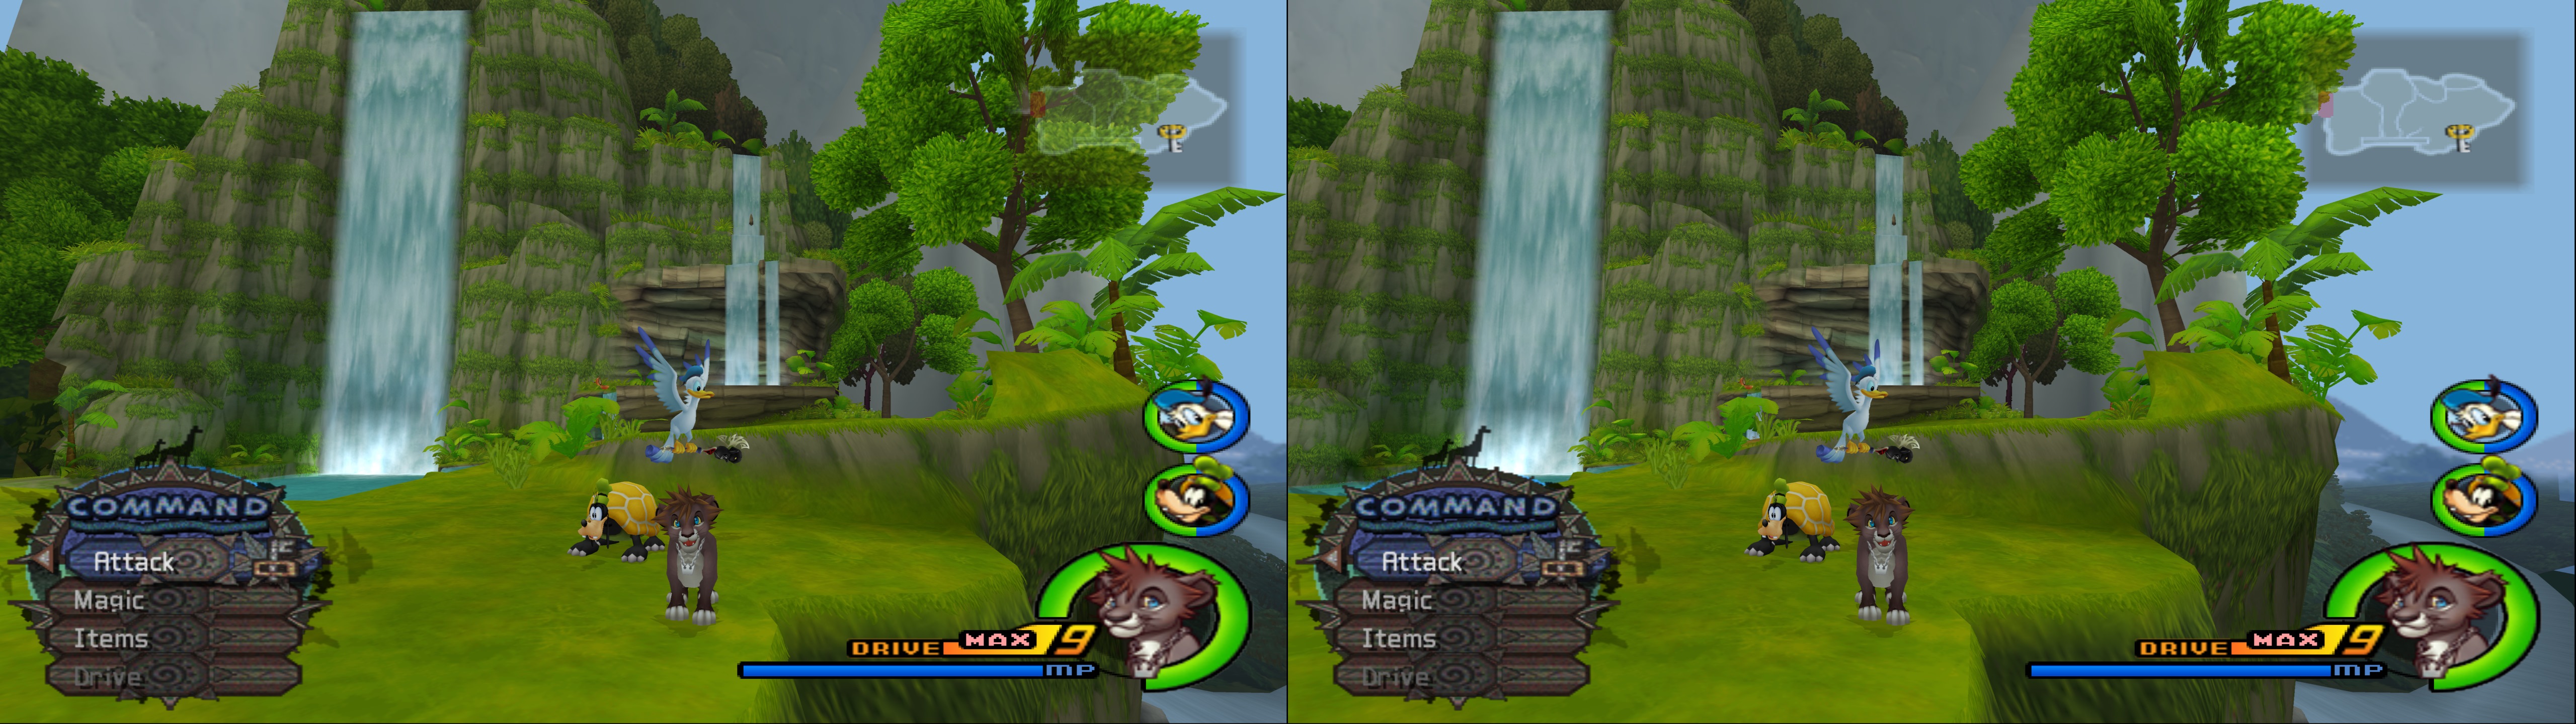
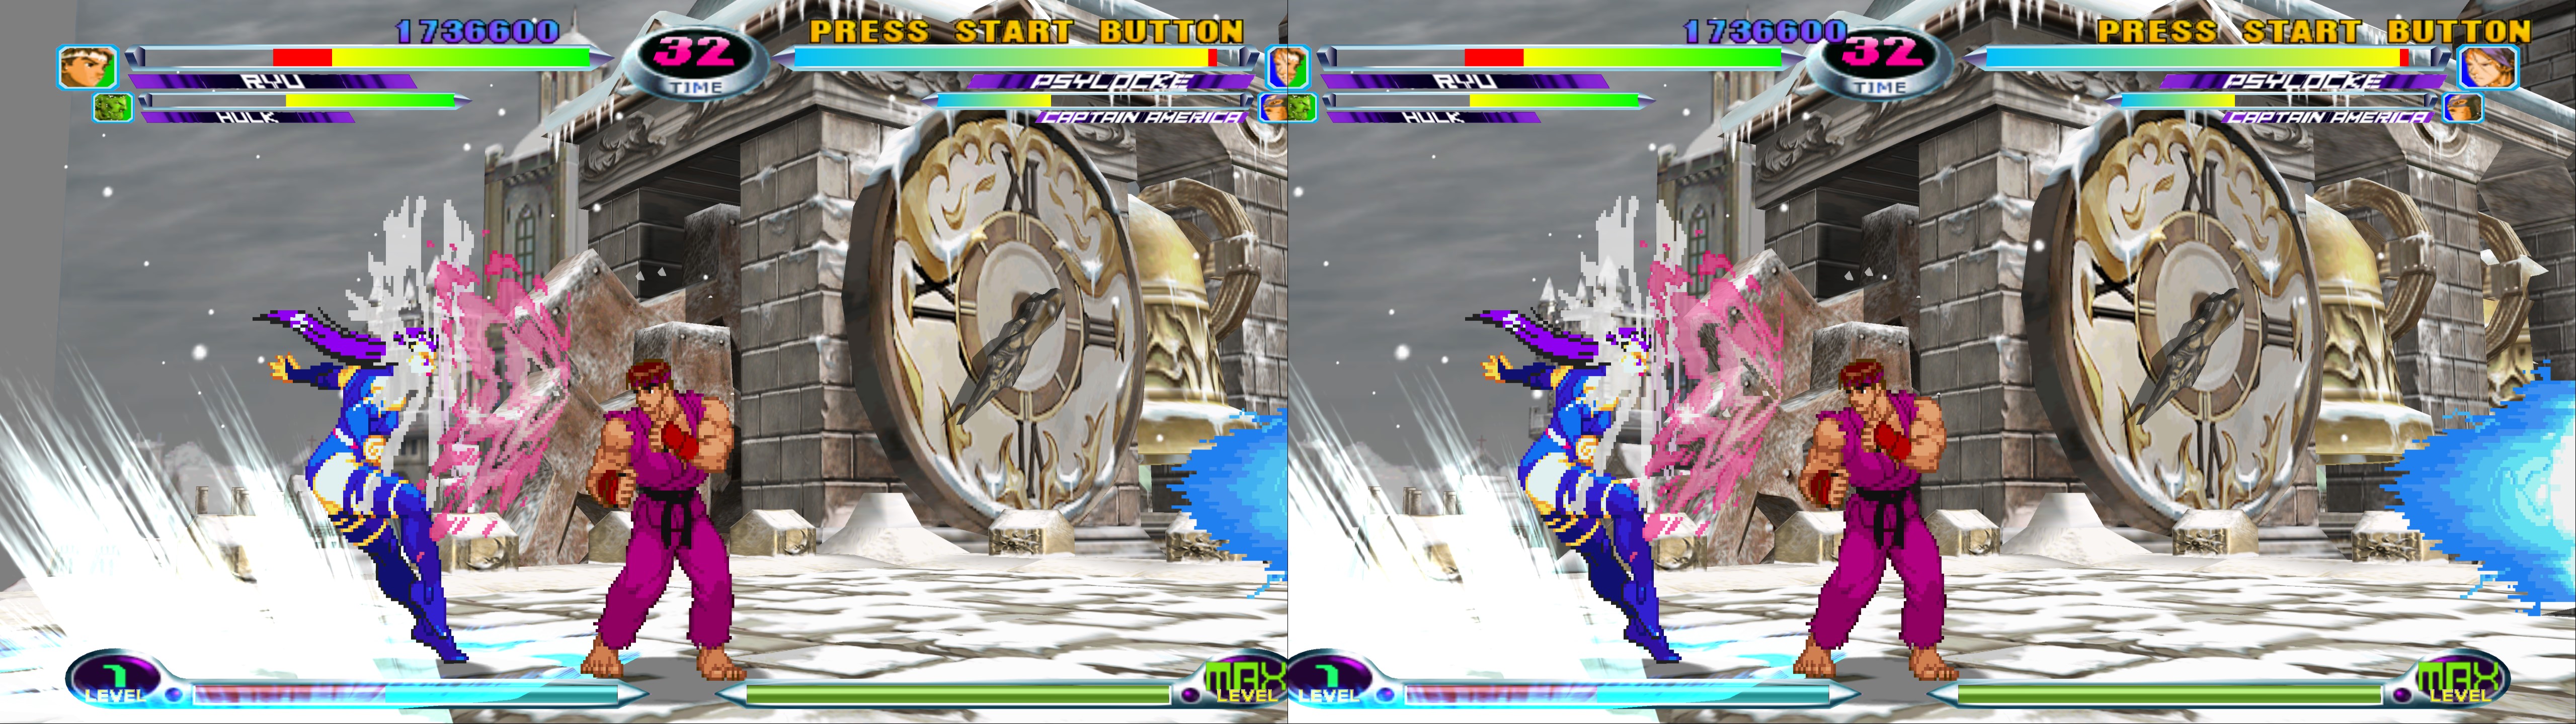
3D Vision feature for PCSX2, the PlayStation 2 emulator (DX11 hardware renderer).
At this moment the fix has 533 individual ini files that you can enable (only one at a time).
UPDATE (2023-12-03): updated the fix to work with the latest (as of this date) PCSX2 versions. Added 360 new profiles, for a total of 533. Updated geo-11 to v0.6.90, the last one where "direct_mode = nvidia_dx11" works properly.
UPDATE (2022-06-22): geo-11 fix added, which performs much better than in 3D Vision.
UPDATE (2022-05-06): fix updated to work with recent (at this moment) 64 bit builds of PCSX2. I've also done performance improvements to the fix and changed some hotkeys.
UPDATE (2023-12-03): updated the fix to work with the latest (as of this date) PCSX2 versions. Added 360 new profiles, for a total of 533. Updated geo-11 to v0.6.90, the last one where "direct_mode = nvidia_dx11" works properly.
UPDATE (2022-06-22): geo-11 fix added, which performs much better than in 3D Vision.
UPDATE (2022-05-06): fix updated to work with recent (at this moment) 64 bit builds of PCSX2. I've also done performance improvements to the fix and changed some hotkeys.
UPDATE (2021-05-07): big update with 181 manually fixed games (some better than others), compared to the 30 something incomplete profiles from the previous version. I have also balanced the convergence scaling of those games, so normal gameplay is fine without having to change convergence.
Warning: this isn't as "plug and play" as PC games fixes. It will need user involvement depending on how much you want a perfect experience, because it's impossible to have all games fixed at the same time.
Installation
- geo-11 (recommended, using build v0.6.90): download the fix here and unzip its contents in your PCSX2 folder, where "pcsx2-qtx64-avx2.exe" is (if you use the AVX2 version). Remember to edit "d3dxdm.ini" to change your "direct_mode" to the output you need.
- (Old 3D Vision fix, for historic purposes. Better use the geo-11 fix above): download the fix here and unzip its contents in your PCSX2 folder, where "pcsx2x64-avx2.exe" is (if you use the AVX2 version).
- Important: open "d3dx.ini" and go to line 44, where it says "List of game fixes.". Uncomment the line for the game you want to play. Don't uncomment more than one at the same time. If you want to create your own overrides, create a new ".ini" file in the "GameFixes" folder and load it the same way as the existing files. You can change profiles mid game. Press F10 to reload the changes made to the ini files.
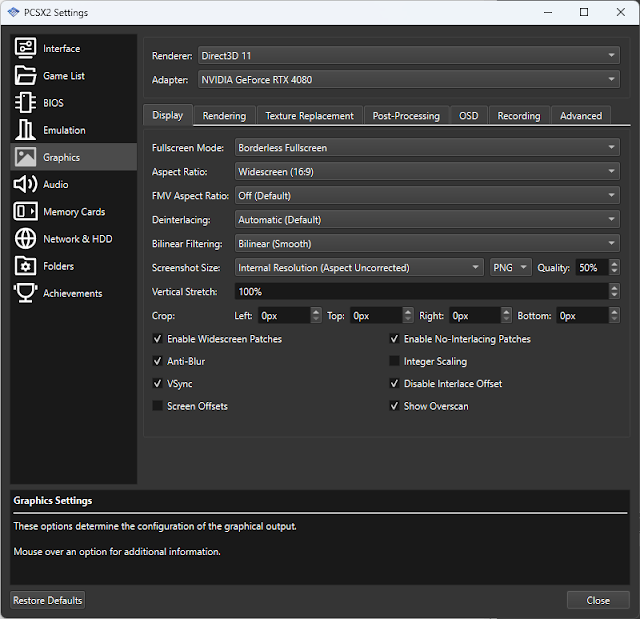
- Open the emulator, go to "Settings -> Graphics" and set "Renderer" to "Direct3D 11". Configure the rest of the settings as you want, but I recommend "Fullscreen Mode" set to "Borderless Fullscreen" in the "Display" tab. Here are my settings:
- Go to "Settings -> Interface -> Game Display" and preferably check the "Start Fullscreen" checkbox and make sure "Render To Separate Window" is checked, so you can alt+tab to change settings without stability issues in 3D Vision output modes. I recommend setting vsync in the emulator and "application controlled" in the drivers, to be able to speed up with F4 without limits and still get vsync at normal speed.
- Open the emulator and launch the game you want.
In short, install the fix, select your "direct_mode" in "d3dxdm.ini", select the game profile in "d3dx.ini", open the emulator, make sure it's running in DX11 hardware mode, and run the game.
Do not switch games and profiles while playing another game. Problems may happen when you reload settings with F10.
- Deinterlacing: games that shake when the option is set at "None" will most likely be perfect with the "Bob (top field first)" option, and in some cases, "Bob (bottom field first)". I recommend enabling the "Settings -> Graphics -> Enable No-Interlacing Patches" checkbox (you can check this PCSX2 thread for manual patches too, if the emulator doesn't include your game yet).
- Also enable "Settings -> Graphics -> Anti-Blur". It will remove blurriness from many games.
- Internal Resolution: as high as you can handle, but keep in mind that some games will slow down before reaching 100% GPU usage.
- In "Settings -> Graphics -> Display", any "Aspect Ratio" will work fine (F6 hotkey for real time switching), but I suggest 16:9 and enabling "Settings -> Emulation -> Enable Widescreen Patches".-----------------------------------------------------------------------------------------------------------------------------
ADVANCED SECTIONS HERE UNTIL BEFORE THE HOTKEYS SECTION
ONLY FOR PEOPLE THAT WANT TO FIX GAMES THAT AREN'T INCLUDED IN THE LIST
Use of regex toggles
Note: with the list of fixed games by me, you won't need this. You can ignore this section unless you want to play games outside of that list.
This fix was done without using physical shader files, for better future compatibility. Instead, it uses a real time "find and replace" function for exactly three shaders that control all geometry in all games.
The problem is that some effects of those shaders need to not be stereoized, like the HUD or some double stereoized effects (sometimes bloom, blur filters, shadows...). The regex function tries to not stereoize things that have a depth value of 0 or 1, and in some games it works (most of the HUD of the Kingdom Hearts games).
The first and most simple solution, which may be partial or fix some things and break others but it's useful many times, is using three hotkeys I offer to disable stereoization in each of the three shaders that control geometry. They are "j", "k" and "l", and I'll refer to them as "regex 1", "regex 2" and "regex 3". And that's also their order of importance, as you'll almost never have to disable the first one. A lot of times a mix of regex 3 and regex 2 will fix HUD issues, but regex 2 is usually related to other effects.
Use of shader overrides. Warning: for advanced users and perfectionists
Sometimes, or usually, disabling some of the regex isn't enough to make a game perfect or almost perfect, because you will be disabling more things than needed. Or maybe the HUD is related to regex 1. In these cases, you need to tell the regex to not stereoize a specific pixel shader. This is where things get more complicated, for these reasons:
1- Future PCSX2 (specifically GSdx) builds may change the hash of the generated shaders, rendering all game specific fixes useless. Still, games don't usually need a lot of these. Most of the affected games need between 1 and 3 in my experience.
2- Fixing something in one game can break something else in another game, or even in the same game in some cases. So fixing all games at the same time is impossible. Even with a small library of 30 something games I found a little more than 10 conflicts between games.
Now about how to do a shader override. The fix includes working examples for games I own, inside the "GameFixes" folder.
Those are the three vertex shaders I stereoize with regexes, and their default values for stereoization. "x3" for regex 1, "y3" for regex 2, and "z3" for regex 3. "w3" is an extra option about the fix I made for the skybox in the Ratchet & Clank saga (it forces the skybox to max depth without breaking other things in those games).
The values after "Hash=" may change with future GSdx versions, but I will be able to recognize them and update the fix.
In the ".ini" files inside "GameFixes" there are shader overrides with comments saying what they fix (sometimes). They contain the hash of the pixel shader, and the value they pass to their parent vertex shader. If you write for example "z3=1", it means that regex 3 won't stereoize that specific pixel shader. If it's "y3=0", it means it will stereoize it, the same as not writing the shader override at all. Useful if you want to enable/disable game fixes break effects in other games.
New: setting them to "=1" now assumes that they are HUD shaders, so they'll be affected by the HUD hotkeys. Set them to "=2" to not stereoize them but not making them count as HUD.
How to get the pixel shader hashes? Search the "hunting=0" line and change it to "hunting=2".
After that, run the emulator and play the game you want. Press "0" in the numpad and you will see a green overlay. Numpad keys 1 and 2 will cycle through the available pixel shaders, disabling the current one. Numpad key 3 will dump the shader inside the "ShaderFixes" folder. Get the hash (filename part before "-ps_replace.txt"), open the "ShaderUsage.txt" file that will appear in the emulator folder and search that hash. Example of a random pixel shader:
<PixelShader hash="07ee058e5bed1e6b">
<ParentVertexShaders>6d64bfd710f98b05 </ParentVertexShaders>
The pixel shader "07ee058e5bed1e6b" is related to vertex shader "6d64bfd710f98b05". If you look a few paragraphs above in this post, you will see that it's regex 1. If you want to not stereoize that effect, write this in the appropriate ".ini" game file (you can create new empty files and then include them in "d3dx.ini" like the existing examples), below other shader overrides if there are any:
[ShaderOverride_TotallyUniqueNameOrElseError]
Hash=07ee058e5bed1e6b
The problem is that some effects of those shaders need to not be stereoized, like the HUD or some double stereoized effects (sometimes bloom, blur filters, shadows...). The regex function tries to not stereoize things that have a depth value of 0 or 1, and in some games it works (most of the HUD of the Kingdom Hearts games).
The first and most simple solution, which may be partial or fix some things and break others but it's useful many times, is using three hotkeys I offer to disable stereoization in each of the three shaders that control geometry. They are "j", "k" and "l", and I'll refer to them as "regex 1", "regex 2" and "regex 3". And that's also their order of importance, as you'll almost never have to disable the first one. A lot of times a mix of regex 3 and regex 2 will fix HUD issues, but regex 2 is usually related to other effects.
Use of shader overrides. Warning: for advanced users and perfectionists
Sometimes, or usually, disabling some of the regex isn't enough to make a game perfect or almost perfect, because you will be disabling more things than needed. Or maybe the HUD is related to regex 1. In these cases, you need to tell the regex to not stereoize a specific pixel shader. This is where things get more complicated, for these reasons:
1- Future PCSX2 (specifically GSdx) builds may change the hash of the generated shaders, rendering all game specific fixes useless. Still, games don't usually need a lot of these. Most of the affected games need between 1 and 3 in my experience.
2- Fixing something in one game can break something else in another game, or even in the same game in some cases. So fixing all games at the same time is impossible. Even with a small library of 30 something games I found a little more than 10 conflicts between games.
Now about how to do a shader override. The fix includes working examples for games I own, inside the "GameFixes" folder.
Those are the three vertex shaders I stereoize with regexes, and their default values for stereoization. "x3" for regex 1, "y3" for regex 2, and "z3" for regex 3. "w3" is an extra option about the fix I made for the skybox in the Ratchet & Clank saga (it forces the skybox to max depth without breaking other things in those games).
The values after "Hash=" may change with future GSdx versions, but I will be able to recognize them and update the fix.
In the ".ini" files inside "GameFixes" there are shader overrides with comments saying what they fix (sometimes). They contain the hash of the pixel shader, and the value they pass to their parent vertex shader. If you write for example "z3=1", it means that regex 3 won't stereoize that specific pixel shader. If it's "y3=0", it means it will stereoize it, the same as not writing the shader override at all. Useful if you want to enable/disable game fixes break effects in other games.
New: setting them to "=1" now assumes that they are HUD shaders, so they'll be affected by the HUD hotkeys. Set them to "=2" to not stereoize them but not making them count as HUD.
How to get the pixel shader hashes? Search the "hunting=0" line and change it to "hunting=2".
After that, run the emulator and play the game you want. Press "0" in the numpad and you will see a green overlay. Numpad keys 1 and 2 will cycle through the available pixel shaders, disabling the current one. Numpad key 3 will dump the shader inside the "ShaderFixes" folder. Get the hash (filename part before "-ps_replace.txt"), open the "ShaderUsage.txt" file that will appear in the emulator folder and search that hash. Example of a random pixel shader:
<PixelShader hash="07ee058e5bed1e6b">
<ParentVertexShaders>6d64bfd710f98b05 </ParentVertexShaders>
The pixel shader "07ee058e5bed1e6b" is related to vertex shader "6d64bfd710f98b05". If you look a few paragraphs above in this post, you will see that it's regex 1. If you want to not stereoize that effect, write this in the appropriate ".ini" game file (you can create new empty files and then include them in "d3dx.ini" like the existing examples), below other shader overrides if there are any:
[ShaderOverride_TotallyUniqueNameOrElseError]
Hash=07ee058e5bed1e6b
filter_index = 0
x3=1
Then you can go back ingame without closing it, make the game 3D with the explained method, and press F10. Changes should be applied instantly (it will also reset the state of all hotkeys).
When you are done, close the game and set "hunting" to 0 again. And you can delete your dumped shaders that are inside "ShaderFixes".
OSD and depth hunting (advanced users mostly)
You can enable an OSD that shows information about the current value of hotkeys and other useful information. By default this is disabled, because you could use the depth hunting hotkeys accidentally. With this, you can do a much better kind of fixes than shader overrides. They should be universal for past and future PCSX2 versions.
Uncomment the ";include = ShaderFixes\help.ini" line, in line 19.
When you are ingame, press "c" and the OSD will appear near the bottom left corner. This screenshot shows the default state:

Warning: all the following hotkeys can be used even if the OSD is turned off with its hotkey. Be careful of using them accidentally.
Most fixable game effects and HUD that are broken in 3D usually have a specific depth value assigned to them. Under "Depth hunting Regex0", you will see the navigation speed multiplier, "greater or equal than" value and "lower than" value. Depth values between them will become 2D
To select which regex you want to affect, use the "x" and "z" keys. Then it will say "Depth hunting Regex1" and so on.
Use the left and right arrow keys to modify the ">=" value.
Use the up and down arrow keys to modify the "<" value.
Use the ctrl key to change the amount each of the previous case navigate. By default, one press equals +1 or -1. The highest multiplier is x100000.
Hold the shift key and then hold the arrow keys to navigate the depth values a lot faster.
If you press "a", the "Value to save" will be saved in the first free (non 0) variable it will find.
If you press "q", the current depth range will be saved in two variables if they are free (non 0).
A message will appear in the bottom left corner when you press them.
After saving at least one value, if you press F10, the "d3dx_user.ini" will appear in the emulator folder. Inside you will see a "[Constants]" section. Variables go:
- From "$a0" to "$a39": 40 possible depth values that won't be stereoized for Regex 1.
- From "$ar1" to "$ar8": 4 possible depth range pairs that won't be stereoized for Regex 1. The first one in a pair is ">=", and the second is "<".
- From "$b0" to "$b39": 40 possible depth values that won't be stereoized for Regex 2.
- From "$br1" to "$br8": 4 possible depth range pairs that won't be stereoized for Regex 2. The first one in a pair is ">=", and the second is "<".
- From "$c0" to "$c39": 40 possible depth values that won't be stereoized for Regex 3.
- From "$cr1" to "$cr8": 4 possible depth range pairs that won't be stereoized for Regex 3. The first one in a pair is ">=", and the second is "<".
Further F10 presses will keep adding new values you save into free variables.
Pressing ctrl+alt+F10 will delete this file so you can start over saving values.
Now to do a game fix with these values, you need to create a ".ini" for the game in the "GameFixes" folder. Make a copy of "template.ini" with the name of the game and include it in "d3dx.ini" as you see in the existing examples (like "include = GameFixes\Dark_Cloud_2.ini").
In your new game ini file you will see variables corresponding for each regex (40 values and 4 pairs of ranges for each one). The comments in the text let you know what they're for intuitively.
Copy the depth values from "d3dx_user.ini" in the corresponding variables (the order doesn't matter as long as you are in the correct regex), save the changes to the file, and press F10 ingame if the emulator is running. The fixes should take place immediately.
Of course, you can skip the usage of "d3dx_user.ini" to write the values in the game ini directly, if you remember them or alt+tab a few times, because you will see the numbers onscreen.
-----------------------------------------------------------------------------------------------------------------------------
Hotkeys
You will probably need at least some of these hotkeys (which you can configure in "d3dx.ini") when playing. Hotkeys with more than one preset use "shift" as a modifier to cycle backwards.
x3=1
Then you can go back ingame without closing it, make the game 3D with the explained method, and press F10. Changes should be applied instantly (it will also reset the state of all hotkeys).
When you are done, close the game and set "hunting" to 0 again. And you can delete your dumped shaders that are inside "ShaderFixes".
OSD and depth hunting (advanced users mostly)
You can enable an OSD that shows information about the current value of hotkeys and other useful information. By default this is disabled, because you could use the depth hunting hotkeys accidentally. With this, you can do a much better kind of fixes than shader overrides. They should be universal for past and future PCSX2 versions.
Uncomment the ";include = ShaderFixes\help.ini" line, in line 19.
When you are ingame, press "c" and the OSD will appear near the bottom left corner. This screenshot shows the default state:
Warning: all the following hotkeys can be used even if the OSD is turned off with its hotkey. Be careful of using them accidentally.
Most fixable game effects and HUD that are broken in 3D usually have a specific depth value assigned to them. Under "Depth hunting Regex0", you will see the navigation speed multiplier, "greater or equal than" value and "lower than" value. Depth values between them will become 2D
To select which regex you want to affect, use the "x" and "z" keys. Then it will say "Depth hunting Regex1" and so on.
Use the left and right arrow keys to modify the ">=" value.
Use the up and down arrow keys to modify the "<" value.
Use the ctrl key to change the amount each of the previous case navigate. By default, one press equals +1 or -1. The highest multiplier is x100000.
Hold the shift key and then hold the arrow keys to navigate the depth values a lot faster.
If you press "a", the "Value to save" will be saved in the first free (non 0) variable it will find.
If you press "q", the current depth range will be saved in two variables if they are free (non 0).
A message will appear in the bottom left corner when you press them.
After saving at least one value, if you press F10, the "d3dx_user.ini" will appear in the emulator folder. Inside you will see a "[Constants]" section. Variables go:
- From "$a0" to "$a39": 40 possible depth values that won't be stereoized for Regex 1.
- From "$ar1" to "$ar8": 4 possible depth range pairs that won't be stereoized for Regex 1. The first one in a pair is ">=", and the second is "<".
- From "$b0" to "$b39": 40 possible depth values that won't be stereoized for Regex 2.
- From "$br1" to "$br8": 4 possible depth range pairs that won't be stereoized for Regex 2. The first one in a pair is ">=", and the second is "<".
- From "$c0" to "$c39": 40 possible depth values that won't be stereoized for Regex 3.
- From "$cr1" to "$cr8": 4 possible depth range pairs that won't be stereoized for Regex 3. The first one in a pair is ">=", and the second is "<".
Further F10 presses will keep adding new values you save into free variables.
Pressing ctrl+alt+F10 will delete this file so you can start over saving values.
Now to do a game fix with these values, you need to create a ".ini" for the game in the "GameFixes" folder. Make a copy of "template.ini" with the name of the game and include it in "d3dx.ini" as you see in the existing examples (like "include = GameFixes\Dark_Cloud_2.ini").
In your new game ini file you will see variables corresponding for each regex (40 values and 4 pairs of ranges for each one). The comments in the text let you know what they're for intuitively.
Copy the depth values from "d3dx_user.ini" in the corresponding variables (the order doesn't matter as long as you are in the correct regex), save the changes to the file, and press F10 ingame if the emulator is running. The fixes should take place immediately.
Of course, you can skip the usage of "d3dx_user.ini" to write the values in the game ini directly, if you remember them or alt+tab a few times, because you will see the numbers onscreen.
-----------------------------------------------------------------------------------------------------------------------------
Hotkeys
You will probably need at least some of these hotkeys (which you can configure in "d3dx.ini") when playing. Hotkeys with more than one preset use "shift" as a modifier to cycle backwards.
FOR NORMAL USERS, the only hotkey that you will want to press is "h", which cycles through the convergence presets. And maybe "g" for some select games like the God of War games.
- v: it changes the dominant eye of the stereoscopic cameras. By default, both eyes get a modified view for 3D. With one click, the right eye will have the same camera angle as 2D and the left eye will do all the 3D work. One more click, and the opposite will happen. And the last preset returns it to normal. It can be useful for games that stereoize the HUD, making it invisible at normal convergence modes. With the dominant eye you will see all game effects normally at least in one eye.
- j: regex 1 stereoization toggle. Not needed for fixed games from the list.
- k: regex 2 stereoization toggle. Not needed for fixed games from the list.
- l: regex 3 stereoization toggle. Not needed for fixed games from the list.
- h: convergence presets (0, 0.25, 0.5, 1, 2). 1 by default. All of the fixed games have balanced convergence so that the default convergence is ideal for normal gameplay.
- v: it changes the dominant eye of the stereoscopic cameras. By default, both eyes get a modified view for 3D. With one click, the right eye will have the same camera angle as 2D and the left eye will do all the 3D work. One more click, and the opposite will happen. And the last preset returns it to normal. It can be useful for games that stereoize the HUD, making it invisible at normal convergence modes. With the dominant eye you will see all game effects normally at least in one eye.
- j: regex 1 stereoization toggle. Not needed for fixed games from the list.
- k: regex 2 stereoization toggle. Not needed for fixed games from the list.
- l: regex 3 stereoization toggle. Not needed for fixed games from the list.
- h: convergence presets (0, 0.25, 0.5, 1, 2). 1 by default. All of the fixed games have balanced convergence so that the default convergence is ideal for normal gameplay.
- ctrl + h: a lot of convergence presets to cover more possibilities for games outside of the fixed games list. Different games may need wildly different convergence levels. I tried to cover as many cases as I could.
- g: exclusive to God of War, God of War 2, Gun, and Haunting Ground (and some other games). Multiple separation and convergence combination presets made for those games. These games present geometry with very compressed depth. This is a workaround that makes them normal. Each preset was carefully crafted, so don't touch your Nvidia convergence hotkey or "h" and "ctrl+h" convergence presets.
- g: exclusive to God of War, God of War 2, Gun, and Haunting Ground (and some other games). Multiple separation and convergence combination presets made for those games. These games present geometry with very compressed depth. This is a workaround that makes them normal. Each preset was carefully crafted, so don't touch your Nvidia convergence hotkey or "h" and "ctrl+h" convergence presets.
- f: toggle for moderately higher max separation. Not needed if you use game specific fixes. Some games like Soul Calibur 3, Tekken 5, Ys IV and Ys V use a lower separation than the rest of games. This hotkey makes them have the same depth as the other games. Don't use it with unaffected games unless you know you want it.
- o (not in use anymore): HUD depth, for elements that have 0 depth or have a "=1" shader override. Only for Regex 3 for performance and image quality reasons. Very buggy and I recommend not using it.
- n: black frame insertion, intended for 30fps games. Not recommended. Three presets (disable one frame, the other, and disabled), and it's disabled by default. This is possible because PCSX2 outputs 60fps no matter the internal fps. Don't use in 60fps games. And beware of the nasty 30Hz flickering, if you are sensitive to it. This black frame insertion mode doesn't know what frame is the original and what frame is the duplicate, so input lag may vary because it's chosen at random (loading savestates may change it too). If you want 20Hz flickering, go to the bottom of "d3dx.ini" and change "y4 = (y4 + 1) % 2" to "y4 = (y4 + 1) % 3".
- i: 3D Vision to anaglyph conversion presets (normal, reversed, disabled). Disabled by default. Why use this when you have 3D Vision Discover for anaglyph? Two reasons. One: it allows two or more people to use 3D Vision and anaglyph glasses at the same time, at the cost of some color quality for the 3D Vision glasses users compared to not using anaglyph. Two: for this emulator, it's better to get 60Hz + 60fps per eye than 120Hz + 60fps per eye. Better vsync, low motion blur, etc.
- u: black frame insertion in 2D, made for 60fps at 120Hz. It's mandatory to have 3D Vision enabled. This hotkey is a quick toggle that disables stereoization for all regexes and blacks out the image of the right eye. The result is that at 120Hz you receive 60 games frames and 60 black frames. It can be combined with the "n" hotkey for 30fps games. This doesn't reduce GPU usage in any way. It's the same as if you were playing in 3D. Unless you comment or delete the "[TextureOverride3DRenderTarget]" block in "d3dx.ini", which is necessary to be there for 3D. That way, you'll get 2D performance with black frame insertion.
- t: reverse 3D Vision.
Recommendations
No interlacing codes (use the search function), to avoid shaking in games: https://forums.pcsx2.net/Thread-No-interlacing-codes
- o (not in use anymore): HUD depth, for elements that have 0 depth or have a "=1" shader override. Only for Regex 3 for performance and image quality reasons. Very buggy and I recommend not using it.
- n: black frame insertion, intended for 30fps games. Not recommended. Three presets (disable one frame, the other, and disabled), and it's disabled by default. This is possible because PCSX2 outputs 60fps no matter the internal fps. Don't use in 60fps games. And beware of the nasty 30Hz flickering, if you are sensitive to it. This black frame insertion mode doesn't know what frame is the original and what frame is the duplicate, so input lag may vary because it's chosen at random (loading savestates may change it too). If you want 20Hz flickering, go to the bottom of "d3dx.ini" and change "y4 = (y4 + 1) % 2" to "y4 = (y4 + 1) % 3".
- i: 3D Vision to anaglyph conversion presets (normal, reversed, disabled). Disabled by default. Why use this when you have 3D Vision Discover for anaglyph? Two reasons. One: it allows two or more people to use 3D Vision and anaglyph glasses at the same time, at the cost of some color quality for the 3D Vision glasses users compared to not using anaglyph. Two: for this emulator, it's better to get 60Hz + 60fps per eye than 120Hz + 60fps per eye. Better vsync, low motion blur, etc.
- u: black frame insertion in 2D, made for 60fps at 120Hz. It's mandatory to have 3D Vision enabled. This hotkey is a quick toggle that disables stereoization for all regexes and blacks out the image of the right eye. The result is that at 120Hz you receive 60 games frames and 60 black frames. It can be combined with the "n" hotkey for 30fps games. This doesn't reduce GPU usage in any way. It's the same as if you were playing in 3D. Unless you comment or delete the "[TextureOverride3DRenderTarget]" block in "d3dx.ini", which is necessary to be there for 3D. That way, you'll get 2D performance with black frame insertion.
- t: reverse 3D Vision.
Recommendations
No interlacing codes (use the search function), to avoid shaking in games: https://forums.pcsx2.net/Thread-No-interlacing-codes
60fps codes (some may be unreliable): https://forums.pcsx2.net/Thread-60-fps-codes
Widescreen game patches (in case you want something very new that isn't included with the emulator yet): https://forums.pcsx2.net/Thread-PCSX2-Widescreen-Game-Patches
Widescreen game patches (in case you want something very new that isn't included with the emulator yet): https://forums.pcsx2.net/Thread-PCSX2-Widescreen-Game-Patches
Special thanks
- All 3Dmigoto and geo-11 developers and contributors (bo3b, DarkStarSword, davegl1234, Flugan...).
- All PCSX2 developers and contributors. Without them, we wouldn't be able to even play these games in 2D.
- (Old) Kaldaien, for the specific SpecialK build I used in older fix versions to force exclusive fullscreen (0.7.0). Now using 10.1 for newer drivers.
- (Old) RibShark, the one who made the compatibility patch to make 3Dmigoto work with PCSX2 on Windows 10.
- Kaimasta, for helping with testing and giving good ideas and inspiration, like the God of War hotkey.
If you liked the fix and want to contribute for more future fixes, you can donate to this PayPal account: masterotakusuko@gmail.com
Or you can join my Patreon: https://www.patreon.com/masterotaku