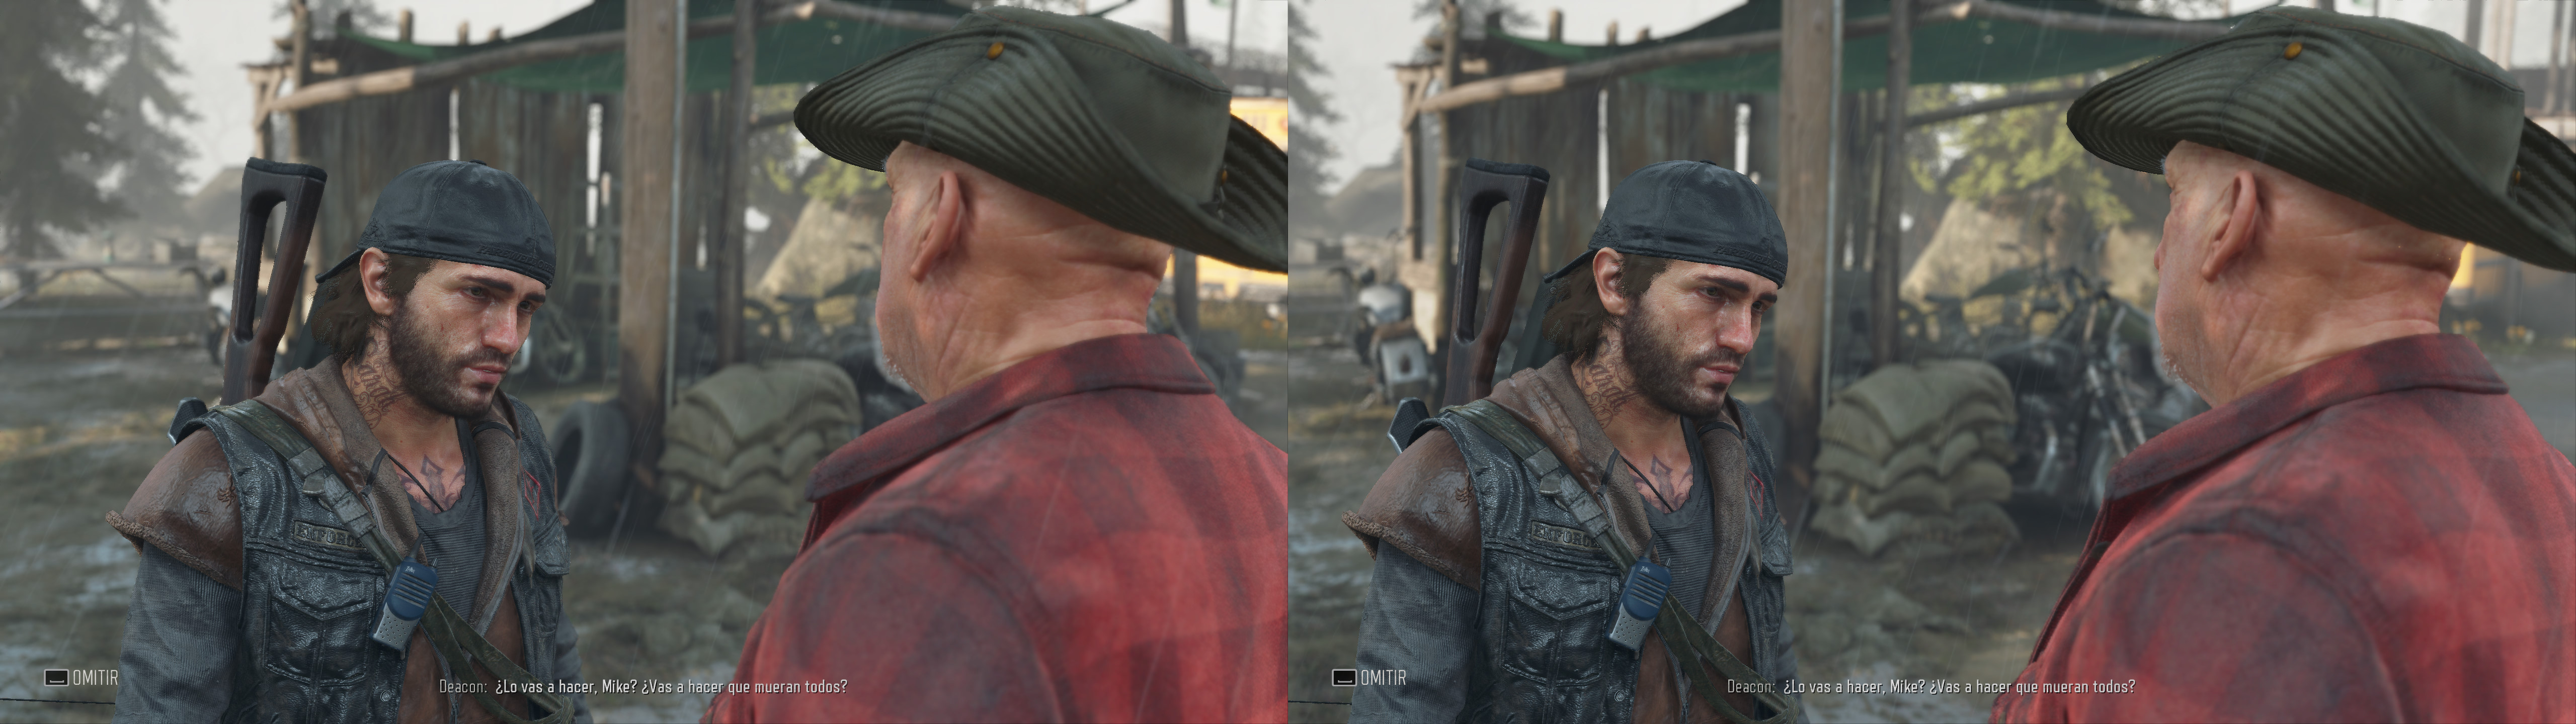
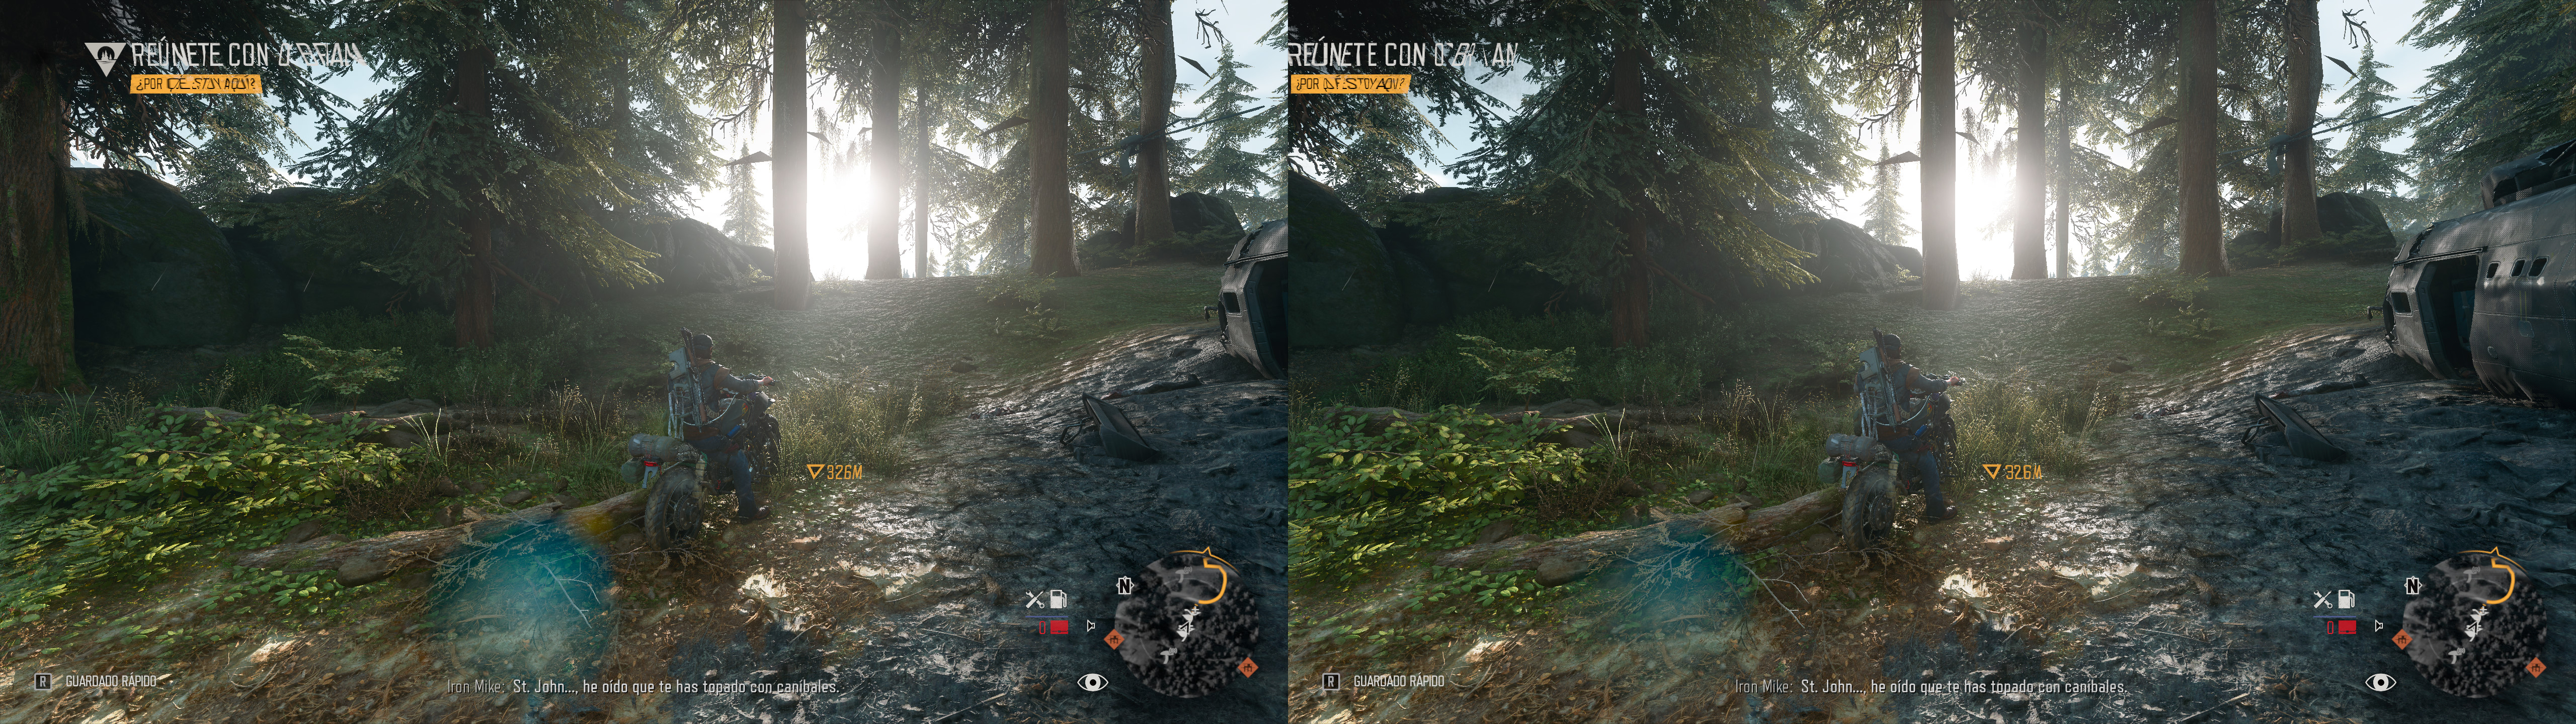
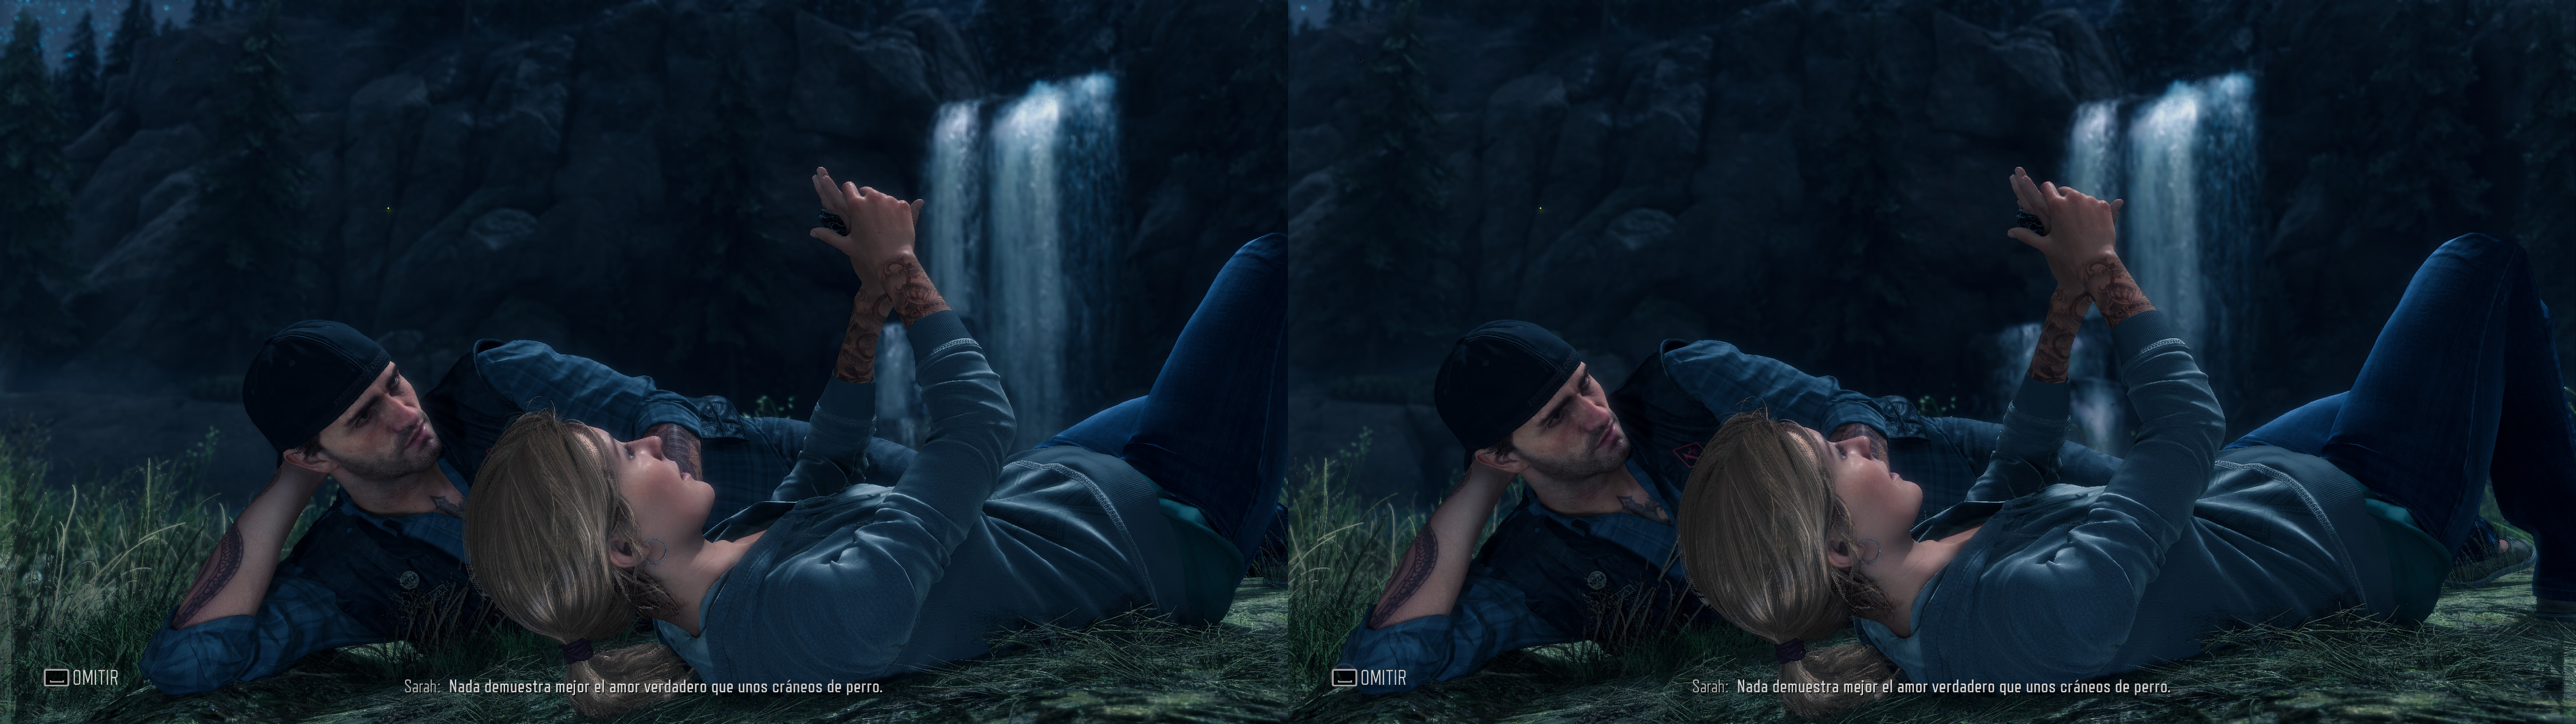
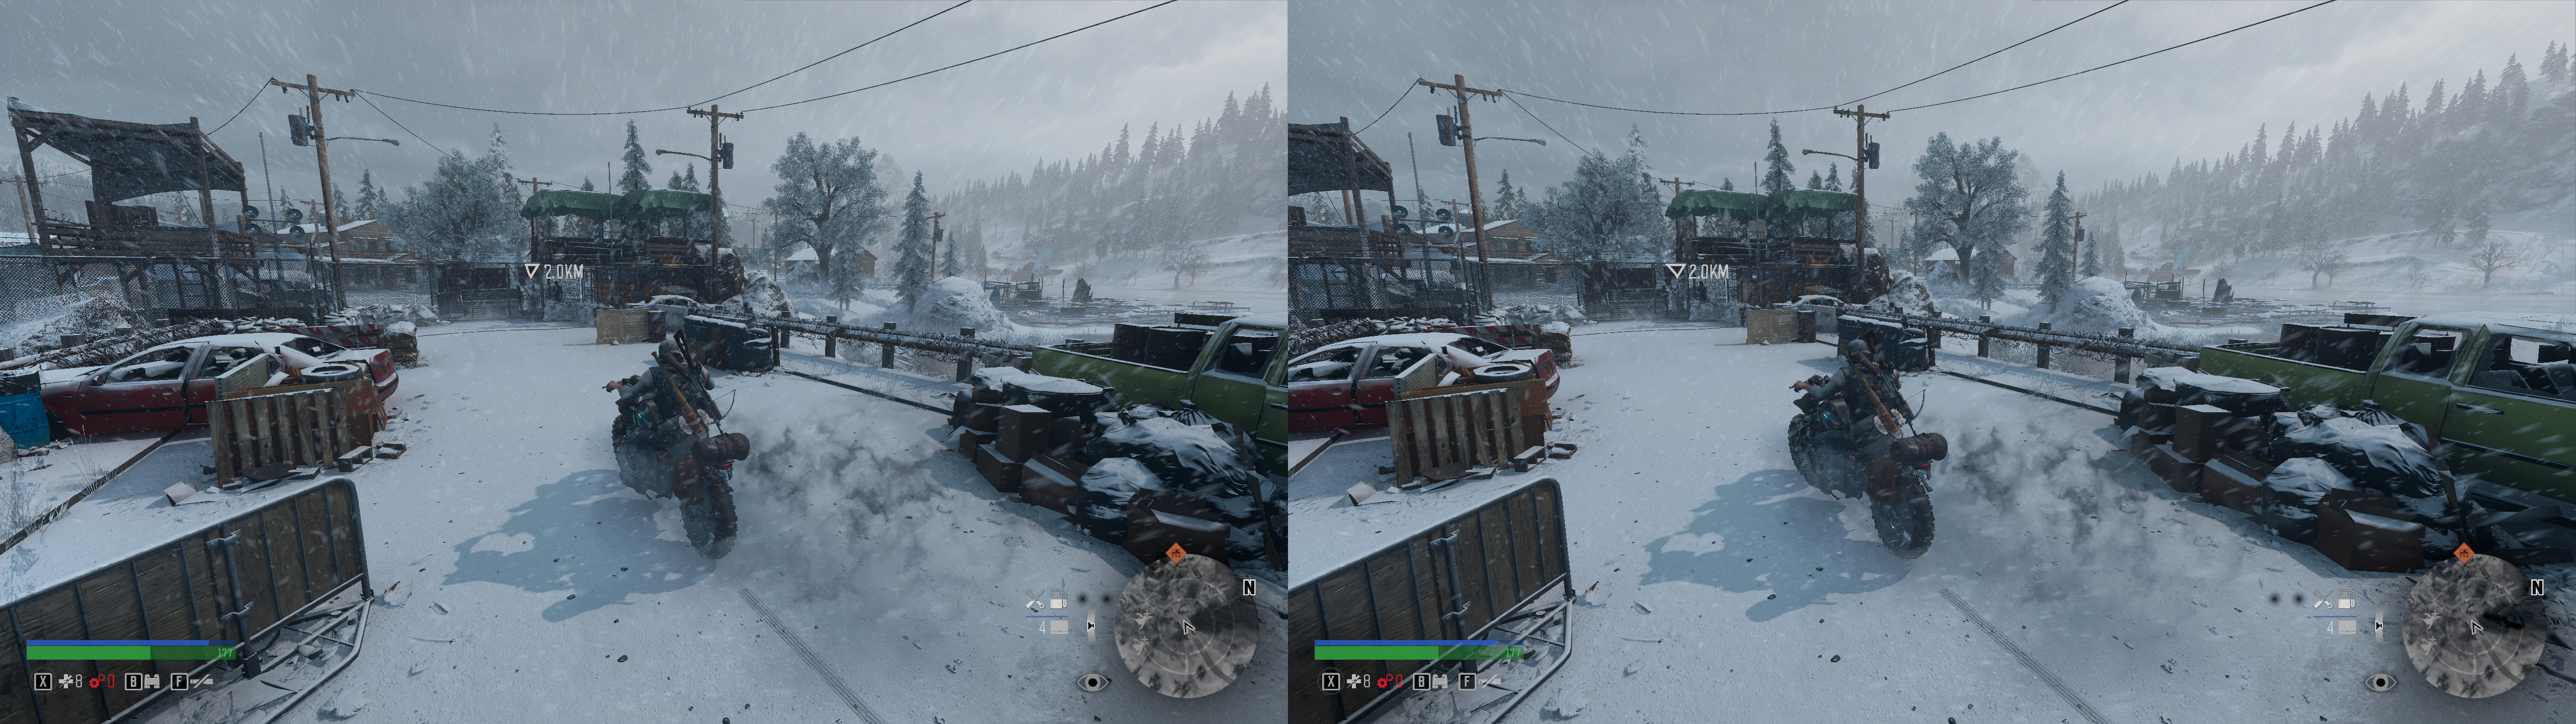
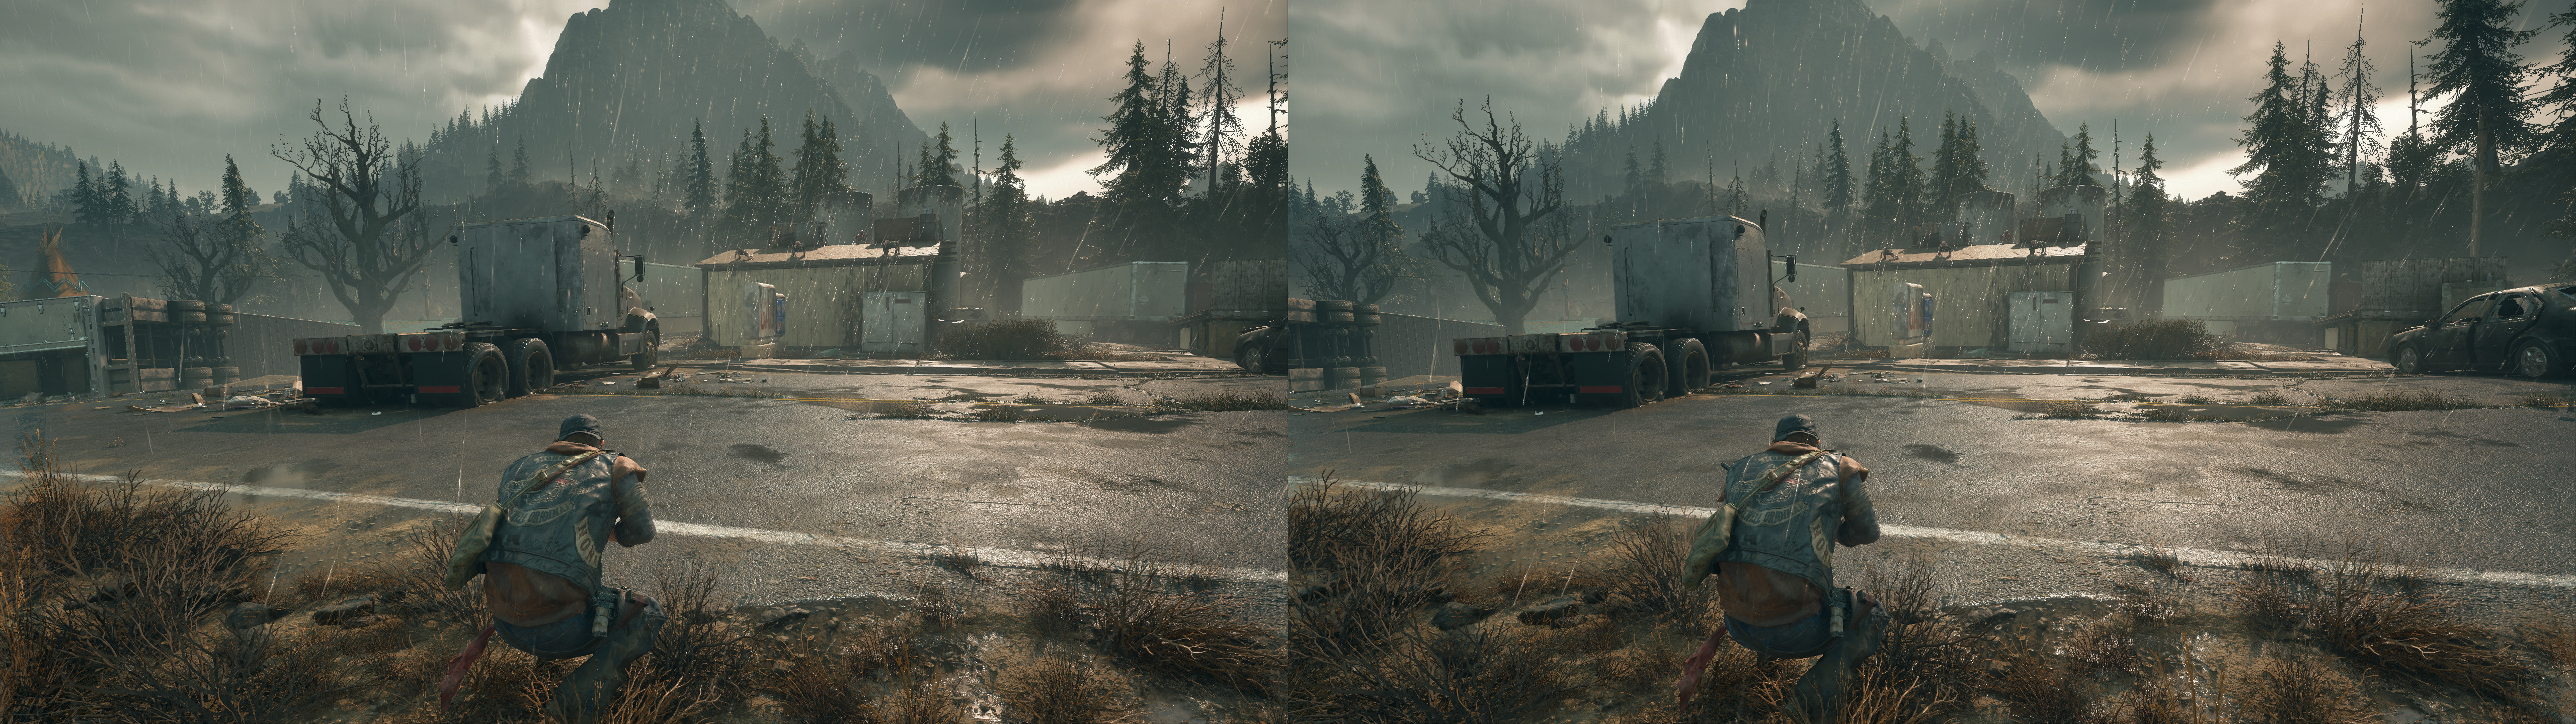
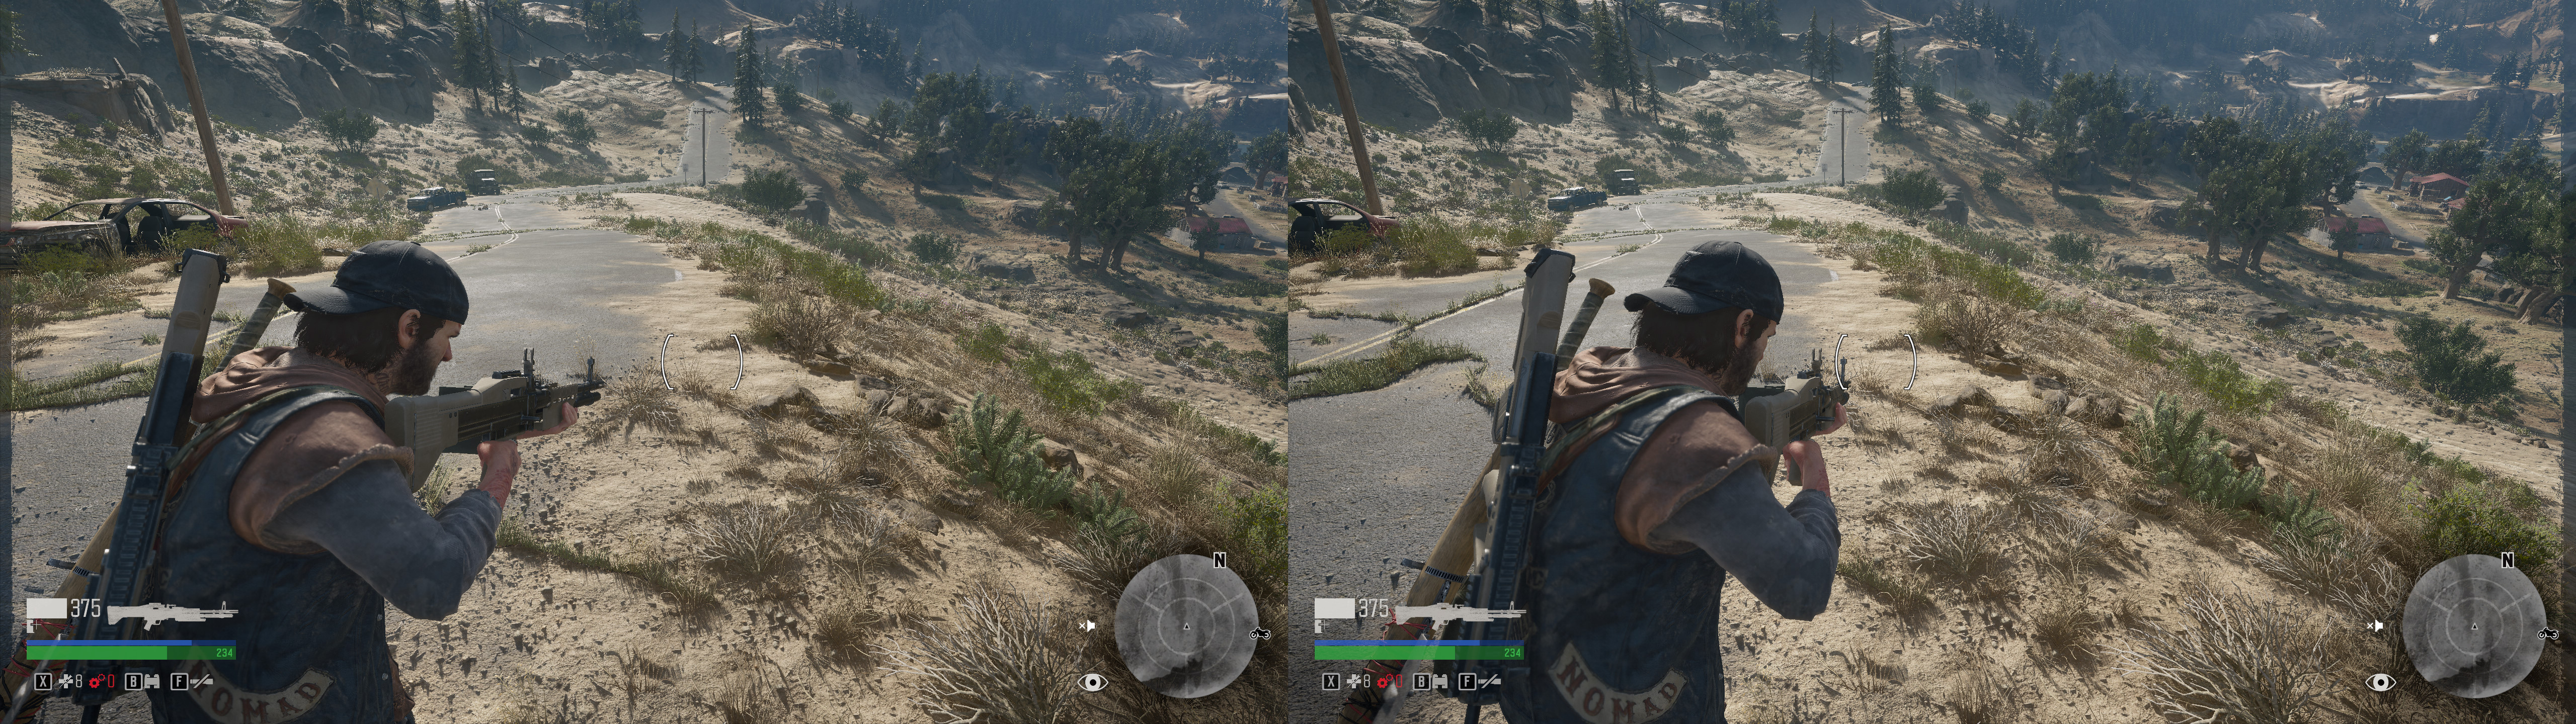
3D Vision and geo-11 fix for Days Gone.
From my testing, all graphics settings are safe to use. Optionally, you can tweak in "Engine.ini" to disable the TAA shaking (but not disabling TAA there altogether) and then use hotkeys to disable TAA ingame. See the installation instructions.
Update (2025-08-05): geo-11 fix updated with build v0.6.198 because the older v0.6.164 build now crashes. Game fixed again after the 2025-04-25 game update broke the fix almost completely. Some things are better fixed now as a result.
Update (2024-01-27): geo-11 fix updated with build v0.6.164. Fixed two minor shaders. Removed unnecessary old files for autoconvergence.
Update (2023-01-24): geo-11 fix updated with build v0.6.104. Fixed ambient occlusion. Fixed TAA during separation and convergence transitions, making it good for autoconvergence.
Update (2022-11-12): geo-11 fix updated with build v0.6.78. Fixed radial blur. Autoconvergence and dynamic HUD improvements.
Update (2022-06-24): geo-11 fix added, with autoconvergence enabled and some extra issues fixed.
Update (2022-03-27): very small update to fix a few TAA effects that were affecting NPC clothes.
Update (2022-02-12): fixed TAA for hair shaders, which were missing in the previous update. Also fixed some extra haloing issues. I hope I didn't cause any regression.
Update (2022-01-05): big deal for the fix, I fixed TAA and all related effects, so now it's useable. By default it's now enabled as well as its sharpening.
Update (2021-07-06): fix updated for the 1.05 game version, which changed the TAA shaders.
Fixed- Haloing problems.
- Shadows.
- Lighting.
- Decals.
- Water.
- Rain.
- Fog.
- Skybox.
- Sun position, lighting and occlusion.
- Clipping.
- Volumetric lighting.
- Ambient occlusion effects.
- Screen space reflections.
- Screen space shadows.
- Stereoized specular reflections.
- Stereoized interactive prompts.
- Stereoized map.
- Dynamic crosshairs and mission waypoints (check the hotkeys section).
- A lot more minor things not worth mentioning.
- Temporal anti-aliasing and temporal effects on objects.
- Radial blur.
Known issues
- Some of the volumetric lighting (similar to light shafts) has "sticky" depth instead of floating in the air like it should. I tried to fix this properly, but I couldn't.
- The fix for screen space shadows makes it leave some "garbage" at the sides of the screen. You may not notice it much while playing.
Installation
- Launch the game at least once to make it generate its config files.
-
geo-11, build v0.6.198: download
this file and extract its contents in the "
Days Gone\BendGame\Binaries\Win64" folder, where "
DaysGone.exe" is. Remember to edit "d3dxdm.ini" to change your "direct_mode" to the output you need. For 3D Vision monitors, use "nvidia_dx11" alongside "upscaling = 1".
- 3D Vision (very old fix, don't use): download this file and extract its contents in the "Days Gone\BendGame\Binaries\Win64" folder, where "DaysGone.exe" is. - Launch the game and let it overwrite the profile.
- Important: don't use internal resolution higher than 100%. It's necessary for some HUD checks.
- Preferably play the game in borderless fullscreen windowed mode, which triggers 3D in this game (Windows 7 may not work right with that). That way you can alt+tab safely without crashes.
- Any resolution and internal resolution percentage is OK to use, as well as motion blur if you want it.
- Optional, if you don't want TAA: go to your "%LOCALAPPDATA%\BendGame\Saved\Config\WindowsNoEditor\" folder, open "Engine.ini", and add this:
[SystemSettings]
r.TemporalAASamples=0
That's the minimum to disable the global screen shaking of TAA. The fix will do the rest of the job of disabling TAA without breaking the HUD, unlike the official Engine.ini setting that disables TAA.
"r.Tonemapper.Quality=1" may disable vignette too, if you see the game using it.
Hotkeys
- F1: convergence presets (75, 150, 250). 150 by default. I recommend 75 for cutscenes. With autoconvergence enabled in geo-11 (enabled by default, "dm_auto_convergence" in "d3dxdm.ini"), this is not needed.
- F3: static HUD depth presets, for elements that don't have dynamic depth. 0% depth by default.
- F4: HUD toggle. Not disabled by default.
- F5: three temporal anti-aliasing (TAA) presets. TAA is enabled by default. With one press, it's disabled. With the second press, it will also disable a temporal effect of ambient occlusion, but the effect will flicker a lot. One more press, and all TAA will be enabled again.
- F6: sharpening toggle. Not disabled by default.
- 9 (not the numpad. Disabled in geo-11 fix): three dynamic HUD presets. By default it tries to only affect crosshairs, to not break the UI of some merchants and some stereoized prompts. With one press, it will stereoize more elements like mission waypoints, distance, the icon of marked enemies, etc. With a second press, it will disable all dynamic depth. With a third press, back to only dynamic crosshairs.
Autoconvergence (geo-11)
- In the geo-11 fix, autoconvergence is enabled by default, which in my opinion handles all situations very well. If you want to disable it, open "d3dx.ini" and set "dm_auto_convergence" to 0.
- You can tweak its strength with ctrl+F5 and ctrl+F6.
- For autoconvergence to work, internal resolution needs to be higher than a certain amount. But don't use anything higher than 100%.
If you liked the fix and want to contribute for more future fixes, you can donate to this PayPal account: masterotakusuko@gmail.com